Tunisian Crossed Stitch Tutorial
This post may contain affiliate links, meaning that I may earn a small commission if you make a purchase. See our disclosure policy for more information.

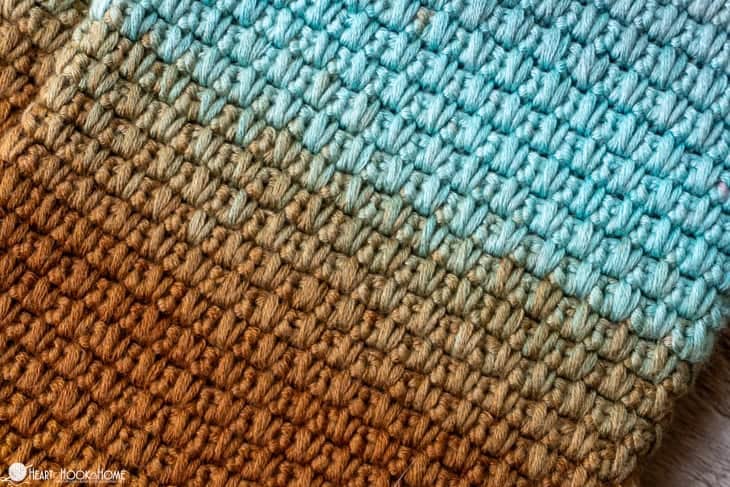
The Tunisian Crossed Stitch is easy to make and absolutely gorgeous. I love the X’s it creates, the vertical columns, and the squishy fabric. Learn how to crochet this fun, textured stitch using this Tunisian crochet tutorial.

Tunisian Crossed Stitch Tutorial
This stitch is super squishy and plush. If you enjoy the Tunisian Simple Stitch, you’ll love this one! The vertical columns created make it a great option for everything from blankets to garments. Because these stitches are nice and large the rows fly by and before you know it you’ve got a beautiful finished project.

About the Tunisian Crossed Stitch:
The stitch multiple for the Crossed Stitch is two, so always start with an even number of chains.
This is a variation of the Tunisian Simple Stitch. The only difference is that with this method the stitches cross over one another.
The stitches on the outside edges will not be included in the crossed portion, but will be included in the total stitch count. If you want 10 stitches to be crossed, you’ll need to chain the 10 plus the outside stitch on each side for a total of 12 chains to start.
This stitch has minimal curl – less than one would expect! If adding a border on the finished piece it works to eliminate any curl.

How to Tunisian Crossed Stitch:
1. Start with an even number of chains.
2. Crochet the foundation row as in most Tunisian crochet stitches. Pull up a loop in the 2nd chain from the hook and in each chain to end. You should have as many loops on your hook as you did chains to start.

3. Backward Pass (for this row and all rows) = Chain one, * Yarn over, pull through two loops * repeat to the end of the row when just one loops remains.


4. Skip the outside stitch and the first vertical bar. Pull up a loop in the next vertical bar as pictured. (Tip: It helps to make these loops nice and tall.)

5. Pull up a loop in the skipped vertical bar.

6. Skip the next vertical bar and pull up a loop in the next.

7. Pull up a loop in the skipped vertical bar.

Wanna save this for later?
Repeat steps 6 & 7 until only the outside/edge stitch remains.
8. Pull up a loop using the outside strands of that outside stitch.

9. Backward Pass as in step 3.

Continue adding rows in this manner until the piece is as tall as you like.


When you are ready to fasten off, slip stitch maintaining the crossed pattern across the top.


Helpful Tips for crocheting this stitch:
It helps to stay loose when pulling up the crossed stitch loops in the Forward Pass. Pulling these loops too tight can cause puckering and promote curling.
Make the first * yarn over pull through two loops * of each Backward Pass a bit on the tight side. This helps to close any gaps that are naturally created on the left edge with the structure of this stitch.
Tunisian Crossed Video Tutorial:
If, for any reason, you would like to watch this video on YouTube, you can find it here. Subscribe while you’re there! 😉
I hope you love this stitch, and that you’ll use it often! I know this would make a gorgeous baby blanket, washcloth, or even a wearable! Let me know what you come up with in the Heart Hook Home Crochet Community on Facebook.
More Tunisian Crochet:
How to Crochet the Tunisian Simple Stitch
How to Unkink Circular Knitting Needles and Tunisian Crochet Cords
The Ultimate Guide to Tunisian Crochet
How to Crochet the Tunisian Half Double Crochet Stitch