How to Crochet the Tunisian Simple Stitch
This post may contain affiliate links, meaning that I may earn a small commission if you make a purchase. See our disclosure policy for more information.
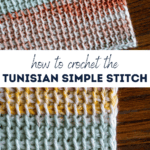
Are you wanting to learn how to Tunisian Crochet? The first stitch many learn is the Tunisian Simple Stitch. Like the name suggests, this stitch is easy-to-learn and fun to make. Let’s learn how!

Tunisian Simple Stitch Tutorial
Tunisian crochet is a favorite of mine. Whether it’s the simplicity of the design or how quick it is to work up, once you get going I know you’ll love it too.
The Simple Stitch is great for all things from placemats, to scarves, to cardigans, to blankets… and all sorts of things.

If you are brand new to Tunisian crochet this is the perfect stitch to practice to get your feet wet.

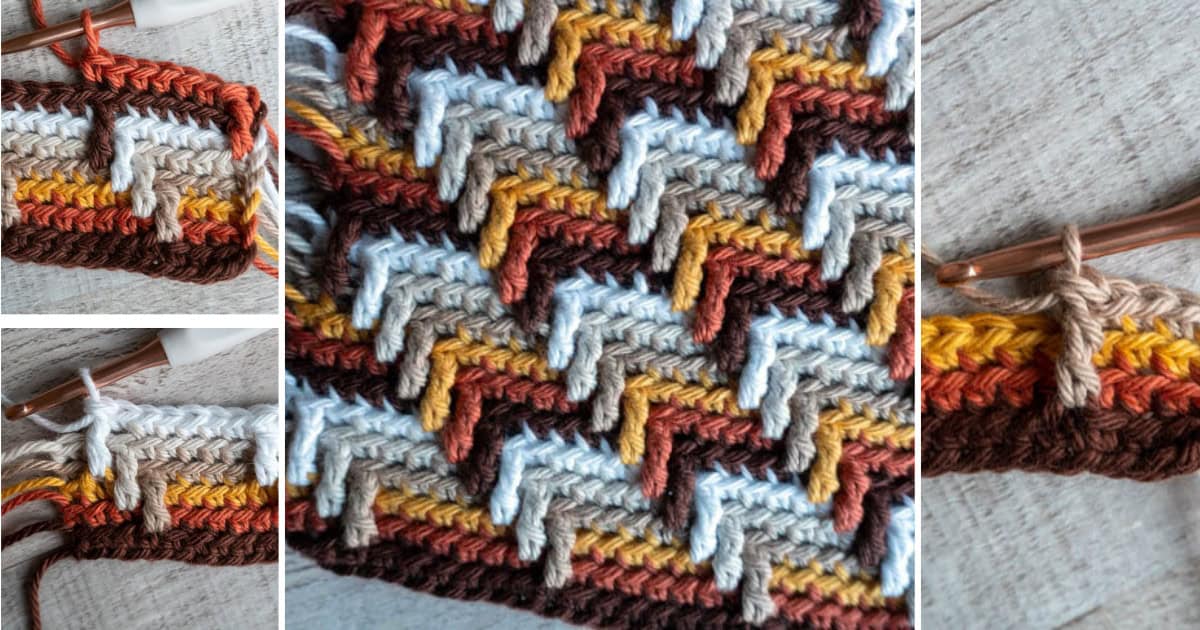
Pay particular attention to the outside stitches (on the right side, the loop that is always on your hook, and the left side, how tall you pull up the loop). Try to stay as consistent in height as possible. See what I mean in the video below.

About the Tunisian Simple Stitch:
There is NO multiple required to start this stitch. Any number of chains will do.
The number of chains made = the number of stitches in your piece.
As in most Tunisian stitches, all loops remain on your hook until worked off individually.
The Tunisian Simple Stitch is abbreviated as TSS in crochet patterns.
Scroll down to see the VIDEO tutorial of this stitch.
To start Tunisian Simple Crochet, you will:
1. Chain to desired length. Any multiple of stitches.

2. Pull up a loop in second chain from hook and in each chain to end. You will now have as many loops on your hook as you did chains to start.


3. Chain one.

This outside stitch will be the side of the first row. Yarn over and pull through two loops. Yarn over and pull through two loops – repeat this sequence all the way to the end of the row, until one loop remains.


Wanna save this for later?
4. Insert hook into first vertical bar from the previous row, pull up a loop.


Pull up a loop in every vertical bar to end. In the last (end/outside) stitch, go through both parts of the “v” of that stitch.

5. Chain one.

Yarn over and pull through two loops. Yarn over and pull through two loops – all the way to the end of the row.

Continue alternating steps 4 & 5 until desired height is reached.

To fasten off/bind off:
Insert hook under first vertical bar. Slip stitch.

Insert hook under next vertical bar. Slip stitch. Repeat to end, being sure not to pull the stitches too tight. Fasten off and weave in all ends.

Tunisian Simple Video Tutorial


If you are new to Tunisian and want to learn ALL of the awesome stitches and things you can create with this fun technique, you should follow along with the 2023 Tunisian Basics Crochet-Along! Even after the crochet-along has ended the entire series will remain free on the blog.
More Tunisian Crochet:
The Ultimate Guide to Tunisian Crochet
Tunisian Crochet Basket Weave Stitch Tutorial
Tunisian Double Crochet Stitch Tutorial


2 Comments