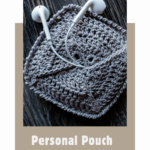
Personal Pouch: Free Crochet Pouch Pattern
This post may contain affiliate links, meaning that I may earn a small commission if you make a purchase. See our disclosure policy for more information.

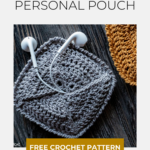

Do you have a teenager in your life that you just don’t know what to gift this holiday season? Whether you’re looking for quick crochet stocking stuffer ideas or just a little something for yourself, these little crocheted pouches made with this free pouch pattern are perfect, quick, and not too difficult either!

Personal Pouch Free Crochet Pattern
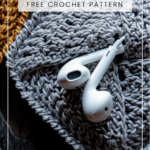
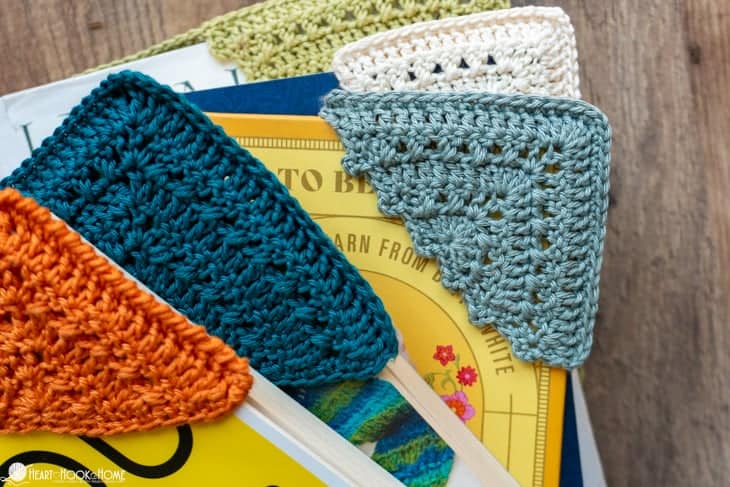
This crocheted pouch is the perfect size to hold a pair of earbuds, an extra pantiliner in case of emergency, or any other little something you may find handy. For this crocheted pouch we are using Curio #3, a size 3 crochet thread. I am using Curio because I love the colors and the sheen of the thread. Gorgeous!


I designed this pouch using the principal of interlocking squares. The triangles are slightly smaller than half of the square, so that if you put two of them together they are about the same size as the square itself. Many attempts were made and I am so happy with the final result!
Materials:
Curio #3 Crochet Thread
-approx. 51 yards per pouch
Crochet hook in size 2.75mm
Finished Dimensions:
Approx. 3.75″ square (4.5″ diagonally)
Pattern Notes:
Make (4) triangles and (1) square.
The chain at the beginning of each row does not count as a stitch.
Don’t forget to turn at the end of each row, especially in the square.
TC = Treble Crochet
DC = Double Crochet
SC = Single Crochet
Grab the ad-free, printable version of this pattern on Ravelry or Etsy. Thank you!
If you need help reading a crochet pattern, make sure you head over here and check out this detailed post.
Pouch Pattern:
Triangles (make four):
Row 1: Ch-3, (tc, 7dc, tc) in 3rd ch from hook. (9)
Row 2: Ch-3, turn, (tc, dc) in first st, dc in next 3 sts, (2dc, tc, 2dc) in next st, dc in next 3 sts, (dc, tc) in last st. (15)
Row 3: Ch-3, turn, (tc, dc) in first st, dc in next 6 sts, (2dc, tc, 2dc) in next st, dc in next 6 sts, (dc, tc) in last st. (21)
Row 4: Ch-3, turn, (tc, dc) in first st, dc in next 9 sts, (2dc, tc, 2dc) in next st, dc in next 9 sts, (dc, tc) in last st. (27)

Turn to work across row ends. Ch-1, sc across. Fasten off and weave in all ends.

Square (make one):
Round 1: Magic circle, ch-2, 10dc in circle. Join to top of first dc. (10)
Wanna save this for later?
Round 2: Ch-2, turn, 2dc in each st around. Join to top of first dc. (20)

Round 3: Ch-2, turn, * dc in next 4 sts, (2dc, tc, 2dc) in next st * repeat between * * 3 more times. Join to top of first dc. (36)

Round 4: Ch-2, turn, dc in next 2 sts, (2dc, tc, 2dc) in next st. * dc in next 8 sts, (2dc, tc, 2c) in next * repeat between * * 2 more times. Dc in remaining 6 ts. Join to top of first dc. (52)

Round 5: Ch-2, turn, dc in next 8 sts, (2dc ,tc, 2dc) in next st. * dc in next 12 sts, (2dc, tc, 2dc) in next st * repeat between * * 2 more times. Dc in remaining 4 sts. Join to top of first dc. (68)
Do NOT fasten off.
Construction:
Flip the square over so that the last row (“right side”) is facing down. Position triangles on square as pictured, with the right half of the triangles always on top.


The last triangle to add to the pile is the trickiest. Just take your time and get your stitch markers ready.

Going through all four pieces of fabric (corner of top triangle, center stitch of next triangle, opposite corner of the next triangle, and, finally, the corner stitch of the square), use your stitch marker to hold each corner in place.

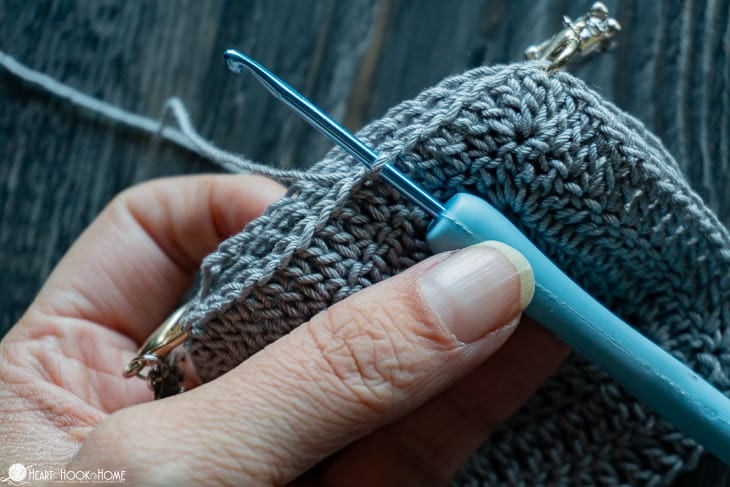
Where still attached on the square, chain one and turn (looking at the top (triangle side) of pouch) and, crocheting through all layers, single crochet around entire pouch. Place three single crochets in each corner.

Note that because the square pattern is slightly larger than the triangles, there are more stitches to be used on the square than the sum of the triangles. Remove the extra square stitches evenly on each side by going through two stitches on the square if needed per one stitch on the triangles to keep spacing even. When you make your way all the way around the pouch, join to the top of the first single crochet.
Final row: Ch-1, reverse single crochet (aka Crab Stitch) around entire pouch. Do not place extra stitches on this row at the corners. When you reach the beginning, fasten off and weave in ends.

You are done! I hope you enjoyed making this personal pouch, and I hope you’ll make more! Please share a photo with me by tagging @HeartHookHome on Twitter or Instagram, or by sharing in the Heart Hook Home Crochet Community on Facebook!
More holiday patterns and stocking stuffer ideas:
13 Adorable & Free Christmas Ornament Crochet Patterns
Christmas Ornament Coasters – Free Crochet Pattern
8 Free Christmas Scarf Crochet Patterns


77 Comments