How to Crochet the Granny Stitch in Flat Rows
This post may contain affiliate links, meaning that I may earn a small commission if you make a purchase. See our disclosure policy for more information.
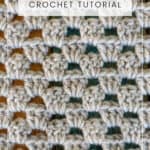


Do you love crocheting Granny Squares? I love how quick the stitch is to work up, even though sometimes you don’t want to make an actual square. Sometimes we want to just crochet the Granny Stitch in flat rows. Here’s a great tutorial on how to crochet the flat granny!

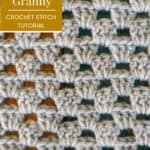
Flat Granny Stitch Crochet Tutorial
Traditional granny squares are a great way to crochet small, quick projects that can be compiled into one, larger piece. But sometimes we don’t feel like seaming all of those squares (that would be me) and sometimes we just want a fast, easy project to get our cro-jo back, or to get over a summer slump.
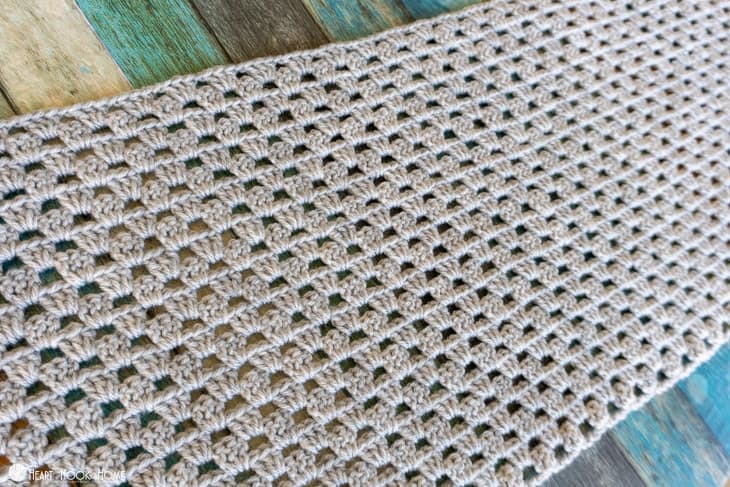
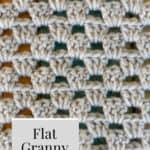
The Flat Granny Stitch (the granny worked in rows back and forth instead of in a square) is the perfect solution.
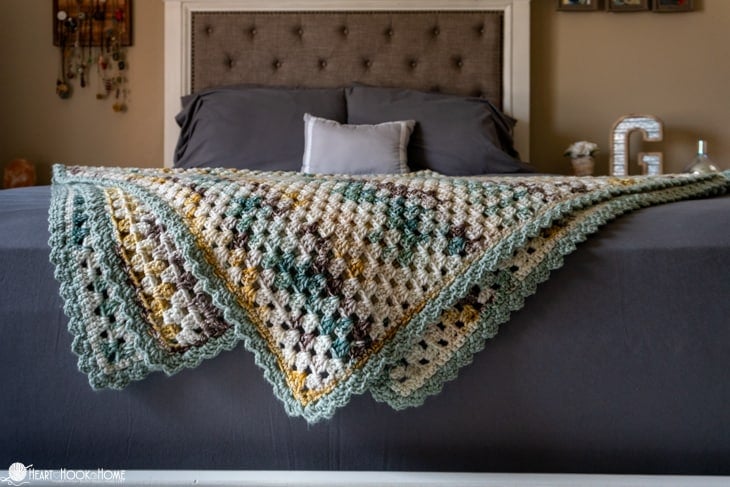
Cut to the chase and check out this gorgeous, free flat granny blanket pattern if you’re ready to dive right in!
The Flat Granny Stitch is perfect for mindless, quick crocheting. Once you get in the groove, you might not even need to look at the work at all, so this is a great opportunity to crochet while watching Netflix or a sporting event.
To crochet the flat Granny Stitch, you’re going to want to start with a multiple of FOUR stitches, plus 6. So, you’ll want to start with 4, 8, 12, 16, etc, then add on another 6 stitches to your beginning chain count.

In this example I am starting with a chain of 12 + 6 = 18 chains.
1. Chain a multiple of 4 + 6. In these photos I am starting with 18 stitches.

2. 3dc in 7th ch from hook.
3. Chain 1, skip 3 chains, 3dc in next chain.
Repeat step 3 until only 3 chains remain.

4. Chain 1, skip 2 chains, dc in final the chain.
First row complete!
5. Ch-3 (counts as a double crochet), turn, 2dc in that very first chain space.

Wanna save this for later?
6. Chain 1, skip 3 stitches, 3dc in next chain space.

Repeat step 6 to the end of the row. When you get there…
7. Place 2 double crochets in the final chain space, then double crochet in the top of the chain.
Second row complete!
8. Ch-4 (counts as a double crochet + ch-1), turn.
9. Skip three double crochets, and place 3dc in the next chain space. Chain 1.
Repeat step 9 to the end of the row. When you get there…

10. Skip the last 2 double crochets and place one double crochet in the top of the chain 3.
Third row complete!
Start over with step 5 and repeat steps 5 – 10 until the desired height is reached.
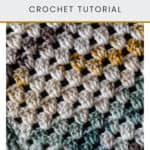
You are repeating those two rows over and over until the piece is as tall as you like.
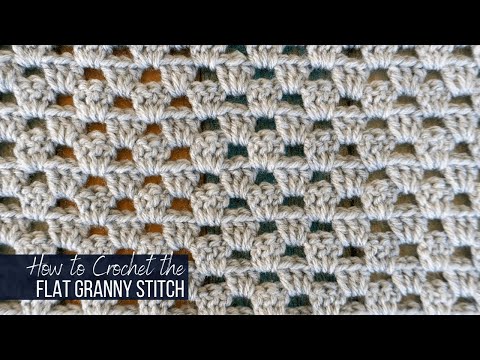
Flat Granny Stitch VIDEO tutorial:
What will you use the Flat Granny Stitch for ? If you’re looking for your next project, this free blanket pattern may be it! Hope you love it.
More crochet tutorials:
Alpine Stitch Crochet Tutorial
How to Crochet the Crocodile Stitch (Video Tutorial)


7 Comments