Alpine Stitch Crochet Tutorial
This post may contain affiliate links, meaning that I may earn a small commission if you make a purchase. See our disclosure policy for more information.
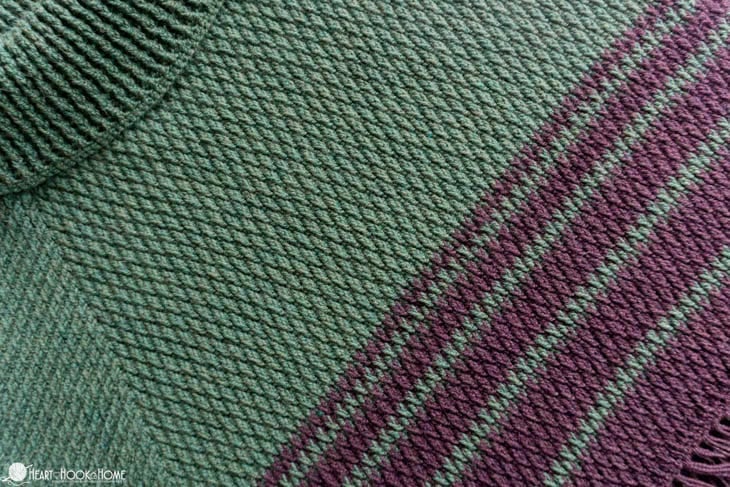
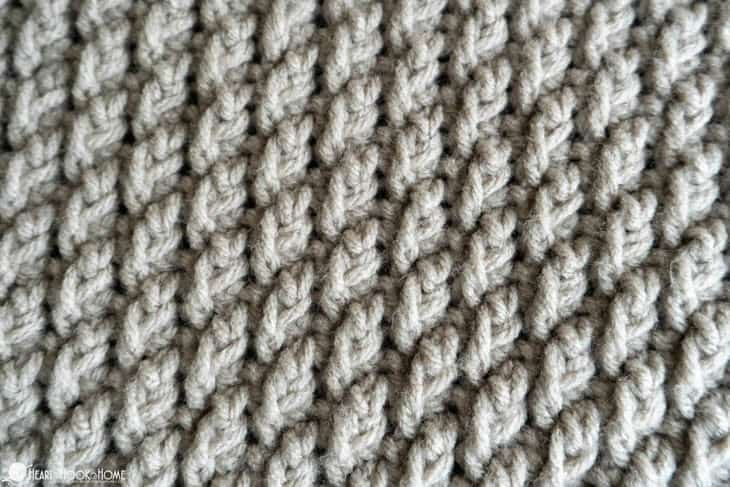
The Alpine Stitch adds such texture and visual appeal in crochet. Use this beautiful crochet stitch for your next blanket, cowl, wrap, or anything else your heart desires!
![]()
Alpine Crochet Stitch Tutorial
The Alpine Stitch is a great textured crochet stitch. This stitch is great for blankets, or washcloths, or cowls, leg warmers, and more.

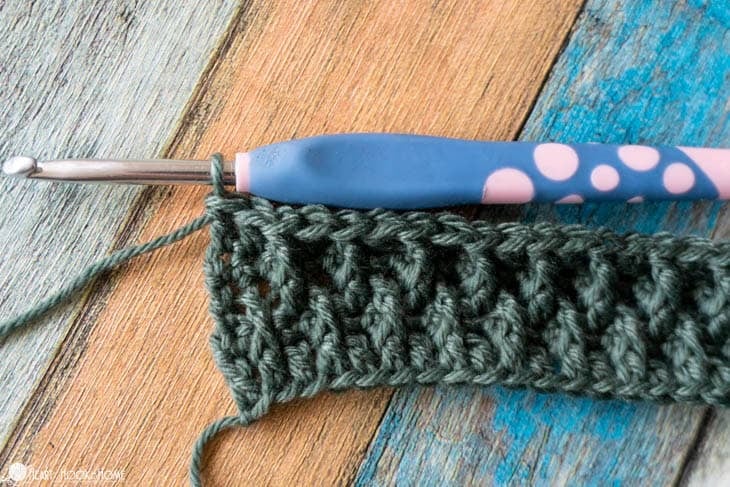
To begin a project using the Alpine Stitch, you’ll need to start with two rows of regular crochet. You’ll need those two rows as a foundation in order to get the Alpine pattern going.
In order to make the Alpine pattern you will need to know how to:
Sc = Single Crochet
Dc = Double Crochet
Fpdc = Front Post Double Crochet
It is important to note that how you crochet the Alpine Stitch can vary based on individual tension. In this tutorial I have used Front Post Double Crochet. Some pattern designers use Front Post Treble Crochet, so be sure to watch for that possibility. Also be aware that if your gauge height needs adjusted, you may try the treble instead of the double.
Helpful tips:
Always place the double crochet in the previous row’s Fpdc and place the Fpdc around the post of the double crochet two rows below.
Crochet one row of single crochets in between each Alpine (dc/Fpdc ) row.
Grab your hook and let’s get started!
In this tutorial I am working up the afghan square that goes along with my Stitch Sampler Afghan. A great way to learn new stitches or to brush up on old favorites!
How to crochet the Alpine Stitch
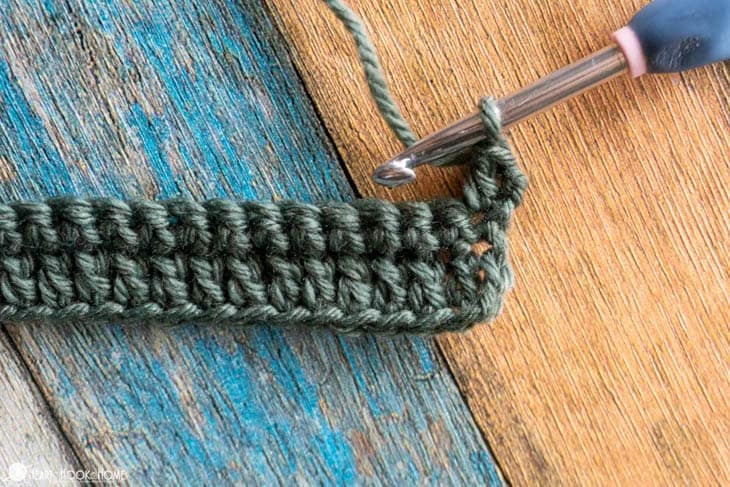
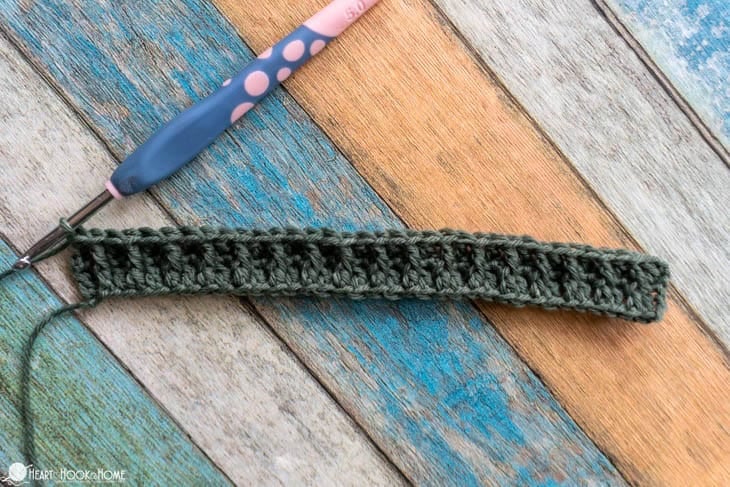
1. Start with an odd number of chains. Double crochet in the 3rd chain from hook and in each to end. You should have an odd number of stitches. In this sample I have 39 stitches. The wider the piece, the prettier the effect.
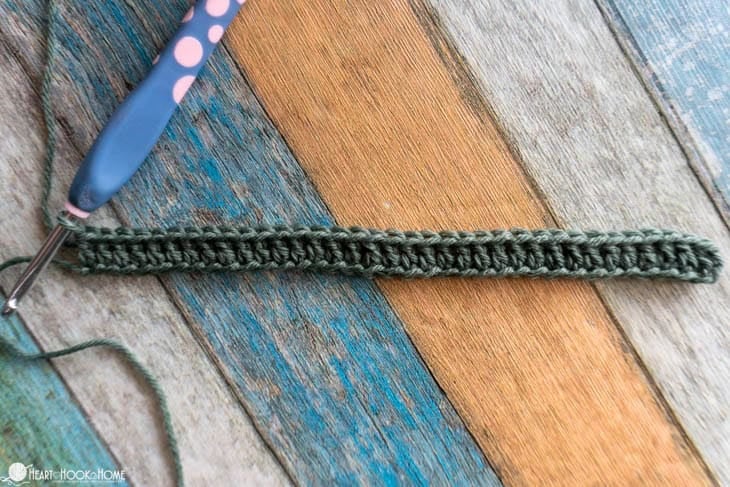
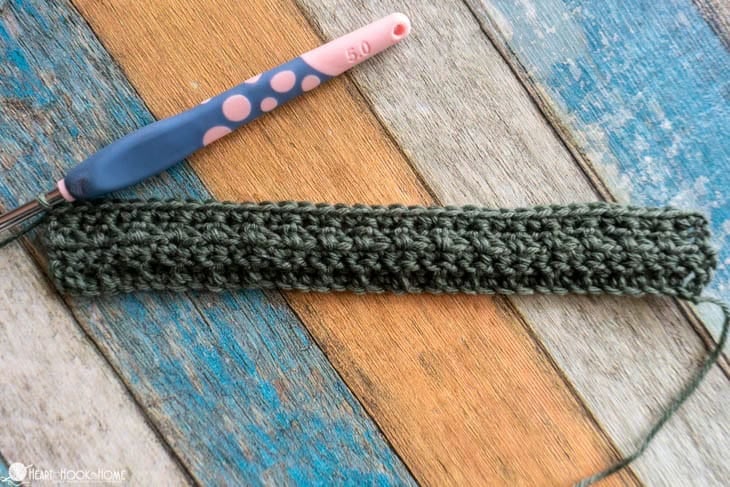
2. Ch-1, turn, single crochet in each stitch to end.

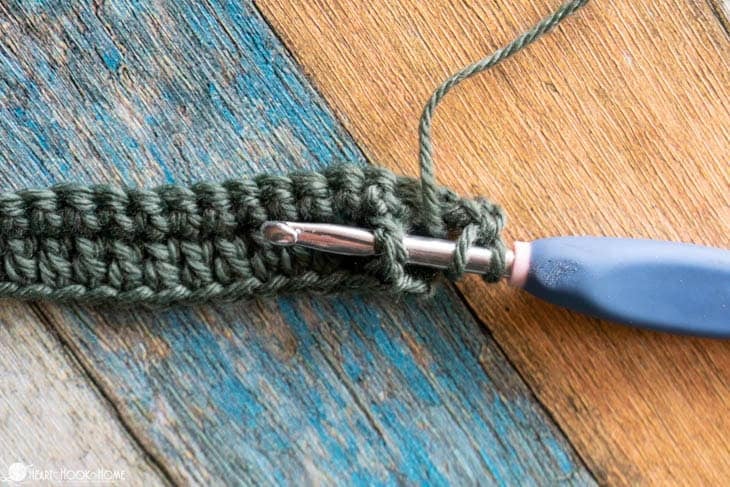
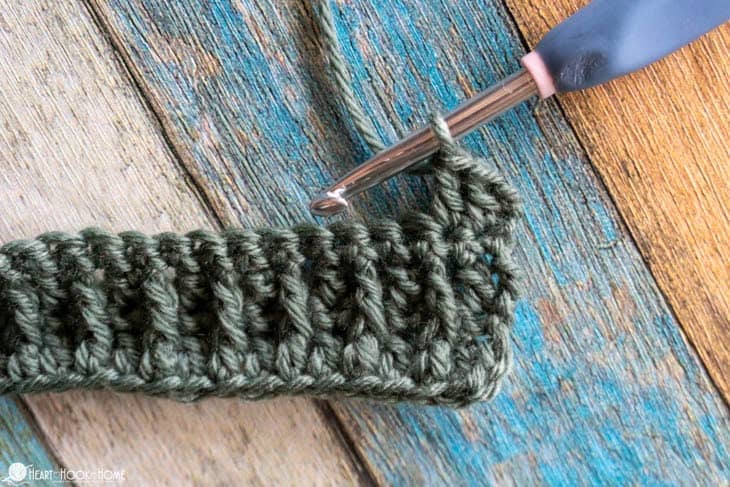
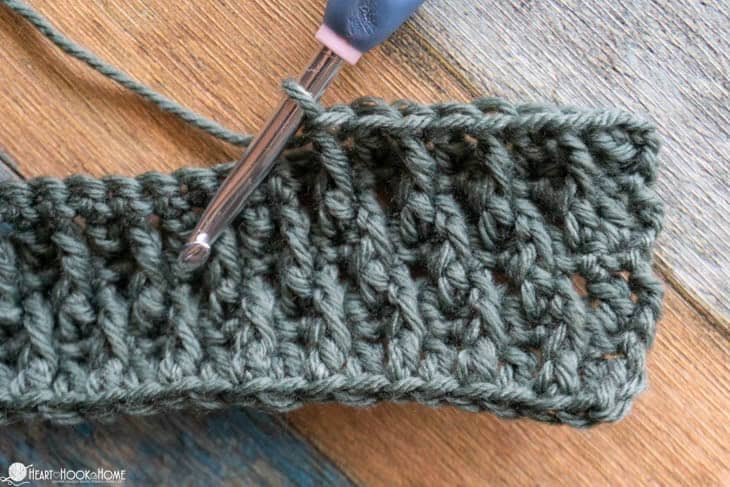
3. Ch-2, turn. Dc in first stitch, Fpdc around the dc two rows below. Dc in next st, then Fpdc around the next dc two rows down. Alternate dcs and Fpdcs to the end of the row, ending with a dc in the last stitch.
Wanna save this for later?
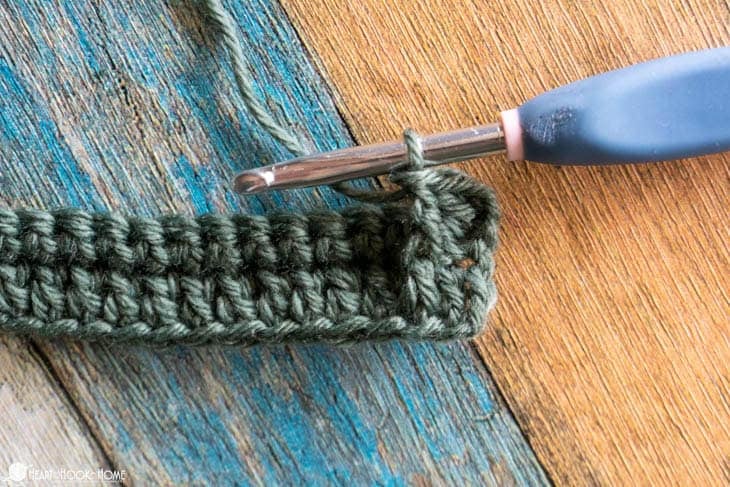
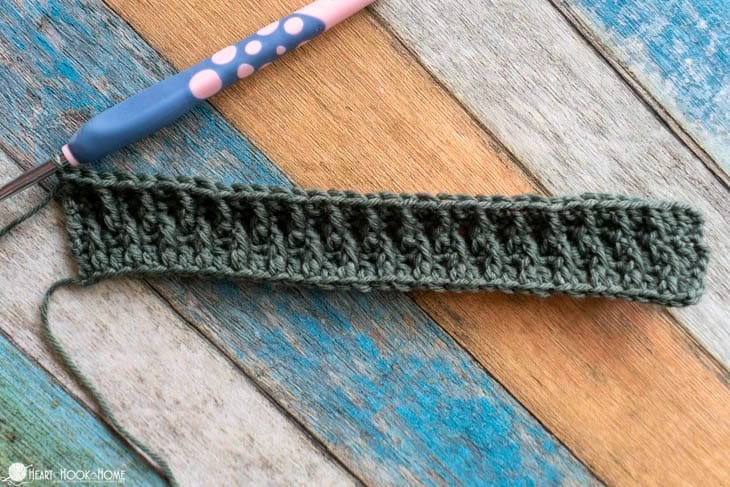
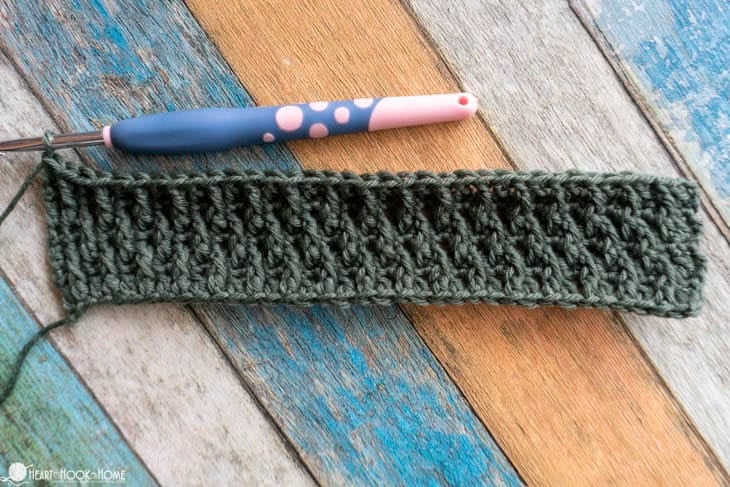
4. Ch-1, turn, sc in each stitch to end.
5. Ch-2, turn, place one dc in each of the first 2 sts * Fpdc around dc from two rows down, dc in next stitch * repeat between * * to end. Dc in last stitch. (note that you should have two double crochets to start this row and two double crochets to finish this row)

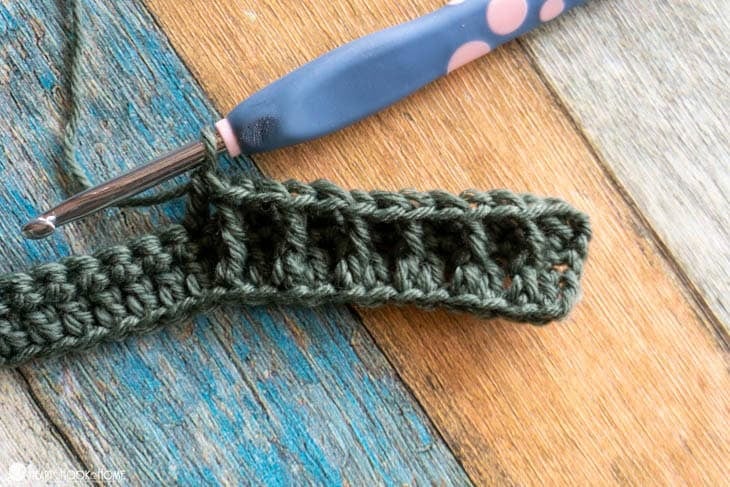
Repeat steps 2 – 5 being sure to alternate the starting stitches every other dc/Fpdc row so that they are always offset.
That is it! The Alpine Stitch is so fun to crochet and works up quickly once you get going. Perfect for baby blankets and all sorts of textured crochet work. I hope you love this new stitch! I use this stitch in the Alpine Collection, a group of five crochet garments that are all stunning and stylish, and feature the Alpine Stitch. 💖
Alpine Stitch Video Tutorial
More crochet stitch tutorials:
Argyle Shell Crochet Stitch Tutorial
Solomon’s Knot Crochet Stitch Tutorial
Tunisian Chevron Crochet Tutorial


17 Comments