Felted Crochet Hook Case Crochet Pattern
This post may contain affiliate links, meaning that I may earn a small commission if you make a purchase. See our disclosure policy for more information.


This is it, friend. I have officially arrived in terms of craftiness and crochet glory. Today, I present to you, my Felted Crochet Hook Case Crochet Pattern & Tutorial. It. Is. Amazing.

Felted Crochet Hook Case
I’ve been talking about a crocheted hook case for months now. If you watch my weekly live Facebook videos, you know the one. I was originally thinking to crochet the whole hook case with acrylic yarn, but when I spotted this gorgeous fabric on a recent yarn run, I knew I had to incorporate it into the design somehow. So here we are, with a gorgeous felted crochet rectangle to which we then add fabric, some magnetic clasps, a lining, and zipper.
HOW FANCY IS THIS?! ♥
Materials:
Approx. 2.5 skeins of Paton’s Classic Roving Wool
*if another brand is used make sure it is felt-able!
Crochet Hook in size 6mm
2 – Magnetic clasps
1/3 yard of fabric
7″ (or longer, cut to size) Invisible zipper
Sewing pins
Needle & corresponding thread
*sewing machine is optional
5″ x 8″ notepad
Pattern notes:
To be quite honest this is not so much a crochet pattern as an instructional tool to assist you in making your own Felted Crochet Hook Case. Take creative license or make it exactly as specified. Of course should you have questions just ask!
Grab the ad-free, printable version of this pattern on Ravelry. Thank you!
If you need help reading a crochet pattern, make sure you head over here and check out this detailed post.

Before you start you will need to know how to felt wool and how to add a lining and zipper to crochet:
• How to Add a Lining and Zipper to Crochet
Let’s get started!
Felted Crochet Hook Case Tutorial
To start, you’ll want to crochet a rectangle using 100% wool. Start with Foundation Half Double Crochet to a width of about 12″, then crochet in half double crochet rows until your rectangle reaches about 12″ x 44″. Note that when felting you can expect the finished item to be about 75% the original size. Your desired dimensions after felting and blocking should be around 8″ x 33″ but you can cut to size if over.

1. Felt your rectangle. (I did mine in the bath tub using hot water, a bit of detergent, and my hands/feet. Kinda like grape stomping!)
2. Lay rectangle flat on a towel and roll (do not wring) to express excess water.
3. Lay the piece out on your blocking board and pin into place.
4. Let dry for as long as it takes.

When your felted piece is finished drying, and you have your selected fabric and zipper, it is time to get started!

Measure your piece and, if needed, cut to 8″ x 33″. The 11″ on each end will be folded in so that you have two 5.5″ “pocket” sections on either end and a 10″ flat portion in the middle, as pictured. (If you’re doing the math, the additional inch is lost in bulk on the two outer edges after folding.)

The left side will be your note pad for writing and the right side will be the zippered pouch.
Crochet hook pockets:
Cut your fabric to 9.5″ wide and 6″ tall. Fold over the top edge half an inch TWICE (1″ total to completely hide the raw edge) and press, then do the same to the left and right edges. Leave the “bottom” edge raw. Your ironed fabric should now be 7.5″ wide and about 5″ tall.

Orientate the fabric so that the raw edge is the “bottom” of the pocket. You’ll want the bottom of the pocket to be about 1.5″ up from the bottom edge of the hook case and 12.5″ in from the LEFT edge. This accounts for the 11″ width needed for the “notepad” portion after folding with a 1″ margin as pictured.

Flip the fabric down so that you are looking at the wrong side and sew along the bottom of the pocket. Leave a .5″ seam allowance and place your stitches about 1.5″ up from the bottom of the hook case. Flip fabric back up.

After sewing you’ll be ready to make the individual hook pockets. At this point your one large pocket should be about 4.5″ tall and 7.5″ wide. Pin corners into place so the fabric does not move around as you sew.


Start at the outside edge and work from the bottom to the top. Sew each pocket to be 1.25″ wide. There are 6 pockets total. Hook slots made!
Wanna save this for later?

Top pocket:
Cut another piece of fabric about 9.5″ wide and 3.5″ tall. You will definitely want to insert your hooks before deciding exactly how tall to make this pocket, and where to sew it!
Using the same folding and ironing method as before, fold and press around the entire rectangle, including bottom edge this time.
Position this rectangle directly centered over the first with about a .75″ gap (measure first!) between. Sew around the side, top and other side to secure. Now with needle and thread sew an “X” directly above each of the corresponding pocket stitches below (5 X’s total). This will keep the hooks completely secured from falling out of the case when we’re finished.

For the magnetic clasps:
It is IMPORTANT to add the clasps BEFORE sewing the outer felt pockets! You will not be able to access either after the fact.
Take the 11″ of felt on the left of the hook pockets and fold it in so that you have a pocket 5.5″ wide and 1″ between that edge and the fabric. Pin into place.
Now do the same to the right side of the felt, pin that into place as well. Play around with the placement. Note that we did position the fabric pocket a little to the left of center. We did this to account for the extra width of the hooks/notepad when closed.
The male portion of the magnetic clasps will go on the outside of the left (about 10.5″ in from outer edge) and the female portion will go on the outside of the right (about 4.5″ from the edge).

Play around with and check the placement of your magnetic clasps. Use pins to mark where you’ll put your clasps, move around if needed. When you decide where to secure them:

Remove flat washer and insert the two prongs through the felt at the desired spot.

Slip the washer onto the prongs and secure.

You may need a pair of pliers (and/or a strong hand) to get this done. I recommend placing both of the male portions first, then re-checking placement of the female halves to make sure they still line up nicely. Add the female portion as you did the male.
Getting closer!!
For the notepad:
Sew (I used needle and thread with the Mattress Stitch) around the TOP, INSIDE, and BOTTOM of this felted pocket. This pocket is now completely sealed off.


Position your notepad on top of this pocket to determine where to make your slit, be that on the side or the top depending on what kind of notepad you have. Make sure you don’t cut too close to the edge. Try to go at least an inch in. Very carefully cut through ONLY the TOP part of this fabric so that you have a slit in which to insert the cardboard backing of the notepad.

I just used a small, 8″ x 5″ spiral notebook and removed the front to keep it pretty. (This link is for example only, you can find them MUCH cheaper in-store.)

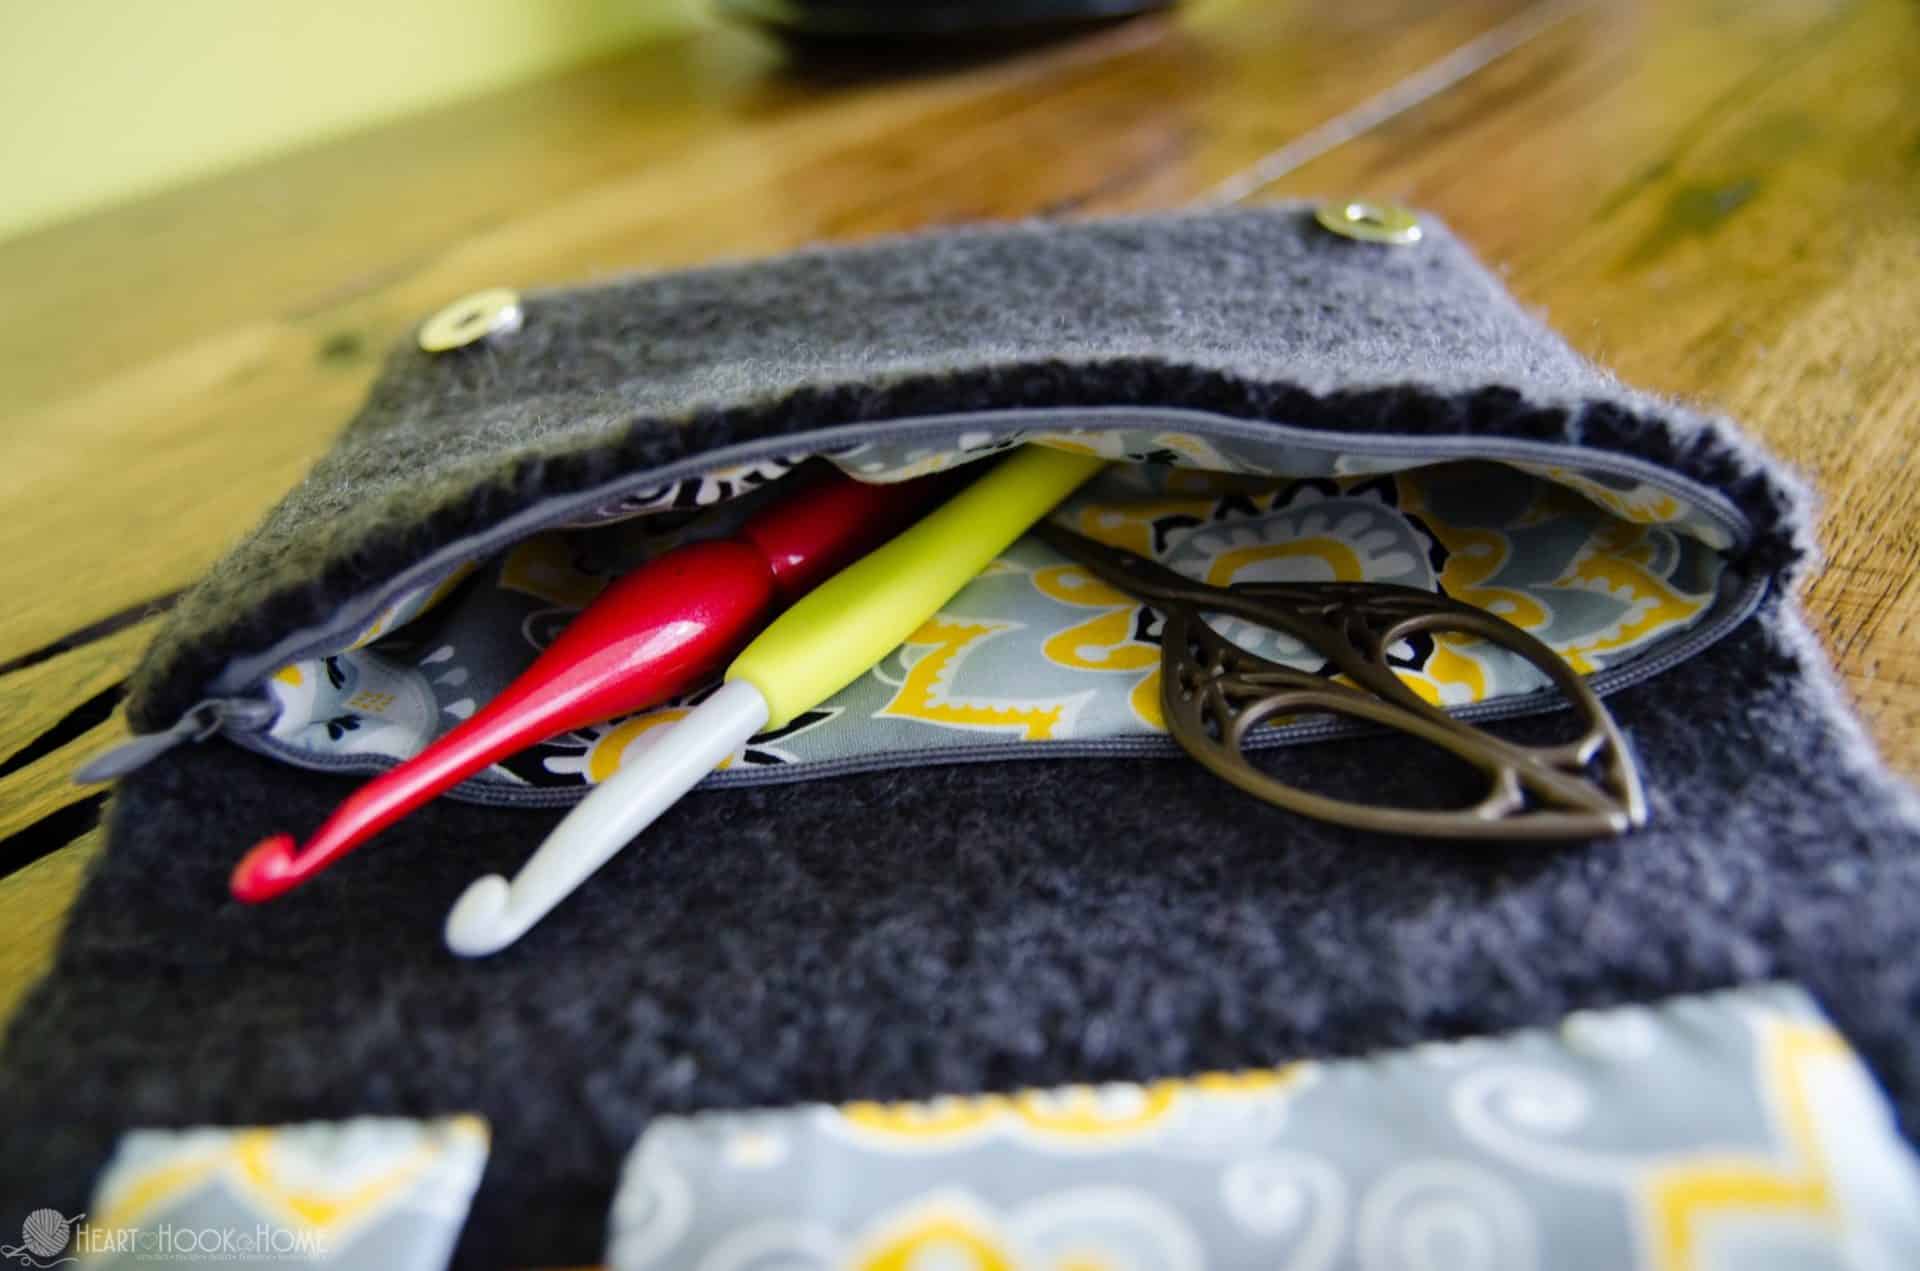
For the zippered pouch:
Sew (again I used needle and thread with the Mattress Stitch) around the TOP and BOTTOM of this pocket – DO NOT sew the inner edge!

You will now line this pocket with your extra fabric and the zipper as per this lining & zipper tutorial. I would type it all out here but that seems a bit redundant when I’ve done that already. 😉

I love that I can add my ergonomic hooks to the zippered pouch instead of leaving them at home, I have also thrown in my yarn needles for weaving in ends and a small pair of scissors.
You may want to add a loop for easier carrying, or even a strap to carry it as a clutch or purse! I hope you love your new Felted Crochet Hook Case, it really is much more simple than it looks!
More fun with yarn:
How to Make Cat Toys Using Yarn and Felting
Throw Pillow Cover Crochet Pattern Using One Skein of Red Heart Ombre Yarn
How to Calculate Yarn Yardage by Weight
How to Add a Zipper to Crochet Cardigans
How to Choose the Best Yarn Ball Winder for Your Needs


2 Comments