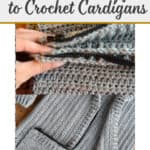
How to Add a Zipper to Crochet Cardigans
This post may contain affiliate links, meaning that I may earn a small commission if you make a purchase. See our disclosure policy for more information.


Are you about to add a zipper to crochet? Awesome! This crochet zipper tutorial is for you.
How to Add a Zipper to Crochet
I think it’s safe to say that this year has been the year of the cardigan comeback. The Painted Canyon Cardigan has been wildly popular (thank you!) and now we are rolling out a new series: the Cozy Coed Cardigan. For this new design I dug deep within myself to find my inner Mr. Rogers. We are now BFFs with a full eight patterns completed and six more to go! Did I mention that IT HAS ELBOW PATCHES!?! ♥

Crochet Cardigan patterns by Heart Hook Home
The Painted Canyon Cardigan sizes:
Get the preemie and newborn sleep sacks here.
Get the infant size 6 month infant here.
Get the infant size 12 month here.
Get the child size 2/3T here.
Get the child size 4/5T here.
Get the child size 6/8 here.
Get the child size 10/12 here.
Get the ADULT sizes of this pattern (0 – 28W) here.
The Cozy Classroom (Coed) Cardigan sizes:
Get the 3 – 6 month size here.
Get the 12 month size here.
Get the 2/3T size here.
Get the 4/5T size here.
Get the 6/8 youth size here.
Get the 8/10 youth size here.
Get the 10/12 youth size here.
Get the 14/16 youth size here.
Get the ADULT sizes of this pattern (small – 3XL Tall) here.
Cardigans for days!
Now that we’ve got all of these cardigans we need a way to keep them closed. Up until now that has been by using 3/4″ buttons. Sure, buttons are great and all but one thing that will take your crochet to an out-of-this-world professional level? Adding a top-notch, fancy lookin’ zipper, that’s what!

When adding a zipper to crochet, you can either use needle and thread or a sewing machine. I personally prefer to use needle and thread because I like to take my time and I feel like I have more control over the stitches. If you want to use your machine and you are comfortable with it, great! This technique will work with just about any crochet project, no matter the stitch used or whether you’re adding a zipper to a crocheted purse or to a sweater or anything in between. This tutorial, however, is specifically geared toward wearable crochet.

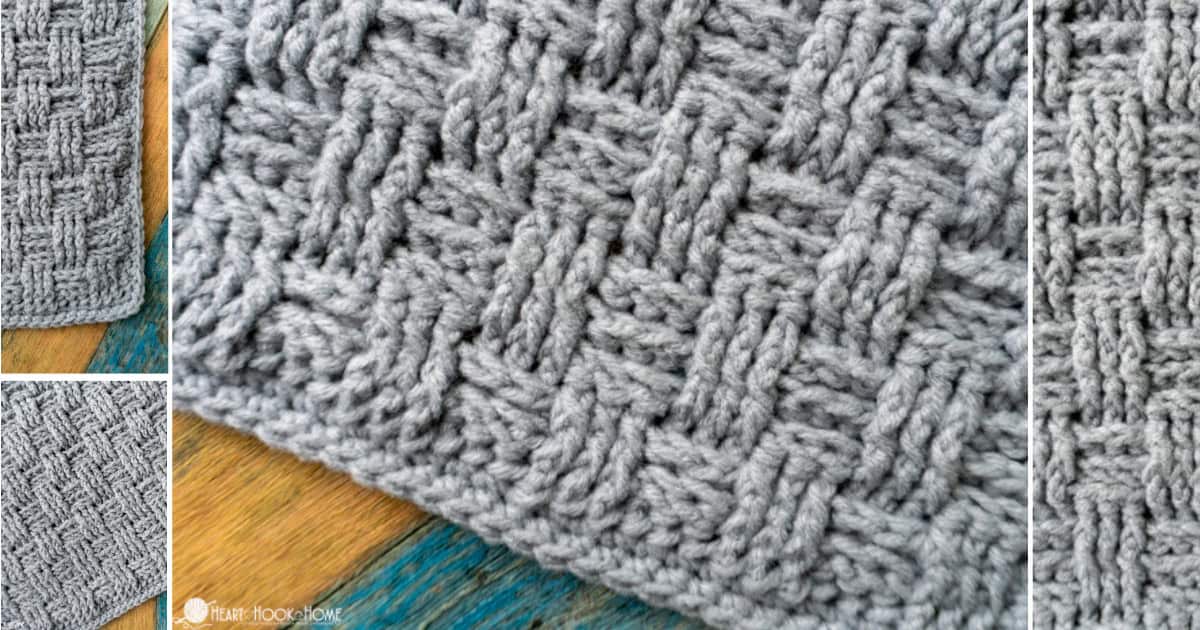
With the Painted Canyon and Cozy Coed cardigans we use a front post/back post edging to create a nice ribbing effect down the front. Don’t be intimidated by fancy crochet terms, these stitches are rather fun to make and I have a clear, easy to follow tutorial for that as well.

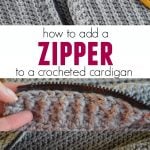
How to add a zipper to crochet cardigans
1. Make sure you get a separating zipper
There are two kinds of zippers: separating and non-separating. When adding a zipper to a jacket or cardigan you’ll want a separating zipper. This is so that you can put it on and take it off without pulling it over your head. Something like a purse or the zipper on your jeans, however, would be non-separating.
2. Zipper length
Select a zipper slightly longer than necessary. You can always shorten the zipper but you can’t make it longer.
3. Needle and thread or machine
Select which color thread for sewing. Since I don’t sew a whole lot, I purchased one of these inexpensive variety packs and I can usually find a suitable color. If the yarn and zipper are different colors, I suggest a thread closer to the yarn color than to the zipper. You shouldn’t be able to see the thread if the stitches are placed inconspicuously, but you’d want them the color of the yarn to help conceal them.

4. Zipper placement
Lay out the zipper on top of the piece. Decide where to start the zipper and where to stop. Mark these two spots with pins or stitch markers.

5. Create a casing
Next you’ll create a small “casing” into which you will place and sew the zipper. This will conceal the “ugly” side of the zipper from the inside of the cardigan. Create this casing by attaching the yarn at one stitch marker with a slip stitch, then using either single or half double crochet work into one loop only of each stitch down the edge until you get to the other marker. You’ll now have a nice little “V” ravine that will hide the inside edge of the zipper.

Wanna save this for later?


6. Pin the zipper into place

Position the zipper between your markers and inside the “V” casing. Using sewing pins, pin the zipper into place.

Note that it is more important to correctly place the bottom of the zipper than the top as the top can be easier manipulated as you move your way up. Grab your needle and thread.

7. Sew it up!
Starting at the bottom, about 1/4″ up from the last “casing” stitch, securely sew the bottom of the zipper through all three sides: casing, zipper, casing.

Remove the pins as you work your way up (before you get to them so you can adjust the zipper placement as you go), sewing through all three pieces. Be careful to hide your thread in the crochet stitches as much as possible and don’t sew the zipper too close to the yarn lest it snag.

Tip: Remain as consistent as possible regarding the spacing between the zipper teeth and the edge of the stitches.


When you get to the top fold the fabric portion of the zipper back behind itself and carefully sew several stitches to fully anchor the top of the zipper into place. Practice makes perfect!

8. Repeat on other side
Create the casing on the opposite side, then pin and sew the second side of the zipper to the opposite side of the cardigan as before. Make sure that both sides of the zipper bottoms line up before starting, then work your way up as before.

9. Weave in yarn ends

Now that you’ve got a fully functional zipper you’ll want to weave in the yarn ends left from creating the casings. Weave in the ends strategically to cover any minor imperfections and You. Are. Done!
Wasn’t adding a zipper to crochet easier than you thought? Practice really does make perfect, so try this technique for adding a zipper with your next cardigan. Perhaps make a small size of the Painted Canyon or the Cozy Coed to get your feet wet!

More crochet tips and tutorials:
How to Calculate Yarn Yardage by Weight
7 Tips for Counting Rows in Crochet
How to Crochet: Front Post and Back Post Crochet Stitches (FP/BP)
18 Craft Fair Tips for Beginners: How to Run a Successful Craft Show Booth
10 Photography Tips for Selling Handmade Crafts Online
How to Sew Crochet Pieces Together Using the Mattress Stitch
How to Hand Sew a Purse Lining


3 Comments