How to Sew Crochet Pieces Together Using the Mattress Stitch
This post may contain affiliate links, meaning that I may earn a small commission if you make a purchase. See our disclosure policy for more information.

If you have two pieces of crochet to sew together, you may want to use the Mattress Stitch. A favorite when it comes to joining crocheted granny squares or crocheted clothing.
How to Sew the Mattress Stitch
When joining crochet pieces you can either slip stitch them together, single crochet them together, whip stitch them together or mattress stitch them together. I find that the mattress stitch creates the most seamless and invisible seam, and it does so without the ridge inherent in most other methods of joining crochet pieces.
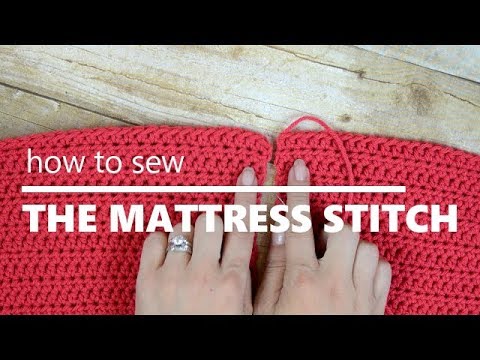
See a video tutorial, on my YouTube channel, using this stitch below.

To join two pieces of crochet together:
1. Lay out the two side edges that will be sewn, lining up the corresponding stitches on each side. Make sure your right sides and wrong sides of your pieces of crocheted fabric are matched up first.
2. Thread your yarn needle with the main color of yarn.

3. Work from the inside/bottom out, sew through both loops on each side as if you were lacing a pair of tennis shoes.
Wanna save this for later?

4. Continue sewing back and forth from the inside/bottom out between both pieces to end.

5. When finished sewing two pieces together, weave in the yarn end as usual.
That’s it! I love how this method of joining eliminates the ridge you get when using most other methods of joining two pieces in crochet such as the single, slip or whip stitch.

I use the Mattress Stitch seam to join the two shoulders together in the Painted Canyon Cardigan as well as the child sizes of the Unicorn Hoodie! See a video of the Mattress Stitch in action:
Follow me on Instagram, Twitter, Facebook and Pinterest for more crochet patterns and tutorials.
More crochet tips and tutorials:
How to Crochet: Foundation Half Double Crochet
How to Weave in Yarn Ends {So They Don’t Come Out}
Magic Circle for Crocheting in the Round
Making an Invisible Join in Crochet
How to Crochet the Lemon Peel Stitch


22 Comments