Half Double Crochet Spike Stitch Tutorial
This post may contain affiliate links, meaning that I may earn a small commission if you make a purchase. See our disclosure policy for more information.

This Half Double Crochet Spike Stitch tutorial is intended to explain the way in which we make the “spike stitches” when making one of my all-time favorites, the Painted Canyon Cardigan crochet pattern.

Spike Stitch using Half Double Crochet
Traditionally speaking, spike stitches in crochet are made using a single crochet stitch that, instead of worked into the current row of your project, is worked one row below, 2 rows below, 3 rows below, etc. Spike stitches give great visual appeal to your crochet, and it is perfectly fine to make your own spike stitches as deep as you like. How low will you go? 😛

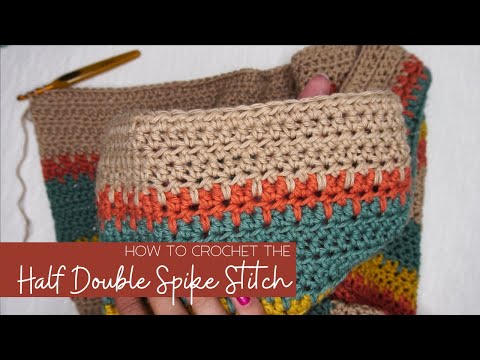
As mentioned above, this tutorial is meant to go hand in hand with the Painted Canyon Cardigan. At every row that I changed colors when making my cardigan, I incorporated the spike stitch every other stitch so that we get a great visual mix that keeps things interesting! My spike stitches are worked into the top of the stitch from the row directly below the current row.

There is a NEW complete video tutorial for the Painted Canyon Cardigan, posted in parts. To learn more about this cardigan and how to crochet it (including the free child sizes) you’ll want to head over here.
To make a Half Double Crochet Spike Stitch:
1. Yarn over as usual for making a Half Double Crochet.
2. Insert your hook into the stitch directly 1, 2, 3, 4, 5 etc, rows below the current row. Pictured below with the arrow is exactly where I place mine for my cardigan…
Wanna save this for later?

3. Pull up a loop that is as tall as your current crochet row. (this helps to ensure that the height of the stitch is tall enough, and will not pucker your work).
4. Complete the Half Double Crochet as normal.
The most important thing is to remember to keep the tension a bit on the loose side so that the loops remain tall enough that they don’t pucker the rest of the fabric. That being said, you don’t want them so tall that they are visibly loose and easily snaggable. Practice a few stitches and you’ll soon get into the rhythm! See below for my VIDEO tutorial.
More crochet stitches and tutorials:
How to Add Ear Flaps to a Crochet Beanie
How Much Yarn Do I Need? How to Determine Yardage in Crochet


4 Comments