
Linked Double Crochet Stitch Tutorial
This post may contain affiliate links, meaning that I may earn a small commission if you make a purchase. See our disclosure policy for more information.
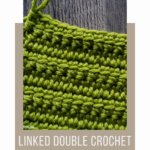

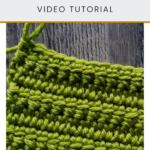


If you’re looking for a crocheted fabric without a lot of holes, the Linked Double Crochet is for you! In this tutorial we will learn how to make the Linked Double Crochet stitch, so grab your hook and let’s get started!

Linked Double Crochet
The Linked Double crochet (abbreviated as LDC) is worked similarly to the regular double crochet, except that instead of yarning over to start the stitch as normal, we literally link it to the stitch beside it. It’s easier than you think, and if you can crochet the double crochet, you can make this stitch too!

For this tutorial I am using Brava Worsted from WeCrochet and my Furls Odyssey hook.
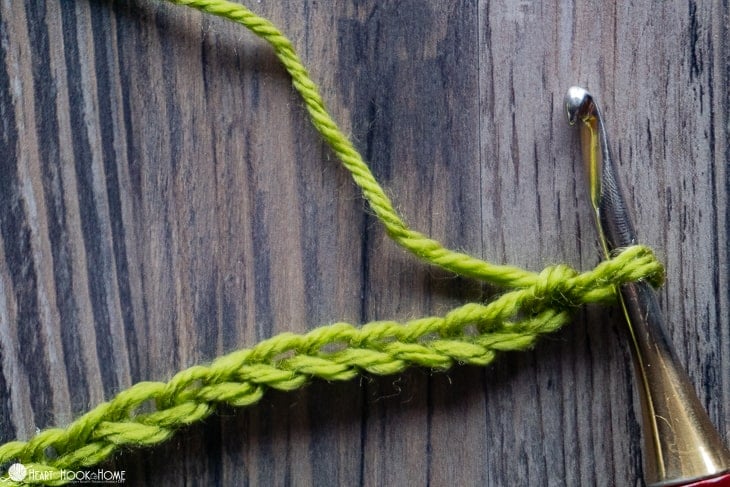
To start: Chain any number of stitches.
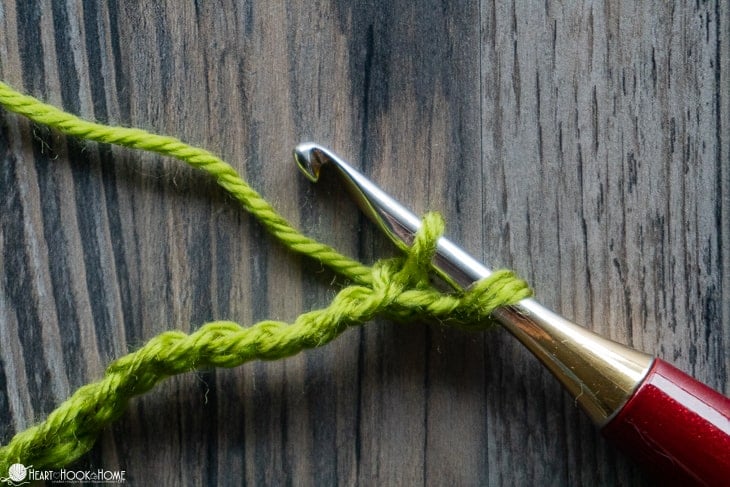
Pull up a loop in the back bar of the 2nd chain from the hook. (two loops on hook)
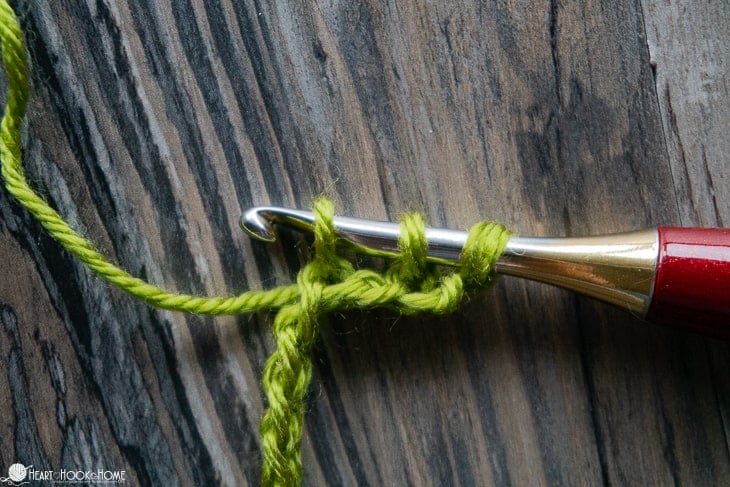
Pull up a loop in the 4th chain from the hook. (three loops on hook)
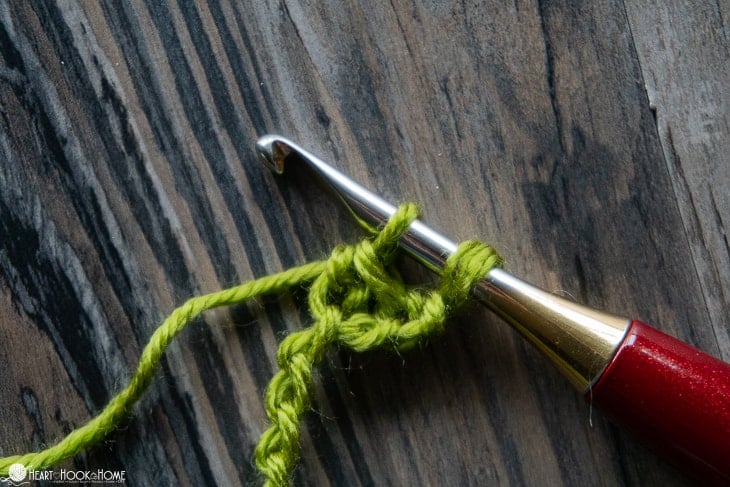
Complete as a normal double crochet: Yarn over pull through two loops, yarn over pull through two loops.
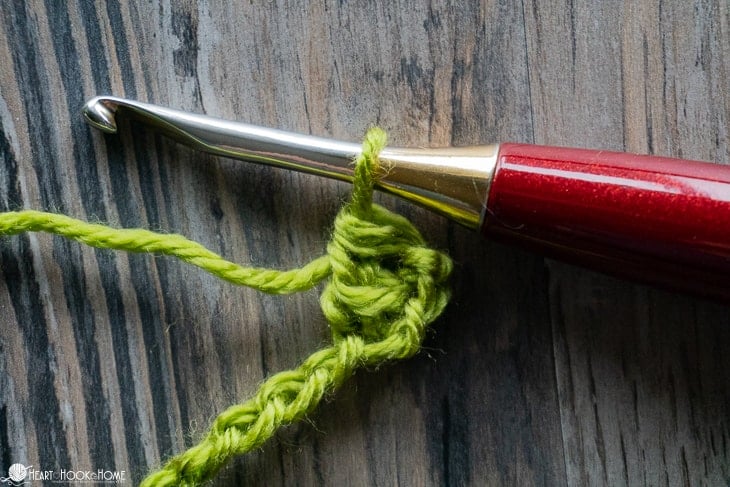
First linked double crochet made!
To make all subsequent LDCs:
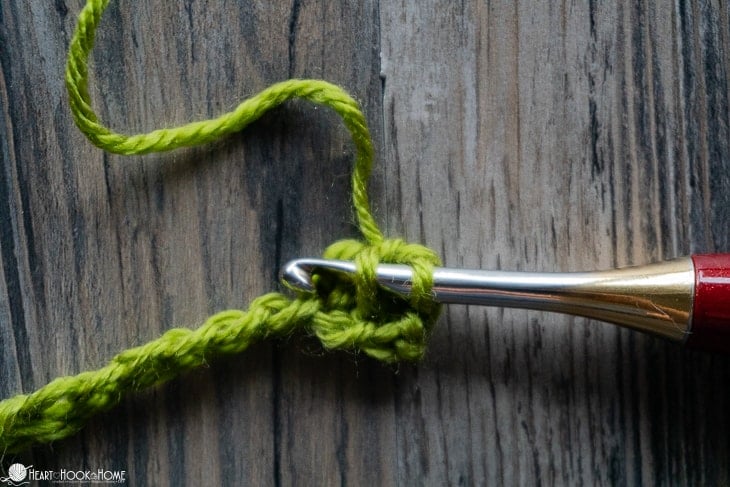
Insert hook under the horizontal bar of the last stitch made. Pull up a loop. (two loops on hook)
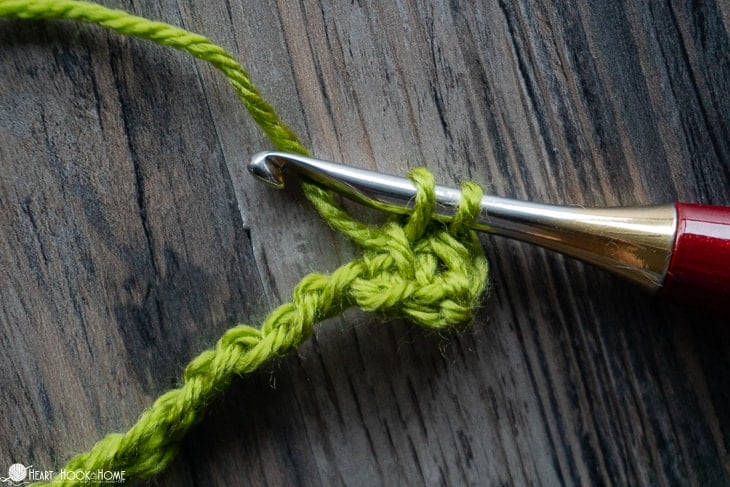
Insert hook in next available chain/stitch. Pull up a loop. (three loops on hook)

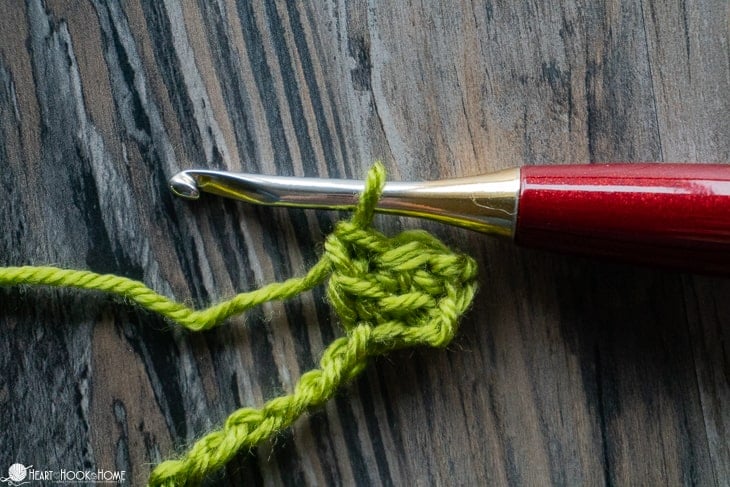
Complete as a normal double crochet: Yarn over pull through two loops, yarn over pull through two loops. Ta-da! Two Linked Double Crochets made. Continue working across until you run out of chains.
To start a new Linked Double Crochet Row:
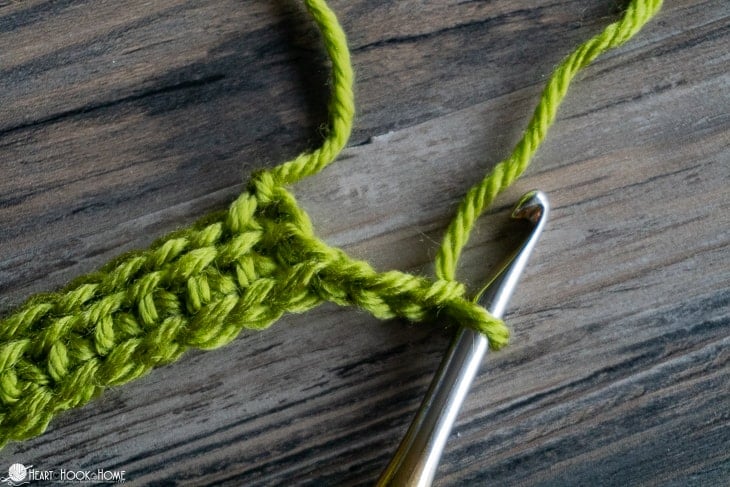
Chain three.
Wanna save this for later?
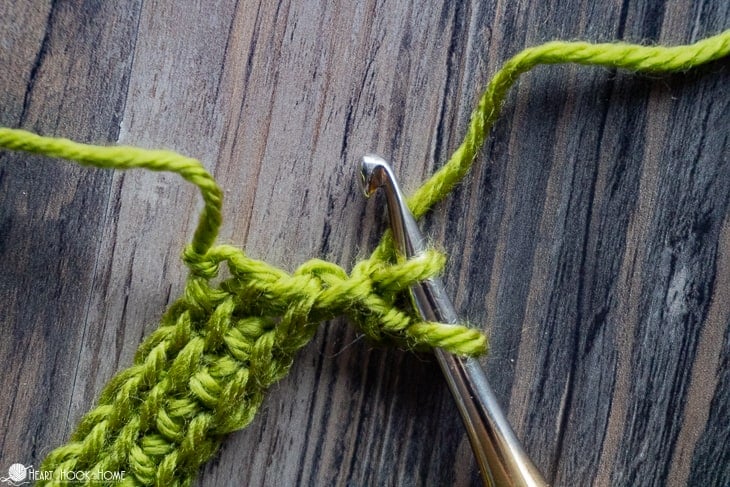
Pull up a loop in the back bar of the second chain from the hook. (two loops on hook)
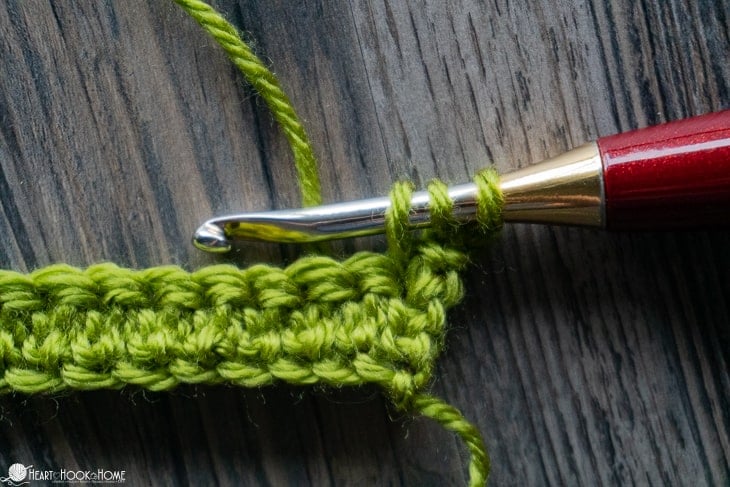
Turn work and insert hook into first stitch of the row. Pull up a loop. (three loops on hook)
Complete as a normal double crochet: Yarn over pull through two loops, yarn over pull through two loops.
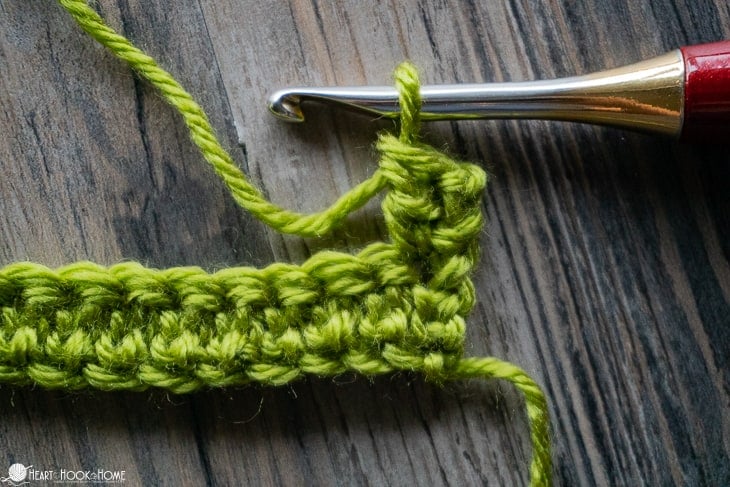
Continue adding LDCs by hooking into the horizontal bar and the next available stitch, all along the row until you run out of stitches. Turn and start again!
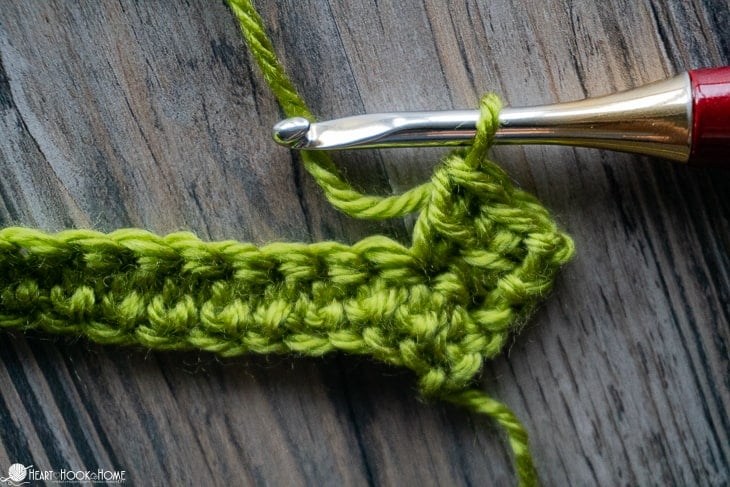
That. Is. It! Isn’t that less painful than it looks? Virtually the only difference between regular doubles and linked doubles is the placement of your hook and how you pull up your loops. If you’re more of a visual learner, here is a video tutorial for the Linked Double Crochet stitch:
Video tutorial
If, for some reason, you would rather watch this video on YouTube, you can find it here. I hope you found this tutorial helpful!
You may also like these:
Argyle Shell Crochet Stitch Tutorial
Solomon’s Knot Crochet Stitch Tutorial
Alpine Stitch Crochet Tutorial
How to Crochet the Thicket (Suzette) Stitch
Keep practicing the Linked Double Crochet Stitch with these patterns:
Toe Tally Easy Crochet Socks (Unisex)
The Frankie Cowl (also Child & Teen Sizes)
Mae’s Trianle Shawl Crochet Pattern
Mae’s Chevron Blanket Crochet Pattern
Slip Stitch Stocking Cap Crochet Pattern
Marigold Sling Bag Crochet Pattern
Car Waste Basket Crochet Pattern
Crochet Golf Club Covers in Three Sizes



I love the LDC stitch. What I like most, is that the first stitch looks exactly like the other stitch and you do not have gaping holes on every second tow as when you only use 2 or 3 chains for the first DC. Thank you so much for your stitch tutorials, Ashley.
I found this picture and video tutorial very helpful compared to others I reviewed. I too like using the back loop of the chain. It gives the finished project a much nicer appearance. Thank you for your time and energy in showing how to make LCD stitch.
I am so glad you like the tutorial!
I am a very seasoned crocheter. And can make very technical pieces. But I cannot follow those LDC. I do not understand where you insert the hook when you are in the middle of a row. And the. Where the second half of the stitch is inserted.
Is there a substitute
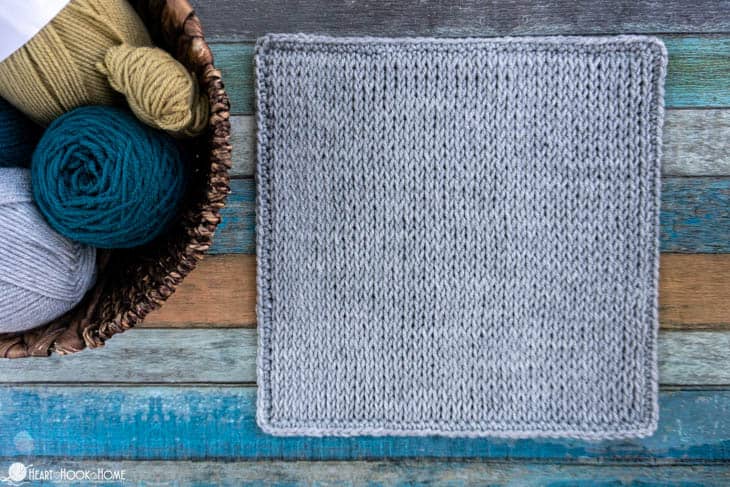
In the piece you pictured…how would you count row? I see 3 rows with a visible bar….does that mean there are 6 rows (because when you turn your work the bar is on the opposite side) ?
Hi Joanne! Yes, if you are looking at the piece, the rows with the horizontal bars will be every 2 rows. Hope this helps!
Hello,
Thank you so much for sharing your work and talent!!!
I just watched your video; which was extremely helpful opposed to just reading the instructions. The quick question I have to verify what I think I saw, lol…. when creating the first row (building on the chains) we are pulling up the loops from the back bar of all the chains, is that correct? When we then start a new row it’s chain 3, p/u loop from bb of 2nd chain then into front and back loop of next stitch to pull up next loop as normal …with following stiches going through horizontal bar first.
I love this stitch! How would I work increases and decreases for projects? Right now I’m thinking of beanie shaping, say doing one from the top down, and all I can come up with is working the beginning, the crown, with a magic circle and increasing normally dividing circumference by pi to get diameter and then starting the linked double crochet when I get to the straight part. Do you have any other ideas?
In your sample using 10 chains to start, how many stitches are in each row once you do the LDC? I tried counting but it was hard to tell. Looked like there were 7 LDCs.
Hi Cathy! Yes, with a starting chain of 10, I finished the row with 7 Linked double crochets.
Can you replace this stitch with any double crochet stitch in any pattern?
Hi Vanessa! I would do a gauge swatch to check first. The linked DC will probably be equal in height to regular DC, but the width gauge might be a bit smaller. Hope this helps!
I am finding that the LDC is shorter (and narrower) than a DC.