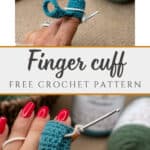
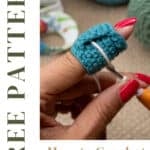
Finger Cuff and Yarn Guide for Crochet
This post may contain affiliate links, meaning that I may earn a small commission if you make a purchase. See our disclosure policy for more information.

UPDATED: June 7, 2025
Do you ever sit for long periods of time crocheting, only to realize that your index finger gets raw and sore? The top of your finger gets tender, almost a rug burn, as a result of the yarn running in the same path over and over and over again? I get a red track on mine, and the coarser the yarn the more annoying it gets. Make a finger cuff that doubles as a yarn guide!
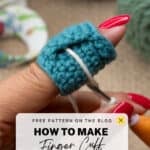
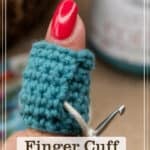
Finger Cuff Crochet Pattern
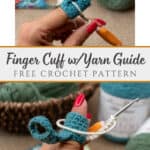
I suppose it is the way I hold my yarn, and how tightly I am crocheting. The tighter the weave, the tighter I tend to hold the yarn and the tighter that yarn is stretched over my index finger. The coarser the yarn, the more the burn as well. Let’s protect our fingers with this finger cuff that doubles as a yarn guide! Scroll down to find the complete VIDEO tutorial as well.
I try not to get too crazy with crochet (okay that’s a lie) but the dreaded yarn finger burn does happen. Is it a problem? Not really. Is it annoying? Totally.
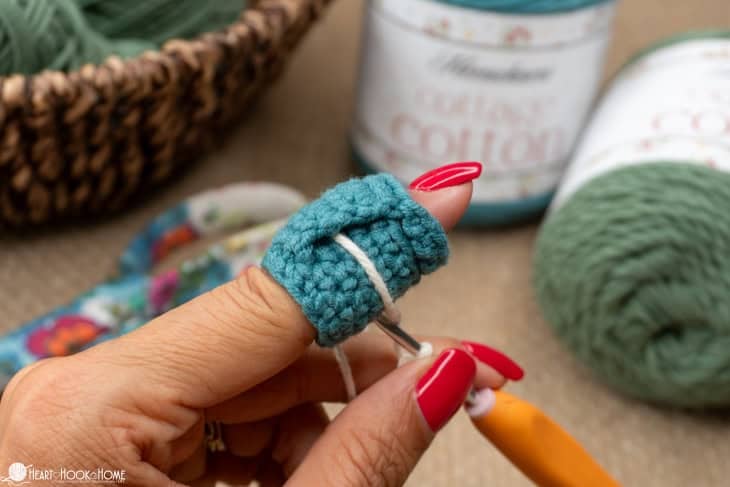
In the past I have used a band-aid or a piece of tape. But that seems silly since I’m sitting here with my hook and my yarn anyway. Let’s make a super quick, super EASY yarn guide. This only takes a scrap amount of yarn.
For this pattern I am using Herrschners Cottage Cotton. Other great yarns would be anything worsted weight, either acrylic or cotton. Just a scrap amount will be enough! You could use the Village Craft Cotton, Dishie from WeCrochet, Brava Worsted, Premier Cotton Sprout, Lily Sugar’n Cream, Premier Home Cotton, or Bernat Handicrafter.
Grab the ad-free, printable version of this pattern on Ravelry, Etsy, or right here in the Heart Hook Home Blog Shop. Thank you!
Materials:
Worsted weight yarn (I used Herrschners Cottage Cotton)
Crochet hook in size 3mm
If you need help reading a crochet pattern, make sure you head over here and check out this detailed post.
Pattern:
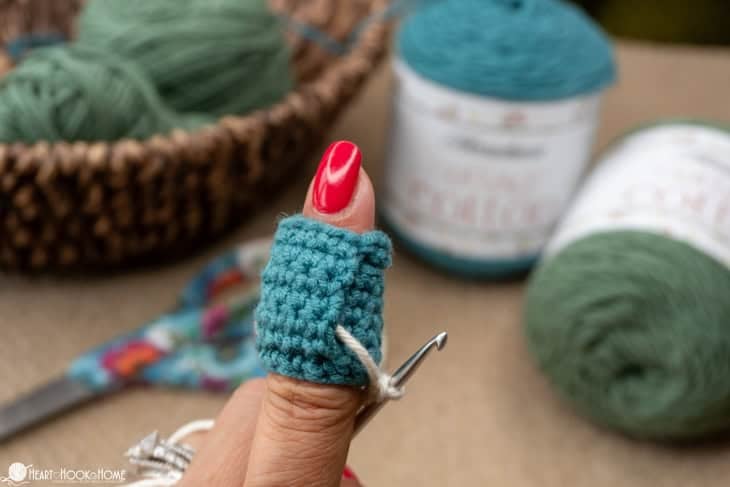
Finger cuff:
Round 1: Ch-12, be careful not to twist the chain and form a circle. Do not join, work in a spiral throughout. (12)
Wanna save this for later?
Round 2: Sc in next 4 sts, sc in BLO of next 4 sts, sc in remaining 4 sts. (12)
Rounds 3 through 6: Sc in each st around. (12)
Fasten off using Invisible Join. Weave in all ends.
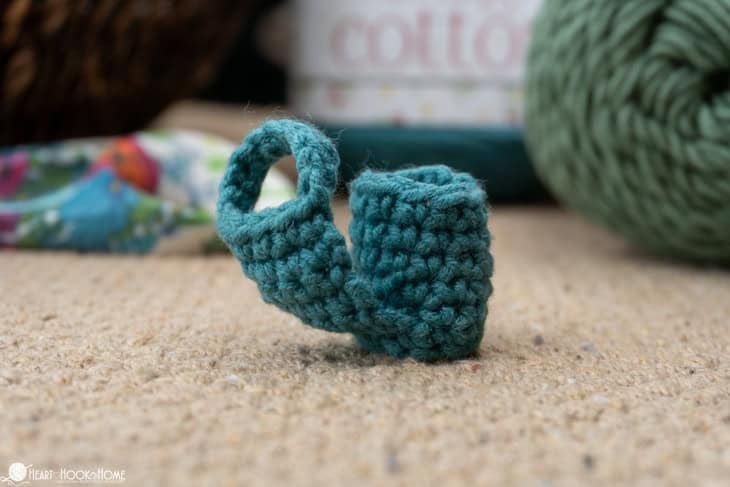
Yarn guide portion:
Attach in FLO of the first open st in round 2.
Row 1: Ch-1, sc in FLO of same and FLO of next 3 sts.
Rows 2 through 5: Ch-1, turn, sc in each st across. (4)
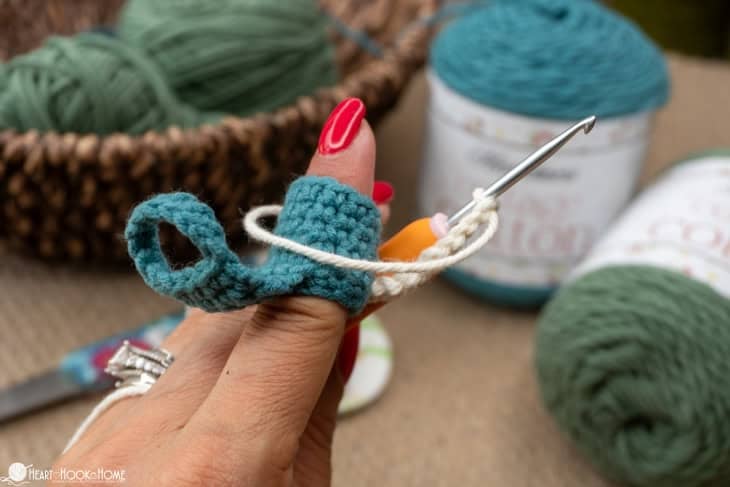
Where still attached, ch-10 (or more or less to accommodate your finger), form a circle, sc in each of the 4 sts from row 5, sc in each ch around. Fasten off using Invisible Join.
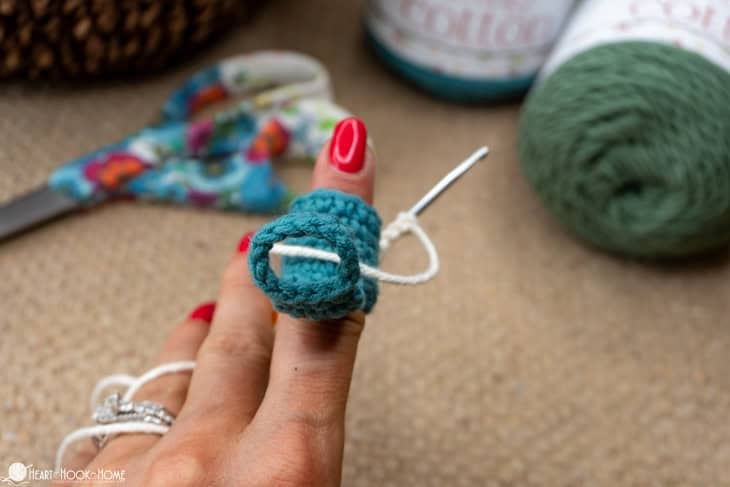
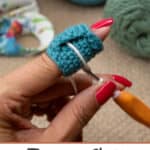
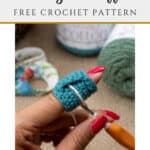
Slip the circle over the tip of your finger to keep the yarn in place while you’re crocheting. As with most crochet patterns, this is customizable to your own finger. If you need more space, start with an extra chain or two. If your fingers are on the smaller side, consider starting with a chain fewer.
Video Tutorial:
If you would rather watch this video on YouTube, you can find it on my channel here. Don’t forget to subscribe while you’re there! 😉
What I really like is how quickly these whip up. I’ll leave one in my purse and in my car’s emergency crochet kit. Always be prepared for crochet, friends!
More crochet patterns for you:
26 Useful Kitchen and Dining Room Crochet Patterns
10 Beginner-Friendly Baby Blanket Crochet Patterns


36 Comments