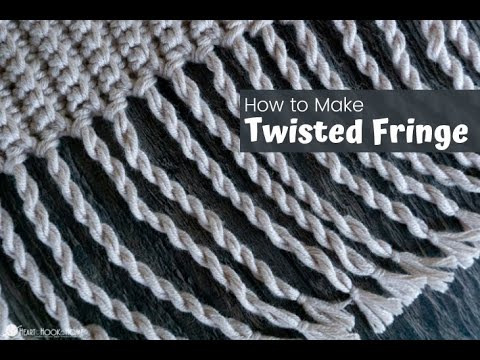
How to Make Twisted Fringe
This post may contain affiliate links, meaning that I may earn a small commission if you make a purchase. See our disclosure policy for more information.
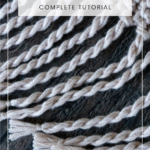


Are you looking to add a different take on fringe to your next crocheted or knitted piece? This tutorial on How to Make Twisted Fringe is for you!

How to Make Twisted Fringe
Twisted fringe is a great alternative to regular strands of fringe. I personally feel much better washing an item with twisted as opposed to individual strands of yarn. The static from the dryer alone is enough to make you want to learn an alternative, so this is a game changer for sure!

You may be adding fringe to any number of things. I am using it in my new pattern: the Toddler Boho Halter Top!
See a VIDEO tutorial for adding twisted fringe below.
Twisted Fringe Instructions:
1. Cut your fringe as normal. Here’s a tutorial on how I cut my yarn strands super quickly.
2. Add your fringe as you normally would to your finished piece. Add as many or as few strands as you like. The more strands you add, the bulkier the fringe will be.

3. Separate each bundle of fringe into two equal halves.
4. Wrap the two sections around and around each other. Tip: Keep the tension nice and tight! The twist will relax a bit after you release your fingers, so a little too much twist is required.
5. Continue wrapping until you have about 1 – 1.5″ of fringe remaining. For consistency, always wrap the fringe the same number of times per section/bundle.
Wanna save this for later?
6. Pull one strand away from the bunch. Use that to wrap around the section of fringe.
7. Using a small crochet hook – or your fingers if you’re super dexterous – pull the tail through the loop you just made.
8. Pull tight to secure, and trim the ends of your newly twisted fringe.
And, in case you need it, here is a VIDEO tutorial as well!
More crochet tips and tutorials:
How to Identify a Crochet Stitch
How to Add Ear Flaps to a Crochet Beanie
Standing Double Crochet Tutorial
How to Block Crochet: Wet or Steam Blocking Tutorial
How to Crochet a Corner to Corner (C2C) Throw + Video Tutorial


2 Comments