Free Pencil Crochet Pattern
This post may contain affiliate links, meaning that I may earn a small commission if you make a purchase. See our disclosure policy for more information.
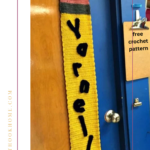
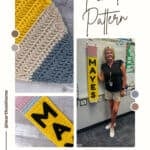
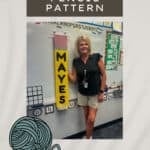
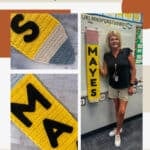
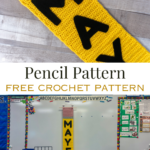
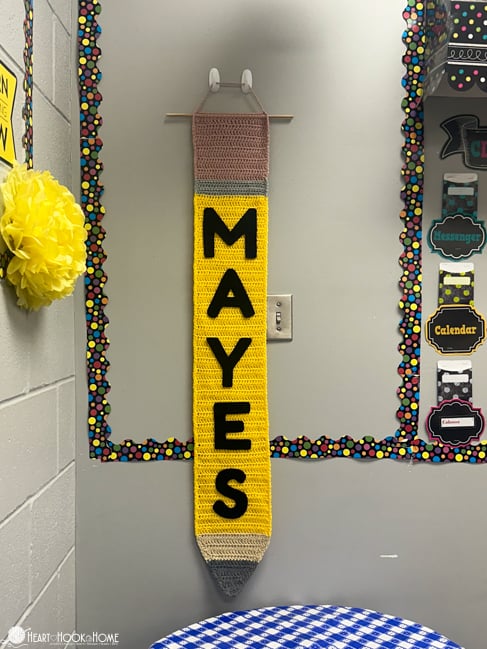
School is just around the corner. What better way to start the year off with a new teacher than to whip up a super cute pencil for their classroom?! This could be worn as a scarf by itself, or add their last name to hang on the classroom door! Follow along with this free pattern to make your own.

Pencil Crochet Pattern
Perfect for the teacher just starting their career or as a teacher gift at the beginning or end of the year. The best part is that we make them as short or as long as needed. Totally up to you.
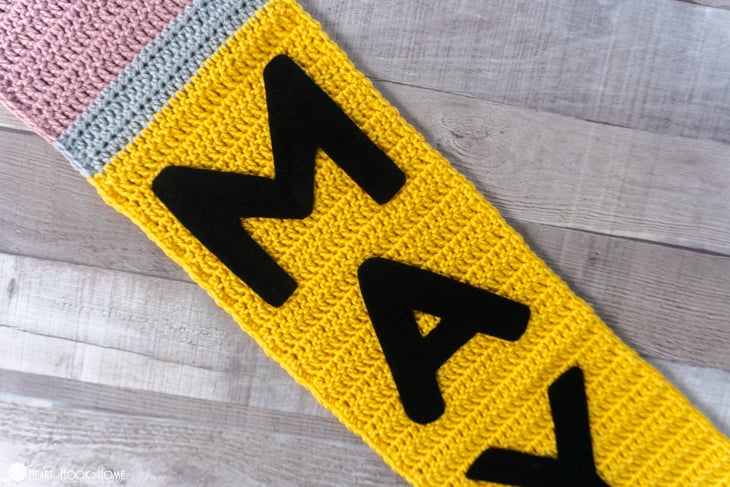
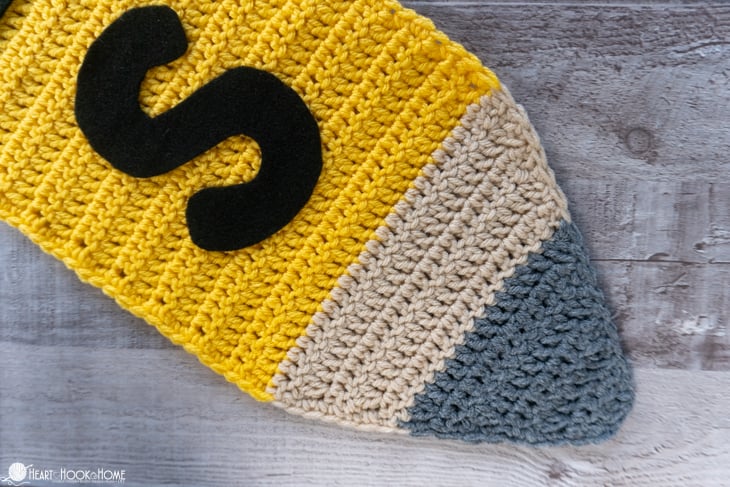
A crocheted pencil is so easy to crochet We start at the eraser and work our way to the sharpened end. Feel free to use whichever colors you like that resemble a pencil to you. For mine I used yarn off of my yarn wall in colors that I thought were close. I wish I had used a darker “pencil lead” or “graphite” color, but overall I am happy with it, and I don’t think the kids will care!
For this pencil wall hanging pattern you’ll use five different yarn colors in (size 4) worsted weight.
Materials:
Worsted Weight yarn in FIVE colors (less than one skein of each)
-dusty rose (eraser), lighter gray (metal band around eraser), bright yellow (pencil), tan (wood), and darker gray (graphite tip)
Crochet hook in size H/5mm
If you need help reading a crochet pattern, make sure you head over here and check out this detailed post.
Pattern Notes:
Pattern written using US terms.
The Ch-2 at the beginning of each row does not count as a stitch.
Pattern:
Starting with the blush color…
Row 1: Fdc-25 (or Ch-27, dc in 3rd ch from hook and dc in each st across) (25)
Rows 2 – 11: Ch-2, turn, Dc in each st across. Ch-2, turn. (25)
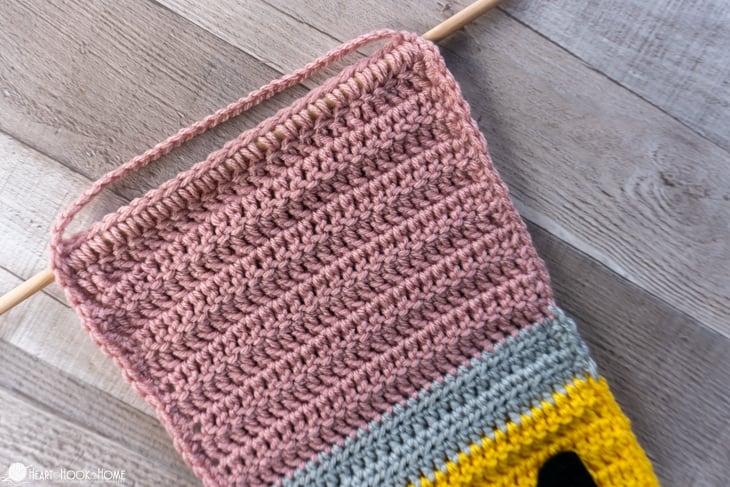
Change to lighter gray…
Rows 12 – 15: Ch-2, turn, Dc in each st across. (25)
Change to yellow…
Rows 16 – 80 (or to desired length): Ch-2, turn, Dc in each st across. (25) Continue below.
Note! If you will add letters to your pencil, I suggest making them now before going any further. You could write “welcome back” or “school” or “Mrs. Smith” the name of your school etc. You’ll want to lay them out next to the pencil to make sure you’re making it long (or short) enough. I used a sheet of regular cheap black felt and cut them to size, then used fabric glue to secure them. Stagger them or lay them in a fun pattern. Definitely make sure the pencil is long enough before moving on!
You’ll make the end of the pencil come to a point, so when you get to desired pencil length…
Pencil tip:
Wanna save this for later?
Change to tan yarn…
Row 1: Ch-2, turn, dc2tog, dc in next 21 sts, dc2tog. (23)
Row 2: Ch-2, turn, dc2tog, dc in next 19 sts, dc2tog. (21)
Row 3: Ch-2, turn, dc2tog, dc in next 17 sts, dc2tog. (19)
Row 4: Ch-2, turn, dc2tog, dc in next 15 sts, dc2tog. (17)
Row 5: Ch-2, turn, dc2tog, dc in next 13 sts, dc2tog. (15)
Change to Charcoal Gray…
Row 6: Ch-2, turn, dc2tog, dc in next 11 sts, dc2tog. (13)
Row 7: Ch-2, turn, dc2tog, dc in next 9 sts, dc2tog. (11)
Row 8: Ch-2, turn, dc2tog, dc in next 7 sts, dc2tog. (9)
Row 9: Ch-2, turn, dc2tog, dc in next 5 sts, dc2tog. (7)
Row 10: Ch-2, turn, dc2tog, dc in next 3 sts, dc2tog. (5)
Row 11: Ch-2, turn, dc2tog, dc in next st, dc2tog. (3)
Row 12: Ch-2, turn, dc3tog (1)
Fasten off and weave in ends. If you want, you could add a single crochet border in whichever yarn you choose. I chose to add a border and to use the coordinating yarn color in each separate section. I think it really sets it off!
For hanging:
Either use clips (like command hooks) to hang the pencil OR you could take a dowel rod (or a pencil) and single crochet around the dowl rod at the eraser end. Make a chain for hanging and voila!
Will you make a pencil wall hanging for a friend of for your child’s teacher?
More free crochet patterns
Ninja Turtle Child’s Beanie with Mask FREE Crochet Pattern
Dishcloth or Washcloth FREE Crochet Pattern
Scentsy Travel Tin Air Freshener Holder for Car
An Egg-cellent Apron: Free Crochet Pattern
Easy Peasy Lemon Squeezy Pullover Crochet Pattern
Easy Breezy Lightweight Summer Vest Crochet Pattern
Mini Blind Cleaner Crochet Pattern: Duster for Cleaning Custom Wooden Blinds


24 Comments