10 Photography Tips for Selling Handmade Crafts Online
This post may contain affiliate links, meaning that I may earn a small commission if you make a purchase. See our disclosure policy for more information.
Do you sell your handmade wares online? Nothing will facilitate the selling of your items faster than having big, beautiful photographs adequately displaying them. This does not mean you need to purchase a fancy new camera. In fact, I take most of my photographs with my iPhone – and many times I prefer those photos over my digital camera.
I have a point and shoot Canon and while it does take nice, quality photos most of the time (this is also what I use to record my crochet video tutorials) the coloring can sometimes feel a little “off”. I’m not a photographer and I don’t claim to know much about camera settings, but I do have photography tips that work for me! I Googled and Googled about a gazillion times and I still prefer photos taken with my iPhone over some of my digital camera photos.
Photography Tips for Selling Handmade Crafts
1. Keep it natural.
There is a reason this is number one on my list; it is the most important of my photography tips. Use natural sunlight if at all possible. Natural sunlight will always give you the best photos, no matter which camera you use. I have found that indoor photos (with artificial light) cast a yellow hue to the photos, as well as leaving shadows if photographing from above.
2. Keep it indirect.
Too much sunlight and you won’t capture the beautiful color(s) of your item(s). You do not have to be outside to grab that sunlight, as long as the natural sunlight is hitting your items. I actually take most of my photos for use here on the blog and in my crochet patterns on the floor underneath our kitchen table.

Work with what you’ve got, I say!

3. Use lights if needed.
I’m not talking about regular florescent bulbs. Since I work late into the night many times, and natural sunlight is not available, I purchased this lighting kit. I use these lights when recording my YouTube videos and I have had nothing but positive feedback. With these, it does not matter if it is pitch black outside – I get gorgeous photos every single time. In fact, I took this photo late at night in my basement:

4. Photograph with more than one camera.
If you have more than one camera (smartphone included) take photos with each – at least until you feel confident using one opposed to the other. The more the merrier applies to most things (except when it comes to exes and fleas on your dog).
5. Take multiple photos.
Wanna save this for later?
Sometimes the photos I end up using in a blog post or on my Pinterest account are the photos I thought wouldn’t turn out well at all. So snap photos in a whole bunch of angles and from varying distances while the item is staged and review when you’re done!
6. Use a backdrop.
Backdrops or backgrounds do not have to be big, nor do they have to be fancy or expensive. I am currently using poster boards from Hobby Lobby that cost a whopping $1.99 each.

These work perfectly unless I need my more professional looking FULL-size backdrop.
7. Stage, stage, stage!
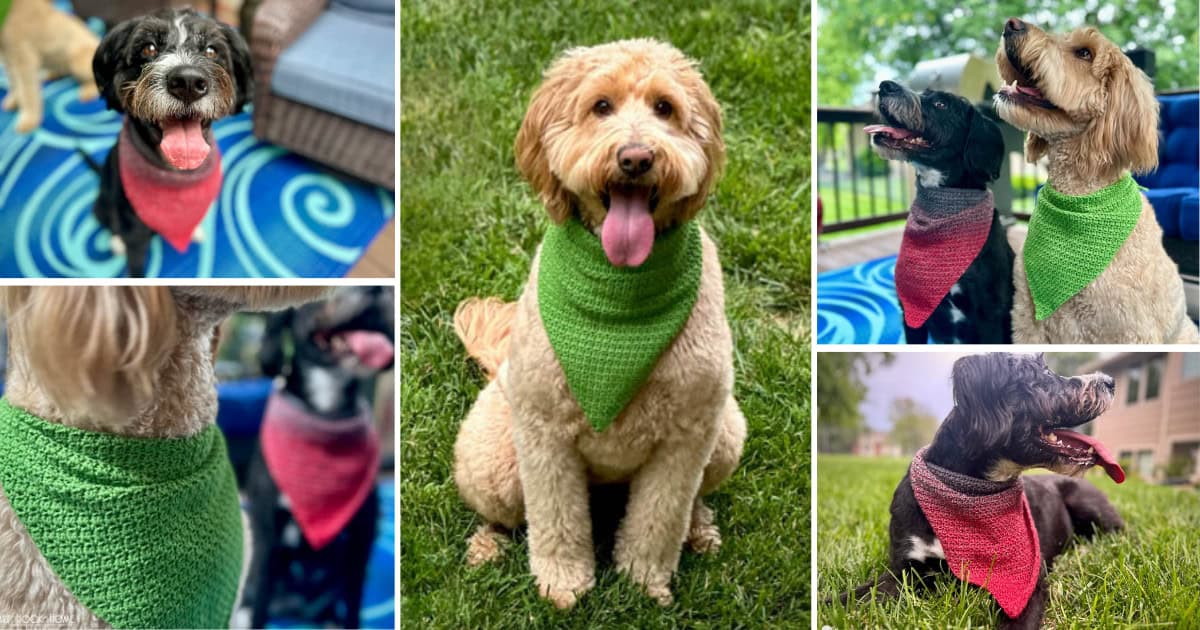
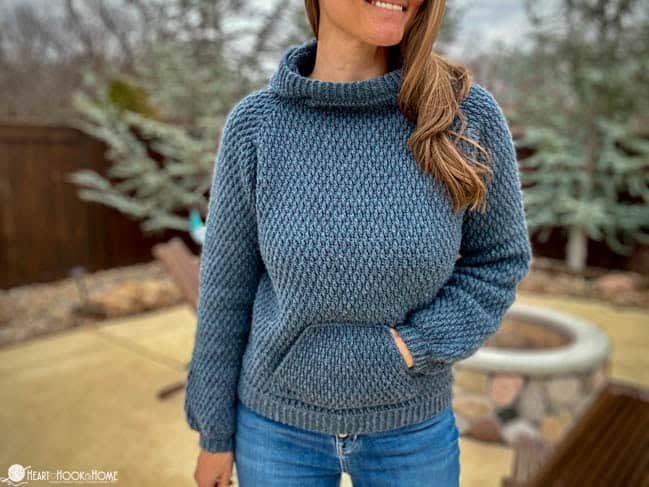
How you stage (place) your items makes all the difference. For example, if you are selling popsicle holders, put some popsicles inside! Gloves? Wear them in the photo (but make sure your nails aren’t dirty, mmmkay?). Selling a blanket? Drape it over an antique chair folded to showcase the most beautiful aspect of it (the stitches, the colors etc).

8. Use Props.
I share plenty of recipes here on Heart Hook Home, so I pick up any cool looking utensils/bowls/place mats I find at the thrift store. I find all kinds of goodies thrifting and try to make it a habit of stopping by at least once a week.
9. Use a free online photo editing tool.
I personally use Canva on a daily basis. You could also use Pic Monkey – but I prefer Canva myself – and they have a mobile app! Use this free tool to adjust the contrast and brightness of a photo, to add your logo or text etc. The functionality of Canva is unsurpassed in my opinion.
10. Use your logo!
I can not stress the importance of using a watermark or at least adding your name to the photos you post online. If you make gorgeous items (which of course you do!) those images will be shared. Once they are, it is out of your control. At least give people seeing it a way to find you if they see that shared photo on Facebook. Canva has a great text tool that you can fade out to create a watermark on your photos – and for free!
What tips have I missed? Like I said, I am not a photographer but these photography tips have worked for me!
More before you go:
Tips for Pricing Handmade Items to {Actually} Make Money
12 Craft Supply Items to ALWAYS Buy at Dollar Tree
Yarn Hacks Every Crocheter and Knitter Needs to Know
Must Have Money Saving Smartphone Apps
Tips for Choosing Credit Cards (for Their Rewards Programs)


