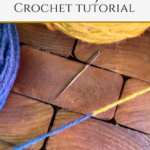
Russian Join Tutorial for Crochet and Knitting
This post may contain affiliate links, meaning that I may earn a small commission if you make a purchase. See our disclosure policy for more information.

Ready to take your crocheting and knitting up a notch with the Russian Join method of joining yarn? One thing (the only thing?) I hate about crocheting is having to weave in yarn ends. This method of joining yarn eliminates that step!
Russian Join Tutorial for Crochet and Knitting
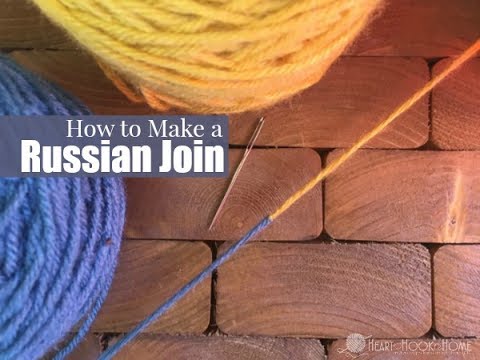
The Russian Join is a great way to connect two ends of yarn so that the join is as seamless as possible in your next project. The Russian Join also works well when you are making your own yarn cakes with a yarn ball winder. Stay tuned for a tutorial on that!
To make a Russian Join, you’ll take the yarn and feed it back through itself using your yarn needle. Do this once on the working yarn, and once on the new skein of yarn, connecting the two together in the middle.
How to Make a Russian Join
Video tutorial below!
1. Thread your pointy yarn needle with the first yarn, leaving about a 4″ tail.

2. Working through the center of the yarn (through the spirals if you untwist it a bit) feed your needle straight through for about 3″. The farther back you go the stronger the join.

3. Pull the yarn to the base of the needle (make sure you keep the loop on the end!) and pull the tail through.

Wanna save this for later?
4. Feed the second yarn end through that loop created on the first and thread your needle.

5. Weave the second yarn through the center of itself, just like you did with the first side. Pull all the way through.

6. You now have two joined pieces of yarn, pull on each tail to cinch up the loops where they are joined.

When finished, trim the tails on both ends. You may need to trim more than once to get it all.
That is it!
Russian Join Video Tutorial
More yarn tips and tutorials:
How to Choose the Best Yarn Ball Winder for Your Needs
Hobby Lobby’s NEW Sugarwheel Yarn Cakes: Comprehensive (Independent) Review
The Difference in Bernat Pop! Yarn Cakes, Caron Cakes, Mandala and Sweet Rolls
How to Create Planned Yarn Color Transitions in Crochet


24 Comments