Linked Treble Crochet Stitch Tutorial
This post may contain affiliate links, meaning that I may earn a small commission if you make a purchase. See our disclosure policy for more information.


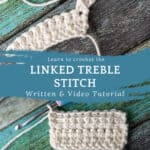
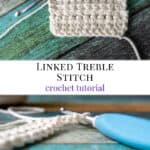


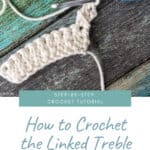
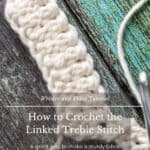
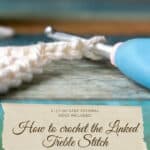
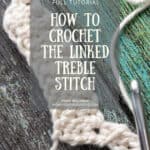


Linked stitches are a great way to quickly produce non-holey crocheted fabric. By literally linking the current stitch to the one before it, we are creating a sturdy fabric that has virtually no holes. Learn how to crochet the Linked Treble Crochet Stitch with me today!

How to Crochet the Linked Treble Crochet Stitch
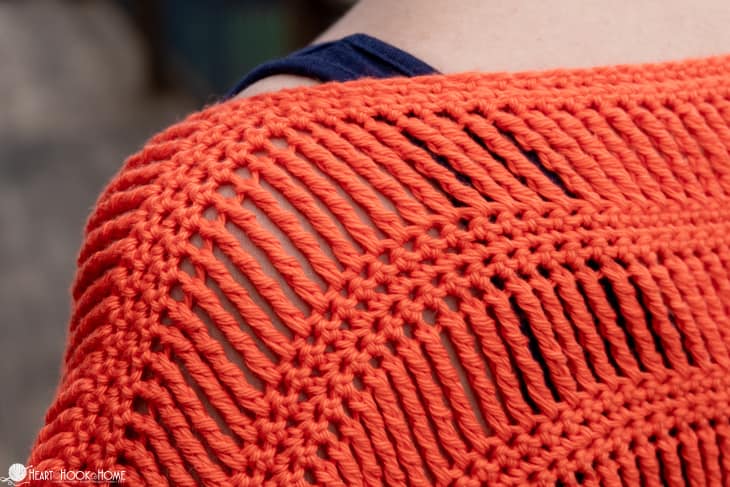
Linked stitches are great to use whenever you need a fabric that works up quickly and has minimal holes. The problem with the Treble Crochet or the Triple Treble etc, is that they are so tall they turn floppy and/or leave large gaps. While that can be used as a design element, as in the Track Stitch Tunic, most of the time this is not desirable.
About the Linked Treble Crochet Stitch
This stitch is abbreviated as Ltr in crochet patterns.
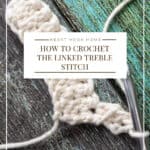
The Linked Treble is close to the regular Treble Crochet Stitch, except for that we are linking each stitch to the stitch that precedes it.
In both Treble Crochet stitch variations (regular and linked) there are three separate yarn-over-pull-through-twos (YOPT2) to complete the stitch. The only difference is how we start the stitches.
Scroll down for the video tutorial as well as helpful tips when getting this stitch started, keeping edges tidy, and more.
Step-by-Step:
To make the Linked Treble Crochet you can start with ANY number of chains. For this tutorial I am starting with 13 chains.
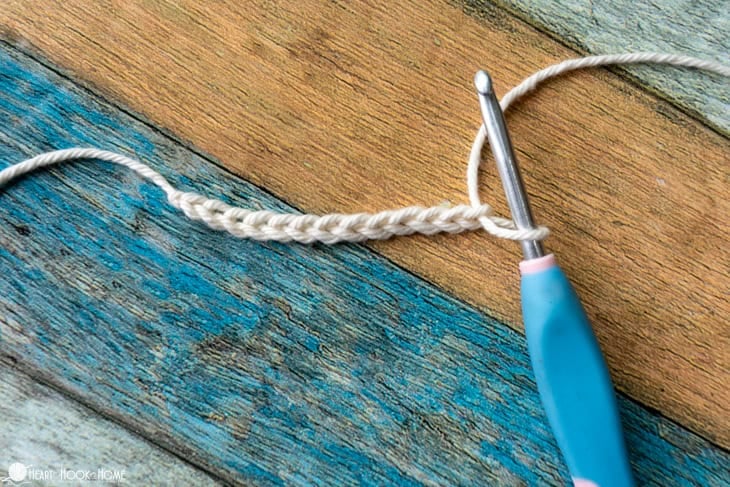
Pull up a loop in the 2nd chain from the hook, the 3rd chain from the hook, and the 4th chain from the hook. (4 loops on hook)
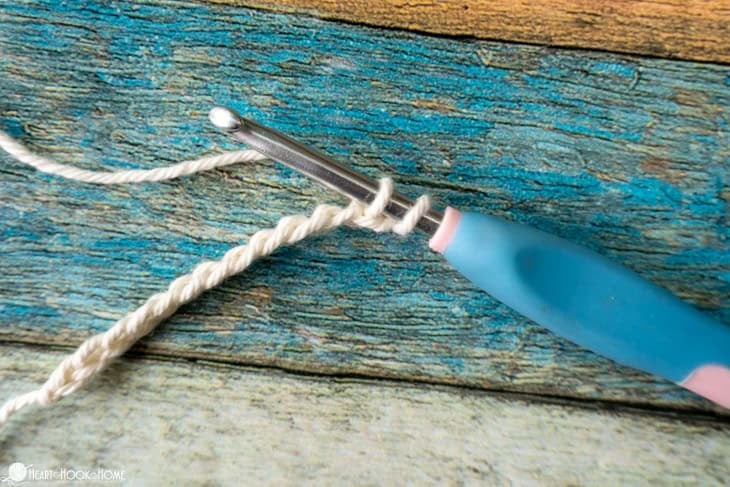
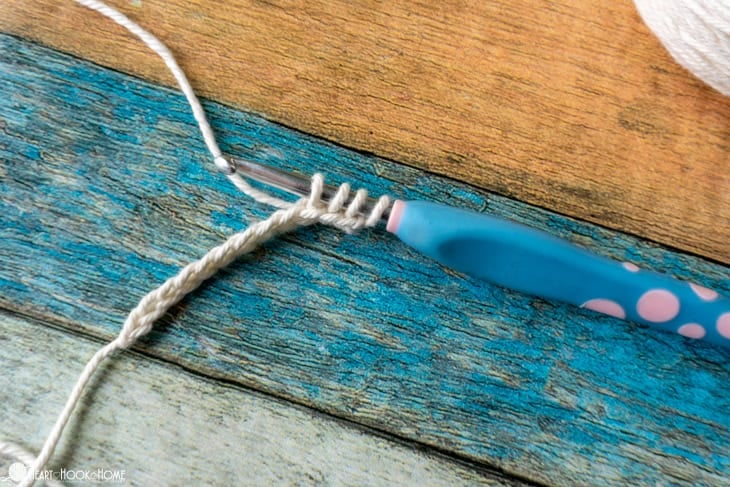
Yarn over pull through two loops, yarn over pull through two loops, yarn over pull through two loops, yarn over pull through two loops.

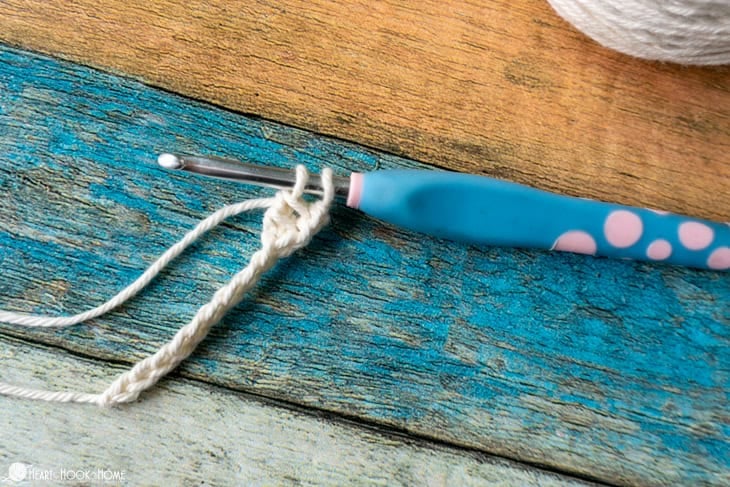

To make each of the remaining Linked Treble Crochets in the row, you will…
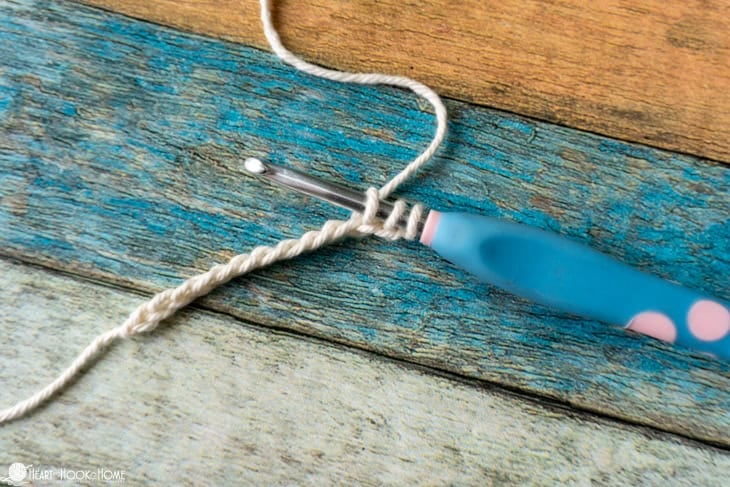
Pull up a loop in the top horizontal bar of the previous stitch. (2 loops on hook)
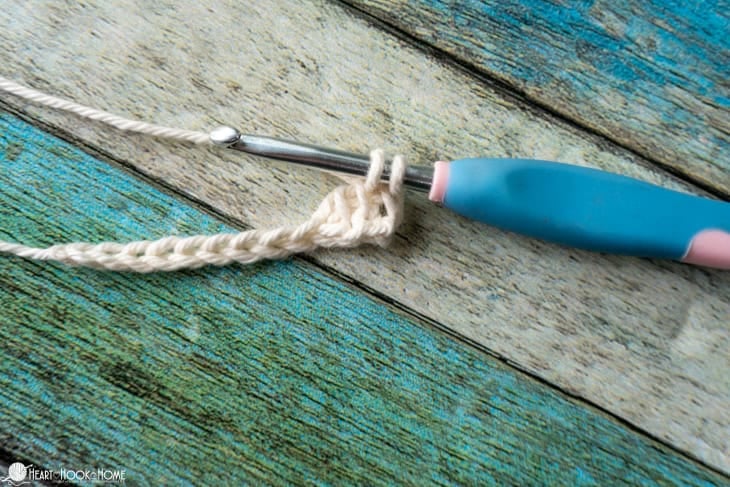
Pull up a loop in the bottom horizontal bar of the previous stitch. (3 loops on hook)

Pull up a loop in the next chain stitch. (4 loops on hook)

Now that you’ve got your four loops on your hook…
Yarn over pull through two loops, yarn over pull through two loops, yarn over pull through two loops.


Wanna save this for later?
Continue adding stitches to the end of the row.


To start a new row… Chain three.

Pull up a loop in the 2nd chain from the hook and in the 3rd chain from the hook.

Now turn and pull up a loop in the first stitch of the row. (4 loops on hook). (Note that I find it helpful to pull up those first two loops before turning, but it doesn’t really matter)


Yarn over pull through two loops, yarn over pull through two loops, yarn over pull through two loops.


Continue across the row.
Continue adding rows until the piece is as tall as needed. This stitch is pretty, flat, and functional if you need a fabric without holes! This can be worked flat in rows or in a spiral in the round.
Helpful tips when crocheting the Linked Treble Crochet Stitch:
Keep the chains to start the new row a bit on the tighter side to keep the edges from rippling.
When making the final stitch of each row, I find it helps to pull those loops through a bit tighter than normal to keep the outside edge looking uniform.
Another great way to use this stitch is in a spiral so that you never have to turn.
This stitch has a definite “RIGHT SIDE” and “WRONG SIDE” to the fabric. If you want to always only see the “Right Side”, consider adding in a row of single crochets between the Ltr rows. Here’s a photo of that:

Here’s the VIDEO tutorial for the Linked Treble Stitch:
If you would rather watch this video on YouTube, you can find it on my channel here. Don’t forget to subscribe while you’re there!
What will you make with the Linked Treble Crochet Stitch?
More crochet tutorials:
Crochet Basketweave Stitch Tutorial
Corner to Corner Moss Stitch Tutorial Step by Step
How to Crochet the Double Moss Stitch