Easy Dog Hoodie Crochet Pattern
This post may contain affiliate links, meaning that I may earn a small commission if you make a purchase. See our disclosure policy for more information.

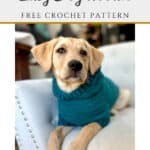


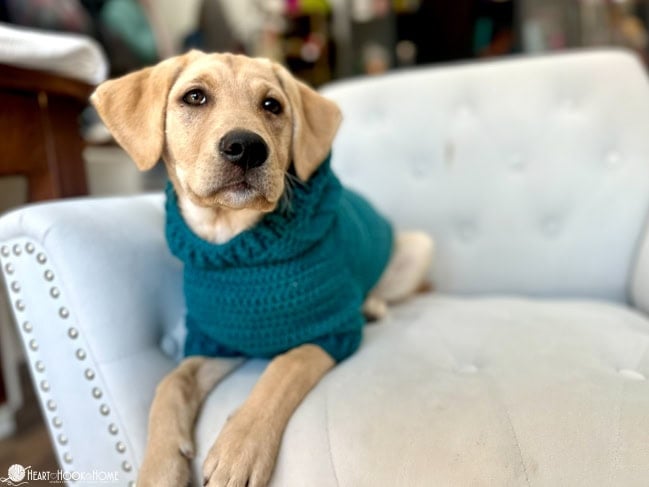
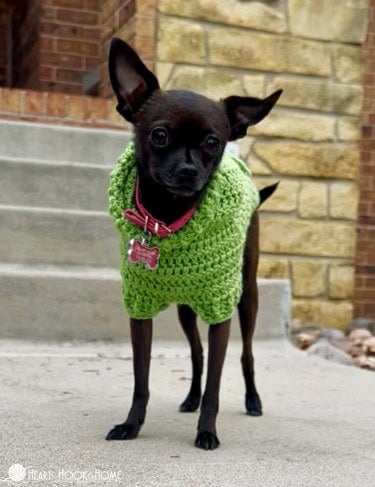
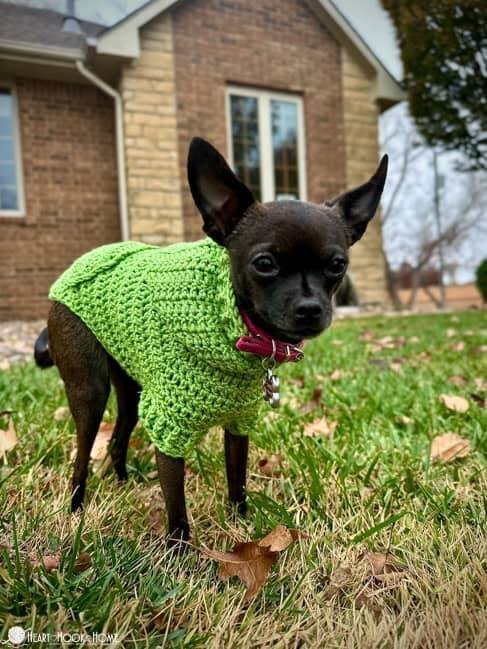
Looking for a warm and fashionable crochet hoodie for your dog? This free dog hoodie crochet pattern comes in SEVEN sizes, from XXS through XXL. Let’s make one!
Easy Dog Hoodie Crochet Pattern
This is the best looking dog hoodie pattern around, and it is so easy, too! We use the Double Crochet stitch to make the majority of this sweater. There is some shaping in the hood, so if you are leery of that or if you are afraid you won’t have enough yarn to complete the hood, you could try the new Simple Raglan Dog Sweater instead.

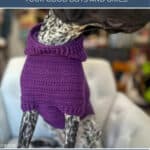
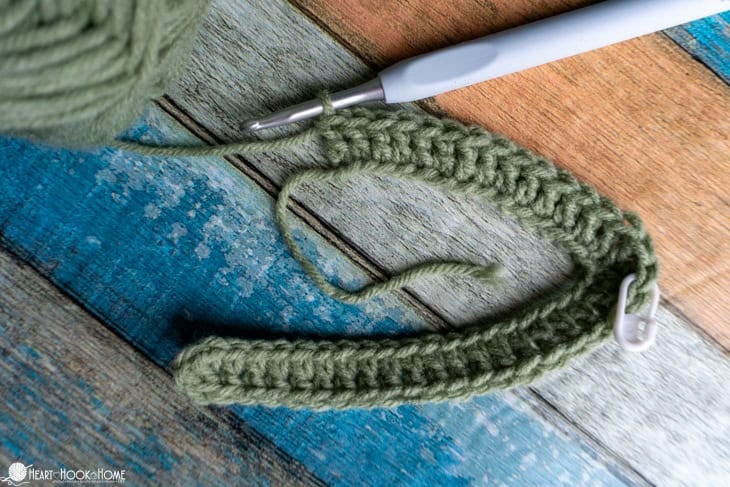
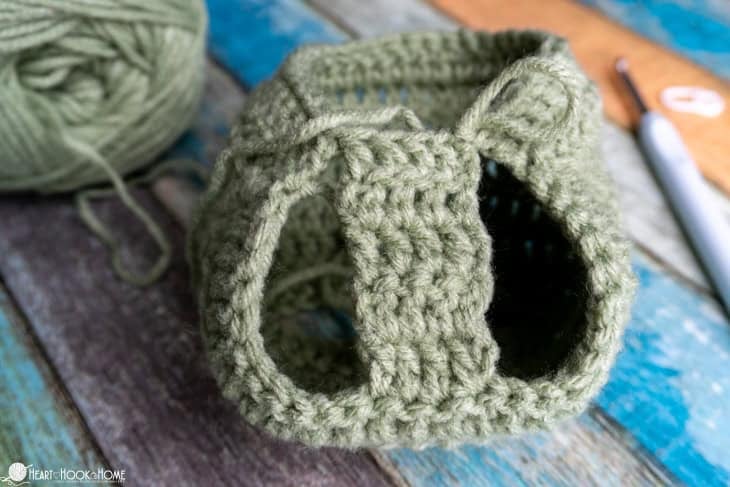
This pattern starts at the neck and builds down to the shoulders. Once we get just past the shoulder/arm we will fasten off and start on the chest/body. The hood is made in one piece connected to the body – no sewing needed!

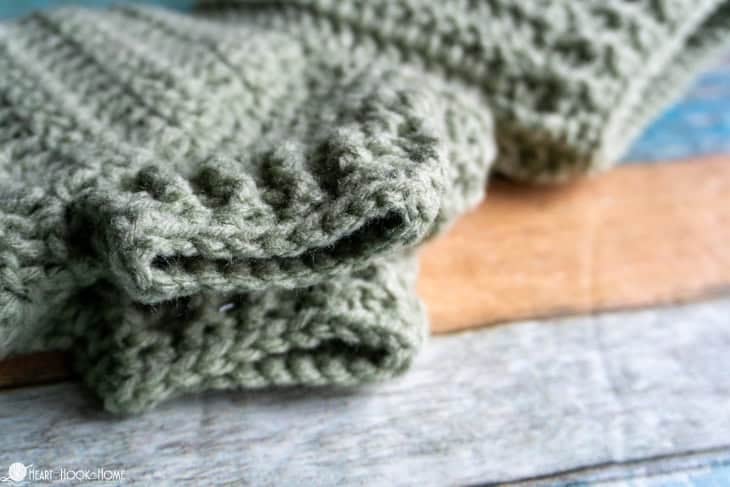
You will need to know how to do Front Post and Back Post stitches to create the ribbing. Tis is a valuable crochet technique and is a great chance to learn if you have never tried this stitch. It’s great for all things from dog sweaters, to brims on beanies, edging on cardigans, borders on blankets, and more.
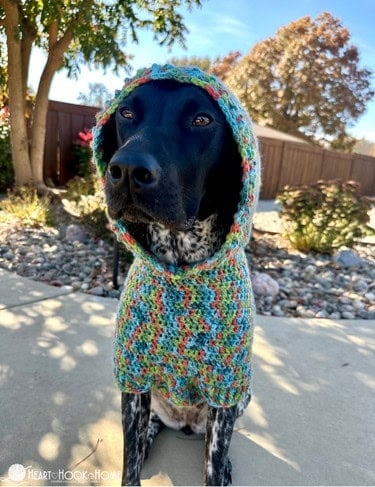
The hood is made from the neck up, and sits on the back of the head. Because of the way the dog’s head and neck are angled, the functional use of a hood is just not as possible as with humans. It is more decorative than functional, but it sure is cute! Again, if you would rather save the yarn for the hood, or if you think your dog won’t like it, you can follow the Simple Raglan Dog Sweater pattern that has a traditional neck opening and no pocket on the back. Easy peasy!

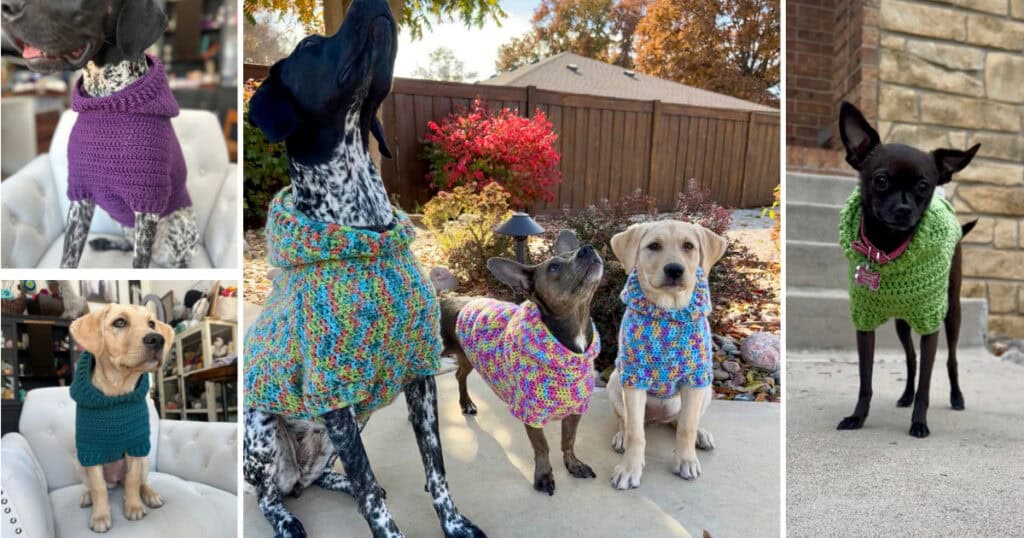
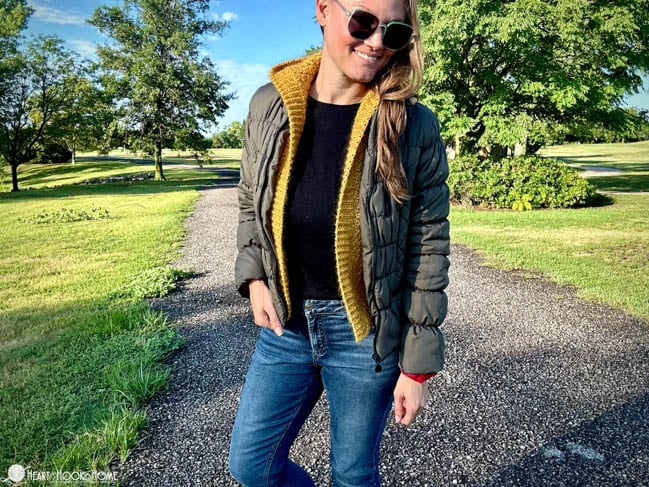
For this pattern I am using Worsted weight yarn. Several of the versions are Brava Worsted or Brava Tweed. Then the colorful versions are made with Montage yarn. If you’re looking to stash bust instead, any worsted weight yarn you have on hand should suffice. There are also plenty of options listed in the size 4 on the Virtual Yarn Aisle.
Grab the ad-free, printable version of this pattern on Ravelry, Etsy, or right here in the Heart Hook Home Blog Shop. Thank you!
Materials:
Worsted Weight Yarn (Brava Worsted and Montage pictured)
-approx. (150, 220, 375, 450, 650, 820, 950) yards
Crochet hook in size 4.5mm or size needed to obtain gauge
Gauge: 15 sts x 9 rows = 4” square using Double Crochet
Pattern Notes:
Pattern written using US terms.
Odd numbered rows are “Right Side”.
The ch/s at the beginning of the round/row does NOT count as a stitch.
Abbreviations:
Ch(s): Chains
Sl st: Slip stitch
St(s): Stitches
Dc = Double Crochet
Dc2tog = Double Crochet two Together
Dc4tog = Double Crochet four Together
Dc5tog = Double Crochet five Together
Sizing: (XXS, XS, S, M, L, XL, 2XL) = Chest (sweater) = (12”, 16”, 20”, 24”, 28”, 32”, 36”)
Pattern:
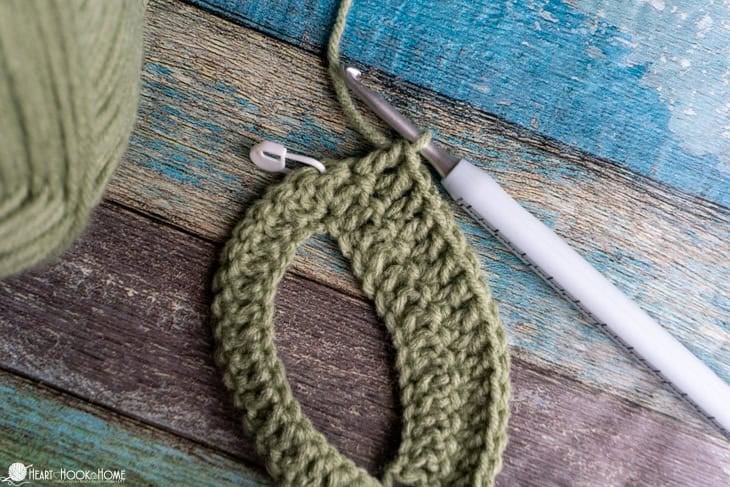
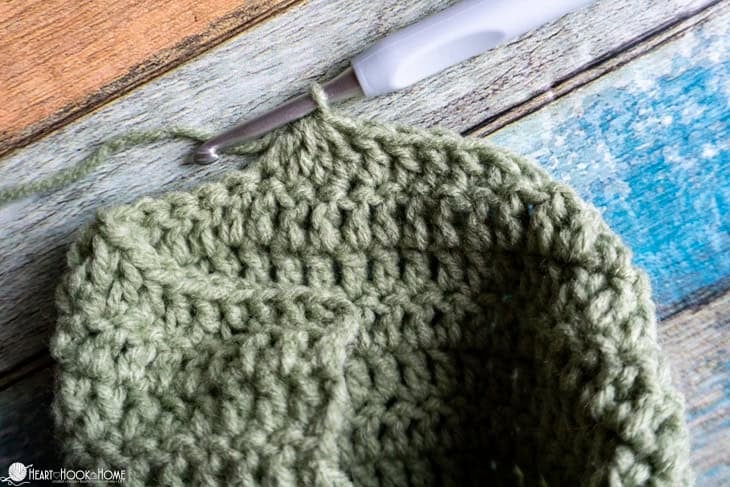
Round 1: Ch-(36, 44, 52, 60, 68, 74, 82), dc in 3rd ch from hook, dc in next (18, 24, 30, 34, 40, 44, 48) sts, 3dc in next (mark center-most stitch), dc in next (14, 16, 18, 22, 24, 26, 30), 2dc in same as first st. Join with a sl st in top of first st. (38, 46, 54, 62, 70, 76, 84)
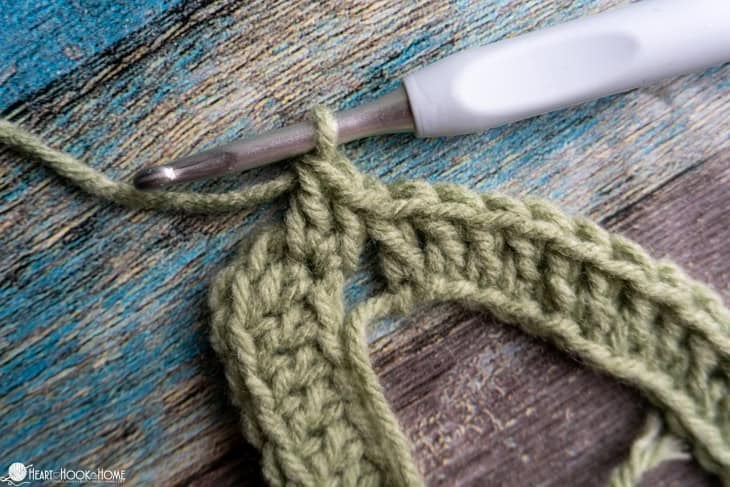
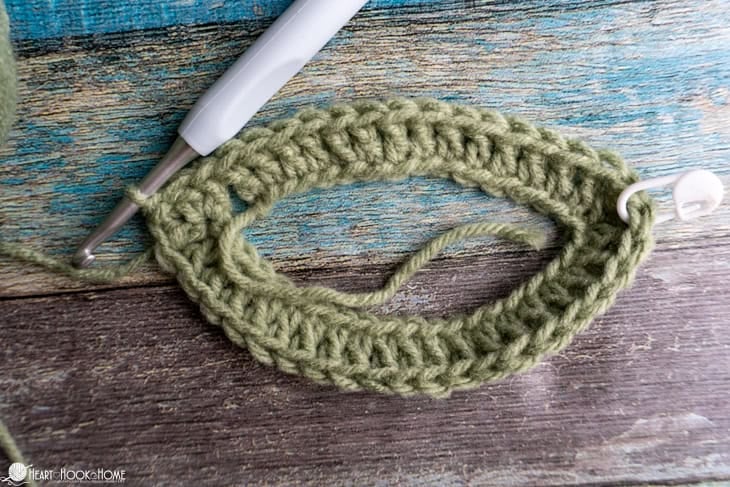
Rounds 2 through (6, 8, 12, 14, 18, 22, 24): Ch-2, turn, dc in each st to marker, 3dc in marked st (move marker up), dc in each remaining stitch, 2dc in same as first. Join to top of first st. (ending with 58, 74, 98, 114, 138, 160, 176 sts)
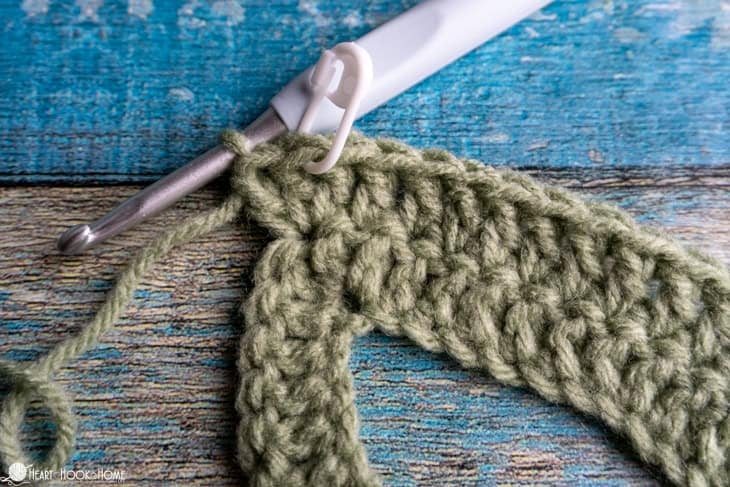
Fasten off.
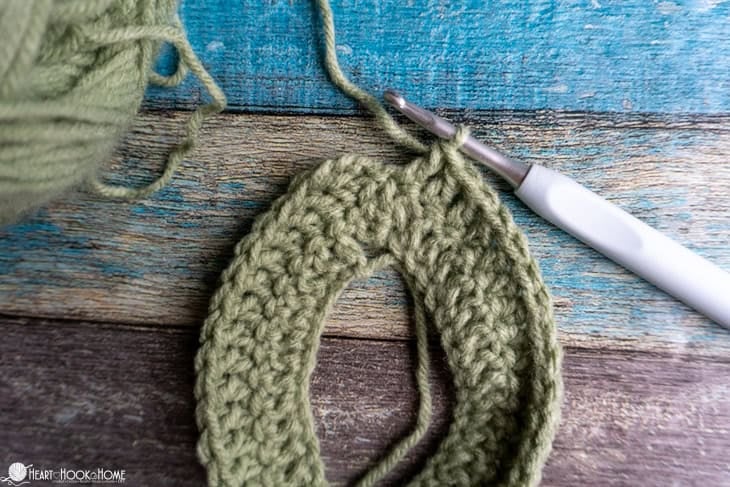
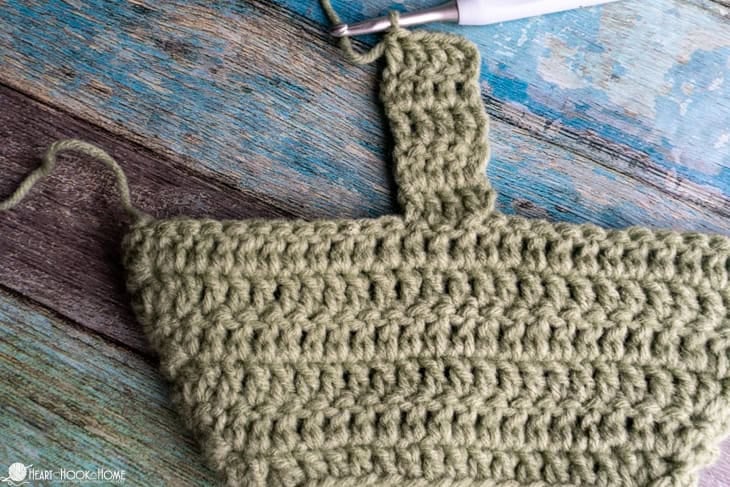
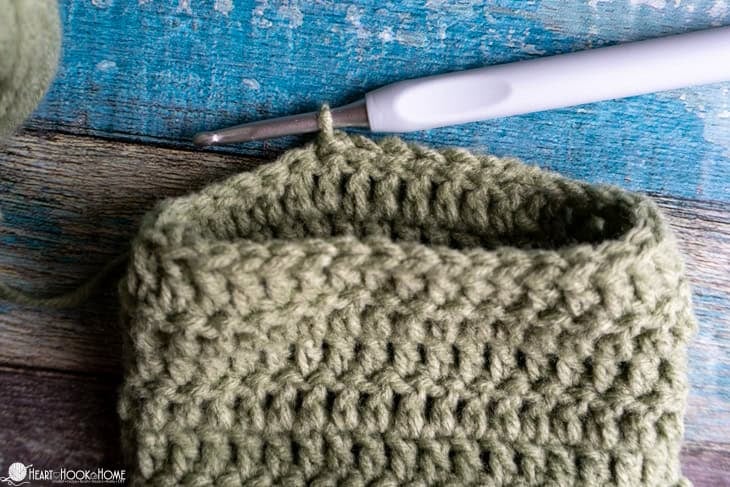
Chest Flap:
Looking at the outside, and starting with the raglan point (marked stitch) as stitch number one, attach yarn in the (13th, 15th, 19th, 22nd, 26th, 30th, 33rd) stitch of the “front” (the shorter edge).

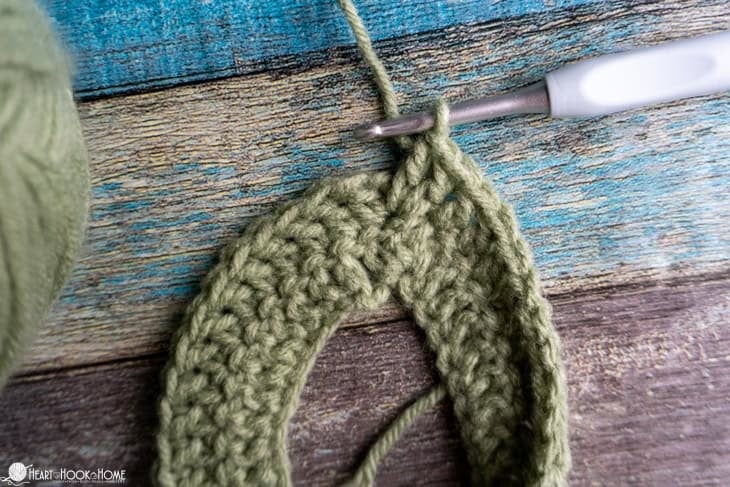
Row 1: Ch-2, dc in same st as join and in next (3, 5, 7, 9, 11, 13, 15) sts. (4, 6, 8, 10, 12, 14, 16)
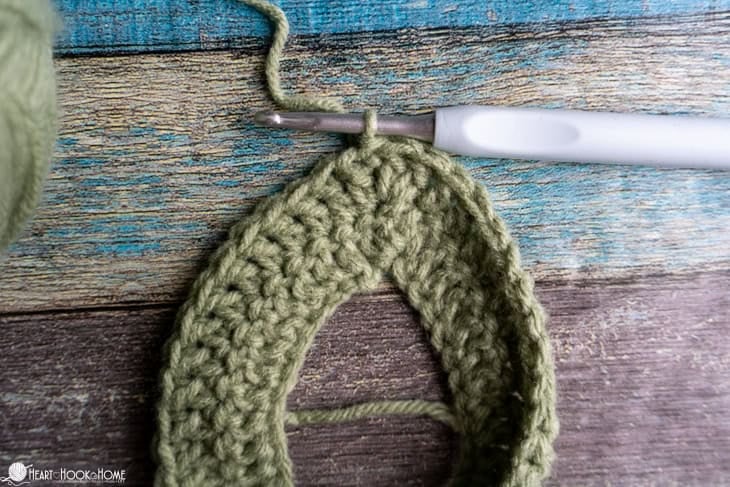
Rows 2 through (4, 4, 6, 8, 10, 12, 14): Ch-2, turn, dc in each st to end. (4, 6, 8, 10, 12, 14, 16)
Do not fasten off.
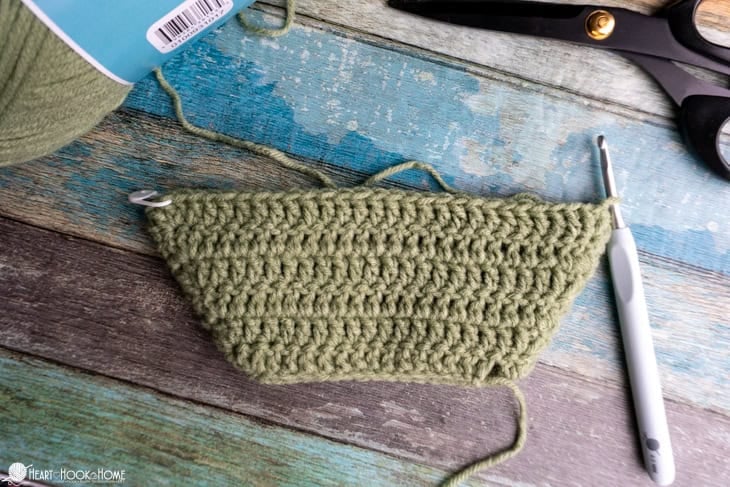
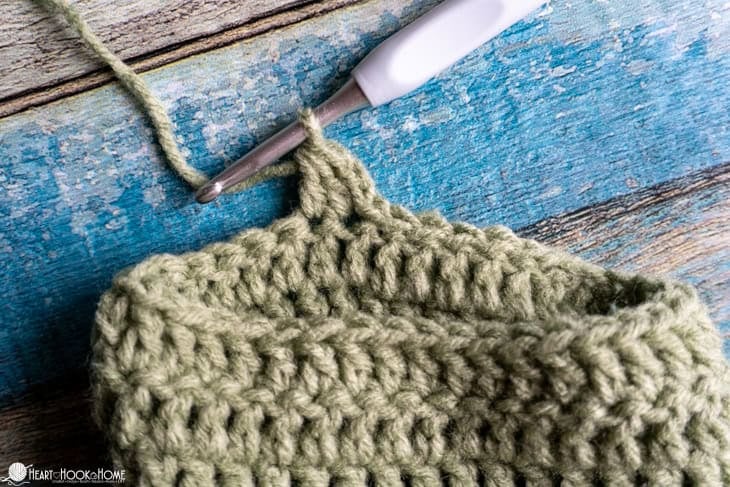
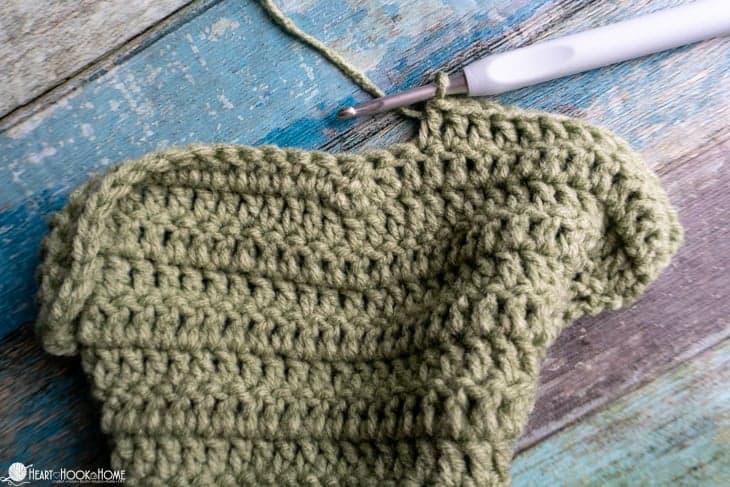
Chest/Torso:
Round (5, 5, 7, 9, 11, 13, 15): Ch-2, turn, dc in each st across the “Chest Flap”, jump to the “back” and dc in each st across (raglan point to raglan point). Join to top of first st. (36, 48, 64, 74, 90, 104, 114)
Rounds (6, 6, 8, 10, 12, 14, 16) through (9, 9, 13, 15, 17, 21, 23): Ch-2, turn, dc in each st around. Join to top of first st. (36, 48, 64, 74, 90, 104, 114)
Do not fasten off.
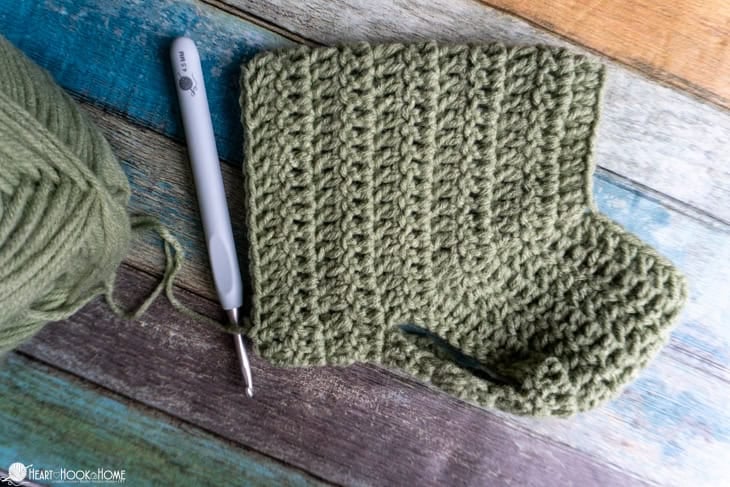
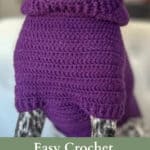
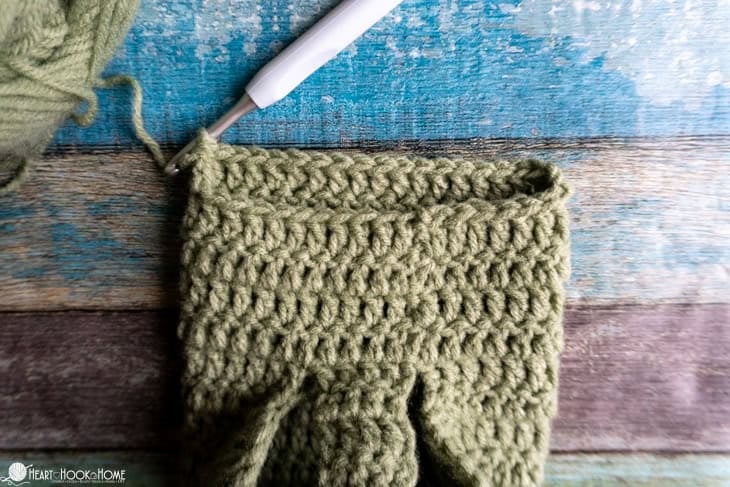
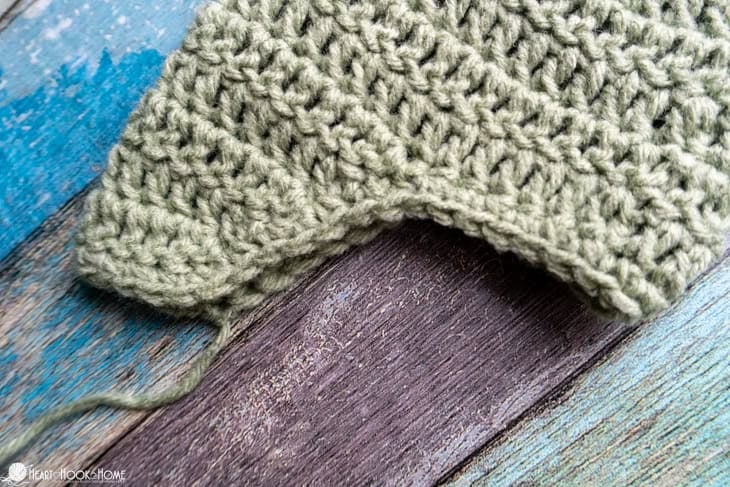
Back Taper:
Row (10, 10, 14, 16, 18, 22, 24): Turn, sl st in (7, 8, 9, 12, 12, 16, 16) sts (these will not count in the st count this row), Ch-2, dc2tog using same as last sl st and next st, dc in next (16, 24, 36, 38, 52, 56, 64) sts, dc2tog. (18, 26, 38, 40, 54, 58, 66)
Wanna save this for later?
Rows (11, 11, 15, 17, 19, 23, 25) through (14, 16, 22, 24, 28, 34, 36): Ch-2, turn, dc2tog, dc in all but two sts, dc2tog. (ending with 10, 14, 22, 24, 34, 34, 42 sts)
Edging Round:
Ch-1, turn, sc in each st across “back”, rotate to work up row ends, placing sc sts evenly across, sc in each st across belly, sc evenly down row ends. Fasten off and join to first sc made using Invisible Join.
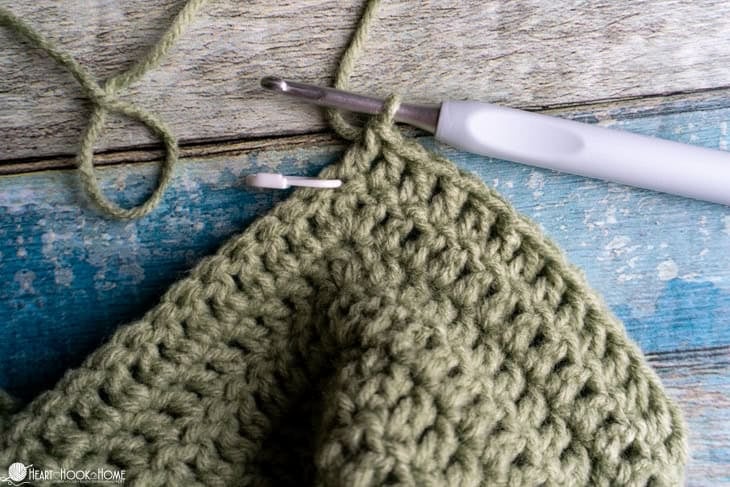
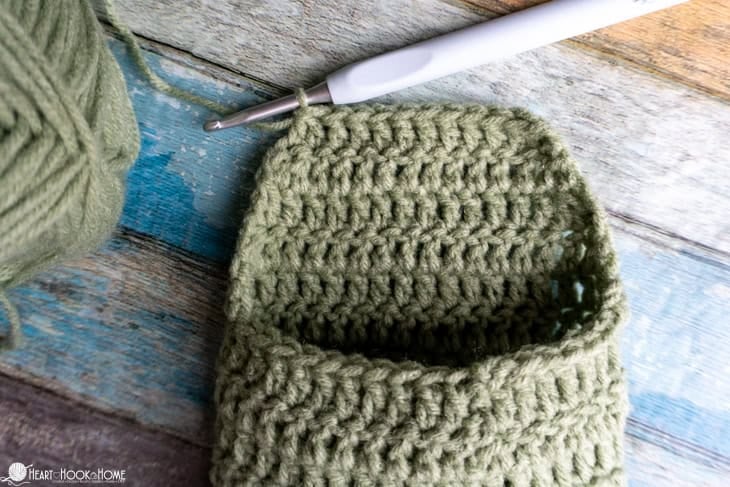
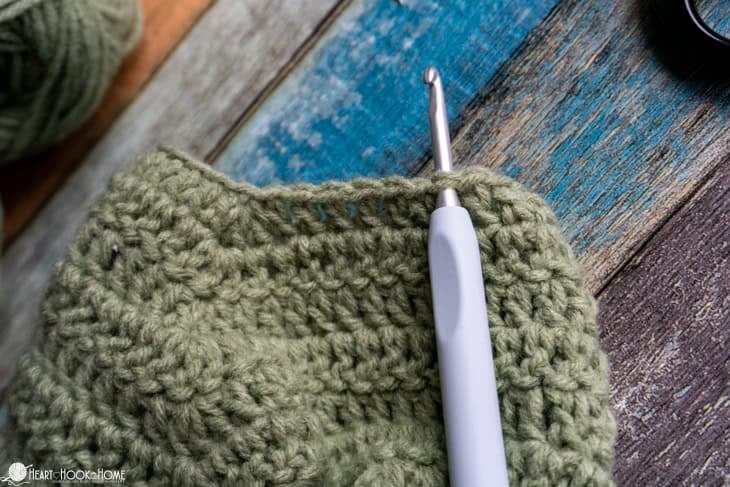
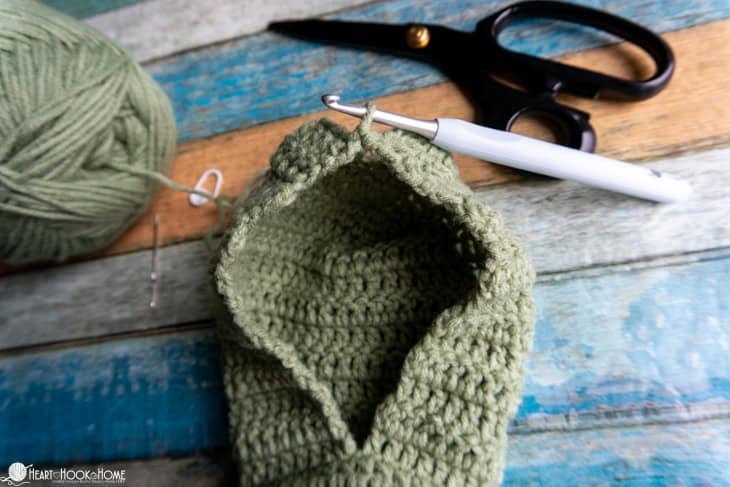
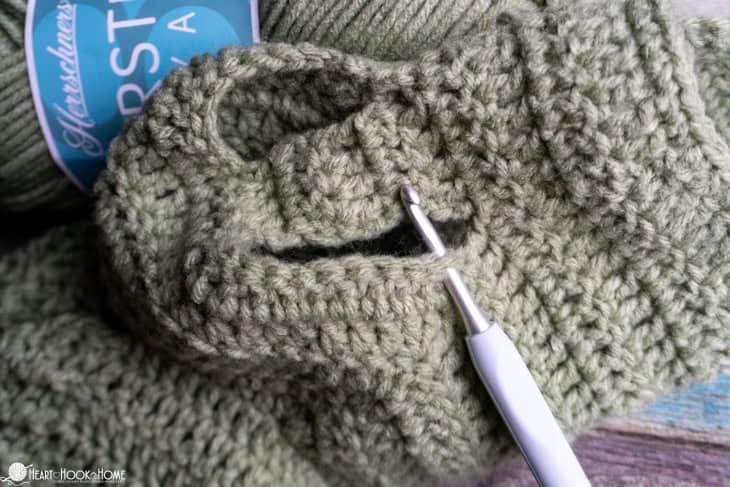
Hood:
Looking down at the RIGHT SIDE of the chest and counting from the left raglan point, attach in the (7th, 8th, 9th, 11th, 12th, 13th, 15th) stitch in (should be centered – see photo).
Row 1: Ch-2, dc in each st around. Do not join. (34, 42, 50, 58, 66, 72, 80)

Rows 2 through (9, 9, 13, 13, 19, 19, 19): Ch-2, turn, dc in each st across. (34, 42, 50, 58, 66, 72, 80)
Row (10, 10, 14, 14, 20, 20, 20): Ch-2, turn, dc in (15, 19, 23, 27, 31, 34, 38) sts, dc4tog, dc in remaining sts. (31, 39, 47, 55, 63, 69, 77)
Row (11, 11, 15, 15, 21, 21, 21): Ch-2, turn, dc in (13, 17, 21, 25, 29, 32, 36) sts, dc5tog (mark this st), dc in remaining sts. (27, 35, 43, 51, 59, 65, 73)

Rows (12, 12, 16, 16, 22, 22, 22) through (13, 13, 19, 21, 27, 27, 27): Ch-2, turn, dc to two sts before st marker, dc5tog (centering the previous decrease, replace st marker), dc in each remaining st across. (ending with 19, 27, 27, 27, 35, 41, 49 sts)
Do not fasten off.
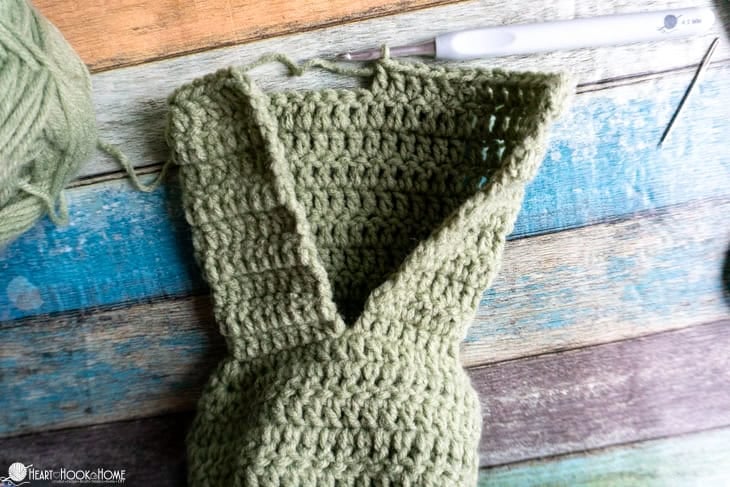
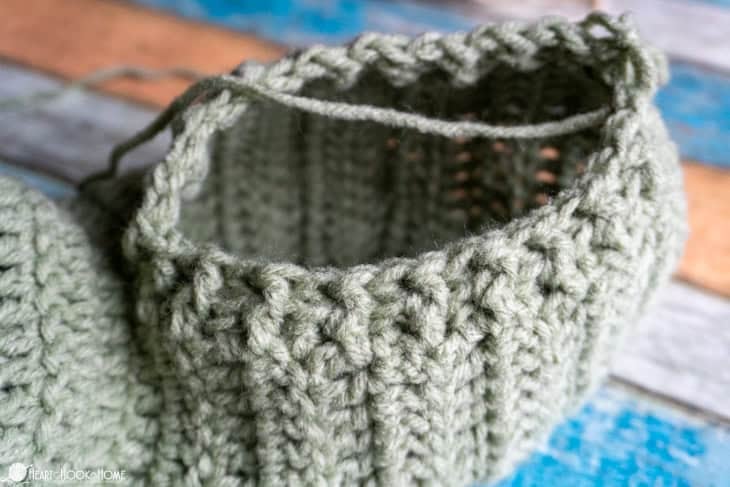
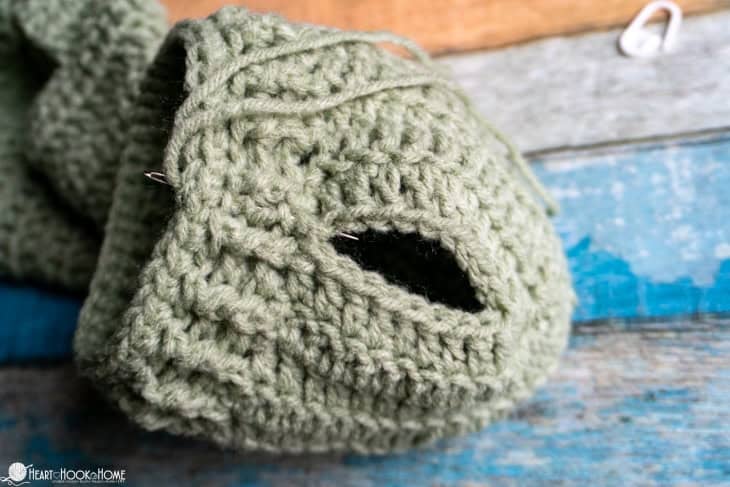
Hood Edging:
Where still attached, sl st to the first st of this row to form a face opening.
Round 1: Ch-1, and turn so that you’re looking down at the OUTSIDE, Hdc evenly down row ends and back up the other side. (I go into the bottom of a dc row, the top of that same dc row, then into the side of the next row, repeating around). Join to top of first st. (Try to make sure you have 39, 39, 57, 63, 81, 81, 81 sts)

Round 2: Ch-2, do not turn, Fpdc around first st, * Bpdc around next st, Fpdc around next * repeat between * * around. Join to top of first st. (39, 39, 57, 63, 81, 81, 81)
Round 3: Ch-2, turn, Bpdc around first st, * Fpdc around next st, Bpdc around next * repeat between * * around. Join to top of first st. (39, 39, 57, 63, 81, 81, 81)
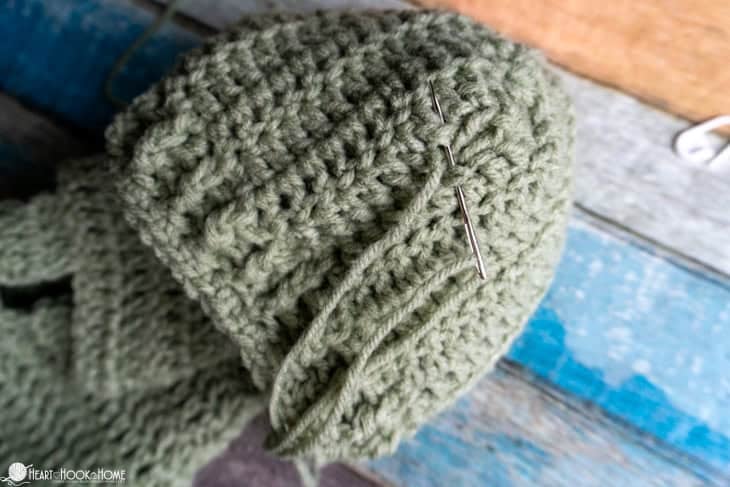
Round 4: Ch-1, turn, sc in each st around. Fasten off using Invisible Join and leave a long enough tail for seaming hood shut.
Sew stitch for stitch using the Mattress Stitch or the Invisible Seam method.
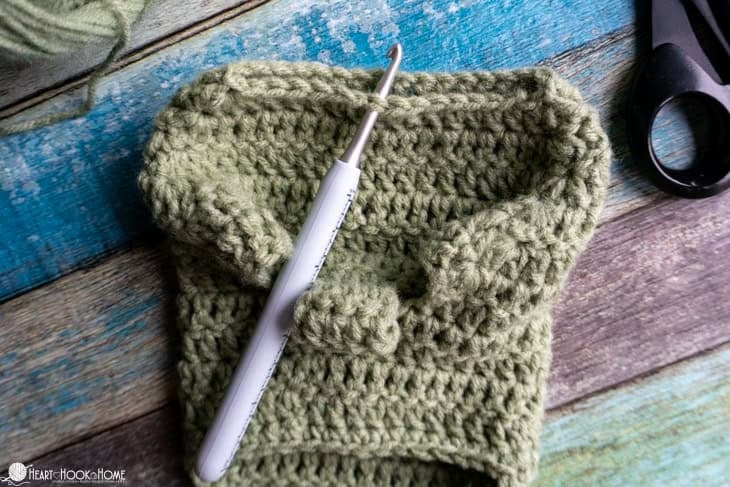
Cuffs:
With Right Side facing, attach in the double crochet stitch closest to the chest flap (see photo).
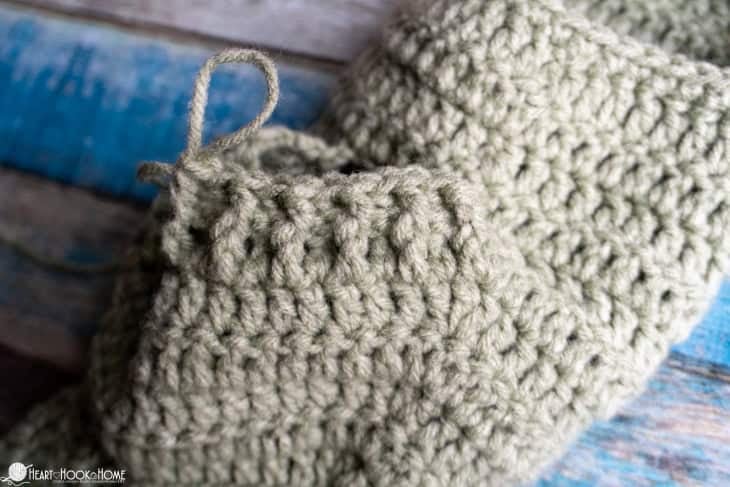
Round 1: Ch-2, Fpdc around same st as join, * Bpdc around next st, Fpdc around next * repeat between across dc portion (11, 13, 17, 21, 25, 29, 31 sts so far) repeat between * * (5, 5, 6, 7, 8, 9, 10) times across row ends. (Just space them as evenly as possible and fit them in where you can) Join to top of first st. (21, 23, 29, 35, 41, 47, 51)
Round 2: Ch-2, turn, Bpdc around first st, * Fpdc around next st, Bpdc around next * repeat between * * around. Join to top of first st. (21, 23, 27, 35, 41, 47, 53)
Round 3: Ch-1, turn, sc in each st around. (21, 23, 27, 35, 41, 47, 53)
Fasten off using Invisible Join and weave in all ends. Repeat on the other leg.
Pocket:
Leaving a ~20” long tail for sewing…
Row 1: Ch-(8, 12, 12, 14, 16, 18, 20), 2dc in 3rd ch from hook, dc in all but the last ch, 2dc in final ch. (8, 12, 12, 14, 16, 18, 20)
Rows 2 through (3, 3, 5, 5, 5, 7, 7): Ch-1, turn, 2dc in first st, dc in each st across until one st remains, 2dc in final st. (ending with (12, 16, 20, 22, 24, 30, 32) sts)
Rows (4, 4, 6, 6, 6, 8, 8) through (6, 6, 8, 8, 10, 10, 10): Ch-1, turn, dc in each st across. (12, 16, 20, 22, 24, 30, 32)
Do not fasten off.
Border: Rotate, ch-1, sc evenly up row ends, 3sc in corner, sc across top of pocket, 3sc in corner, sc evenly down row ends, 3sc in corner, sc in each st across bottom, 2sc in same as start. Fasten off leaving a long enough tail for securing the pocket.
Position pocket a few rows up from the back bottom. Sew top and bottom securely. That’s it!
I hope you and your dog love their new hoodie, and that you’ll make them several in different colors! Remember if the hood gets in the way or if they don’t like it you can instead make them the Simple Raglan Dog Sweater, available in the same sizes. ♥
More free pet patterns:
Dog Bucket Hat Free Crochet Pattern
Easy Dog Poncho Crochet Pattern
Dog Bone Christmas Stocking Crochet Pattern
Dog Treat Bag Free Crochet Pattern


8 Comments