Crochet Basketweave Stitch Tutorial
This post may contain affiliate links, meaning that I may earn a small commission if you make a purchase. See our disclosure policy for more information.
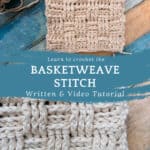
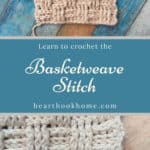
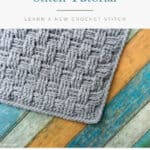
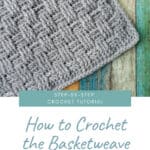
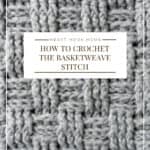
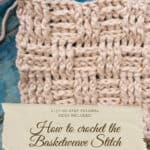


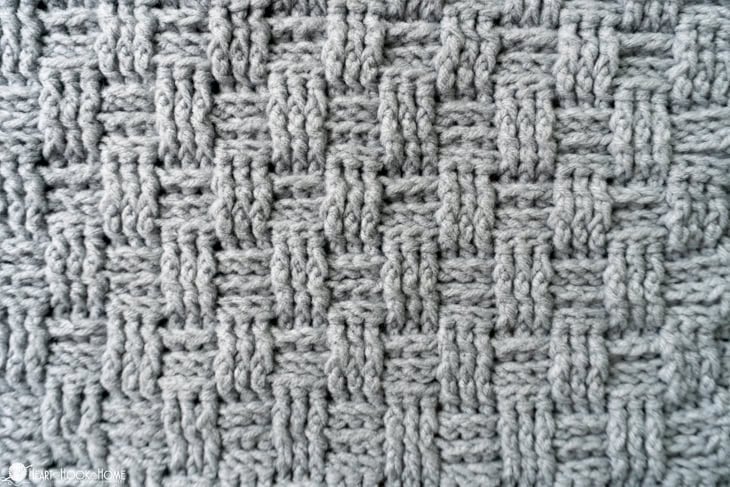
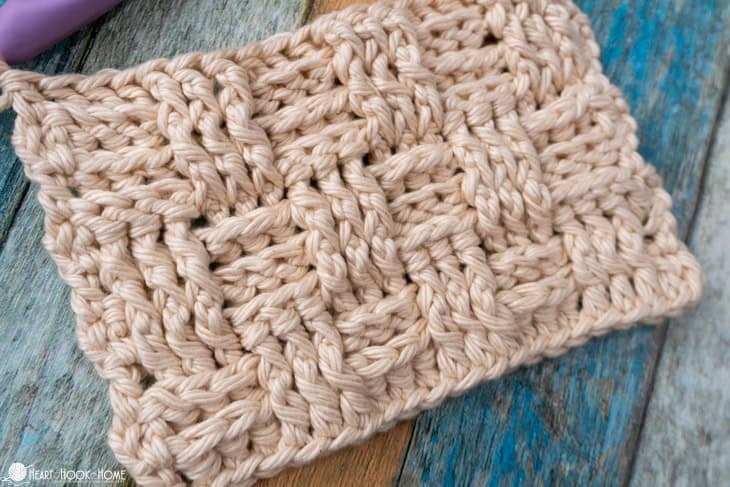
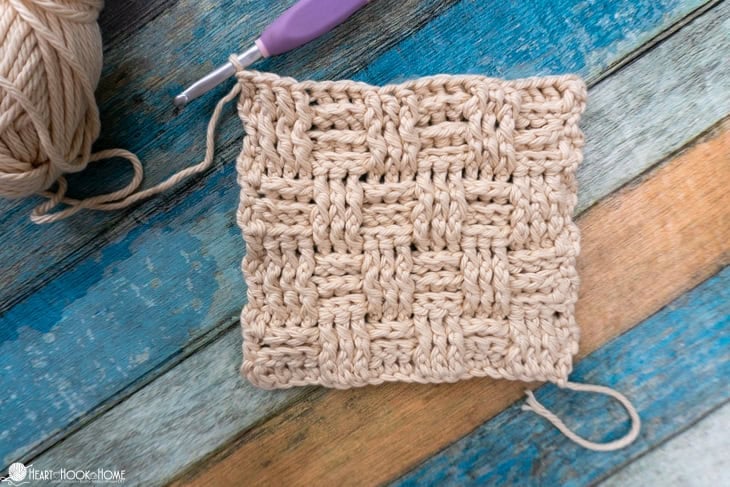
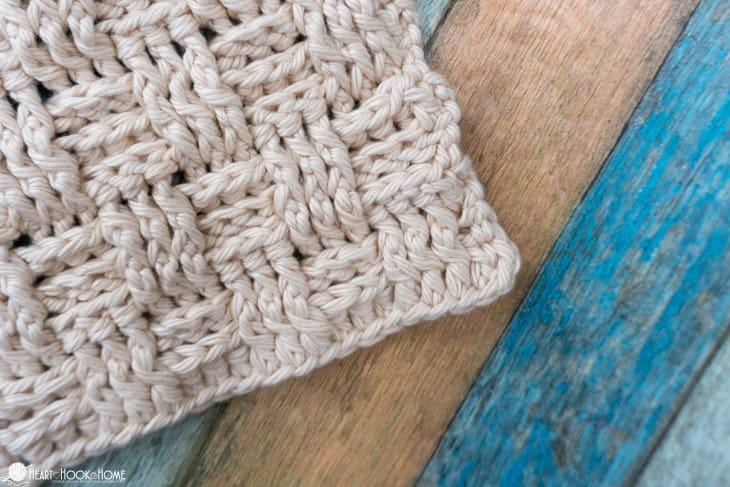
If you love plush, textured, gorgeous crochet stitches, then the Basketweave Crochet Stitch is right up your alley! You’ll love the squish, the visual appeal, and the depth this stitch provides. Let’s learn how to crochet the Basketweave Stitch today!
Crochet Basketweave Stitch Tutorial
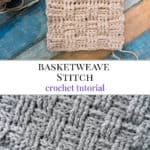
The Basketweave stitch is made up of Front Post crochet stitches and Back Post crochet stitches. This sounds more difficult than it is. Let’s walk through it together.
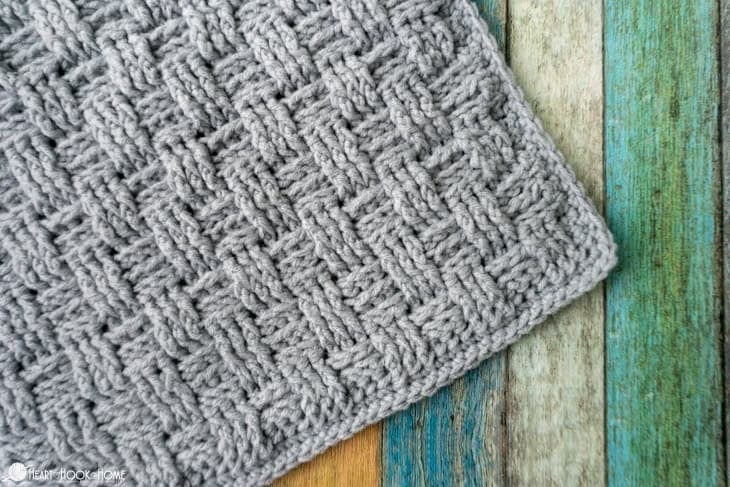
This is a great stitch for the maximum texture. Great for blankets, sweaters, washcloths, and everything in between. You’ll use a lot of yarn, so if you’re looking for a heavy or weighted finished blanket and a stash buster, this could be the perfect solution for you.
About the Basketweave Stitch:
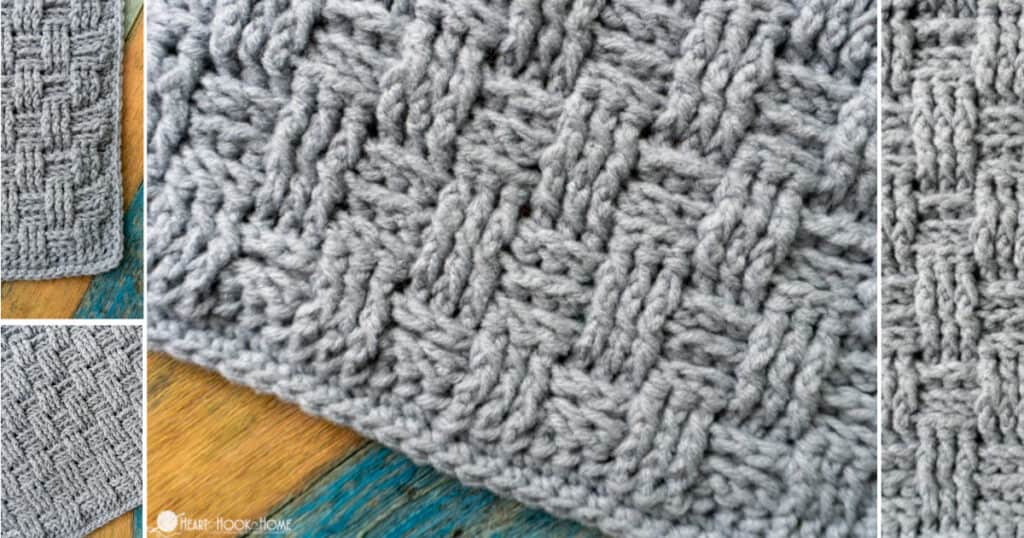
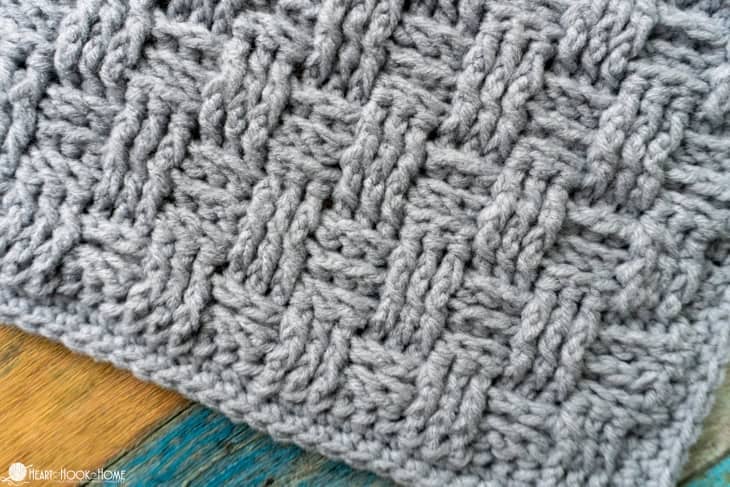
This stitch appears to be “woven”, as that in a traditional style basket, with the fabric appearing to be woven into place. Because of this, you can make your basketweave as narrow or as wide as you like.
Traditionally, the crocheted Basketweave Stitch can be two, three, or four stitches wide, or as many as you like! If you want your “woven” sections to be very wide, how about TEN stitches?! The possibilities are endless.
Once you get the rhythm of the Basketweave Stitch the rest falls into place beautifully. Because of the way we alternate front and back post stitches, this stitch looks identical on the front or the back side of the fabric, meaning that the Basketweave stitch is completely reversible. Awesome!
There is also a way to do the Basketweave Stitch using Tunisian crochet, which turns out just as gorgeous. Here’s a Tunisian Basketweave Stitch Backpack pattern and here is a free bulky weight Tunisian Crochet Basketweave Blanket pattern.
If you need help reading a crochet pattern, make sure you head over here and check out this detailed post.


If you’re looking for the written instructions for the Basketweave stitch, scroll down to see it written in crochet pattern format.
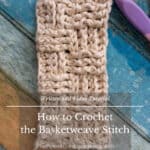
Multiples needed for the Basketweave stitch vary depending on how wide your “woven” portion is. For this tutorial I am using a basketweave that is three stitches wide and my swatch has 22 chains to start. Read more on stitch multiples below.
To start the Crochet Basketweave Stitch:
Row 1:
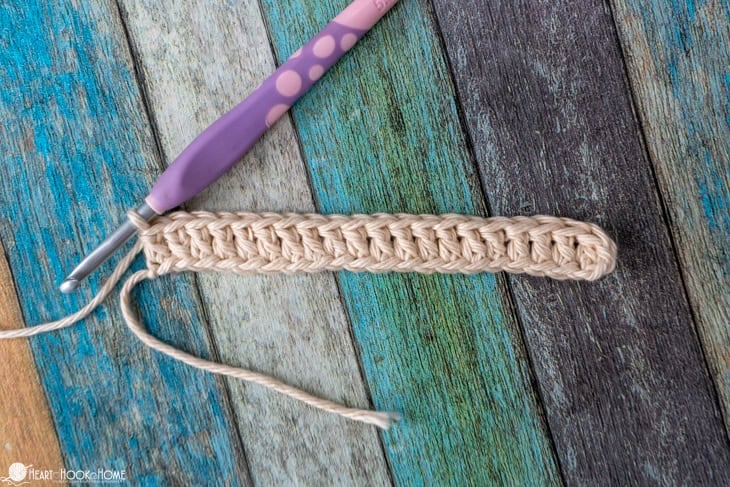
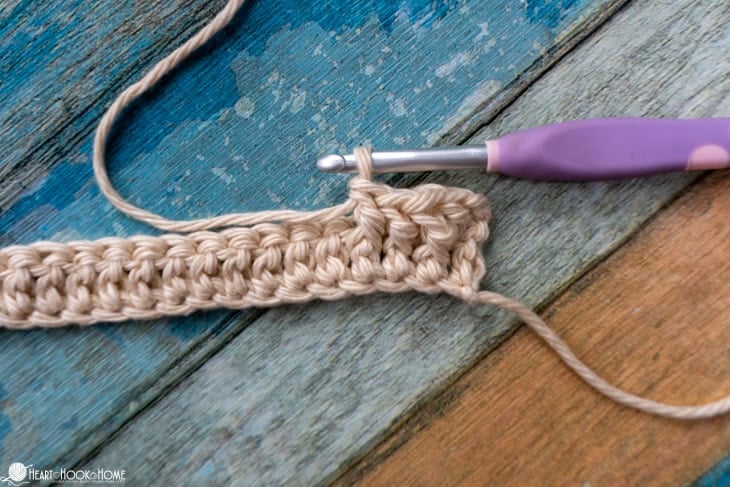
1. Chain a multiple of 6 + 4 (I’m using 22 chains here).
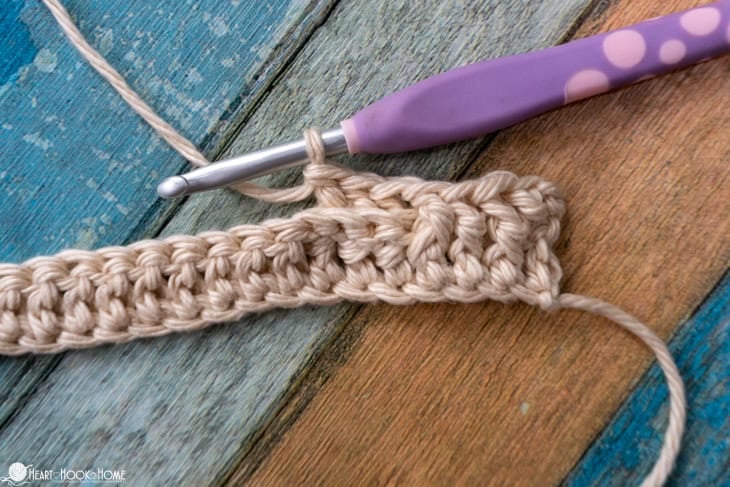
2. Double crochet in the 3rd chain from the hook and in each chain to end. (I now have 20 stitches).
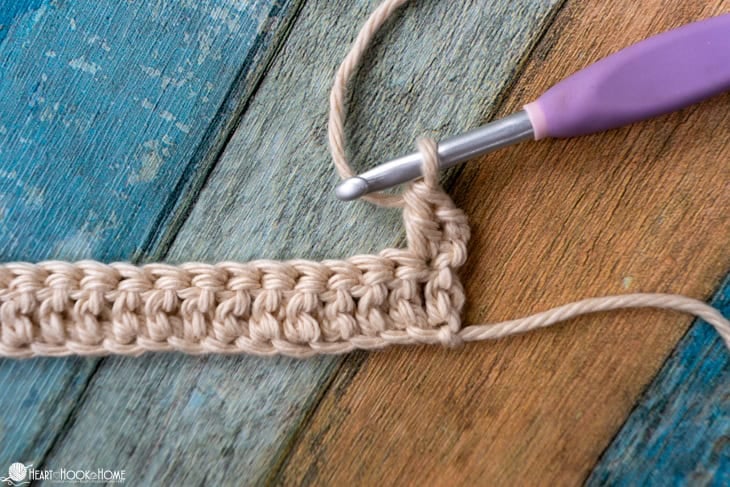
Row 2:
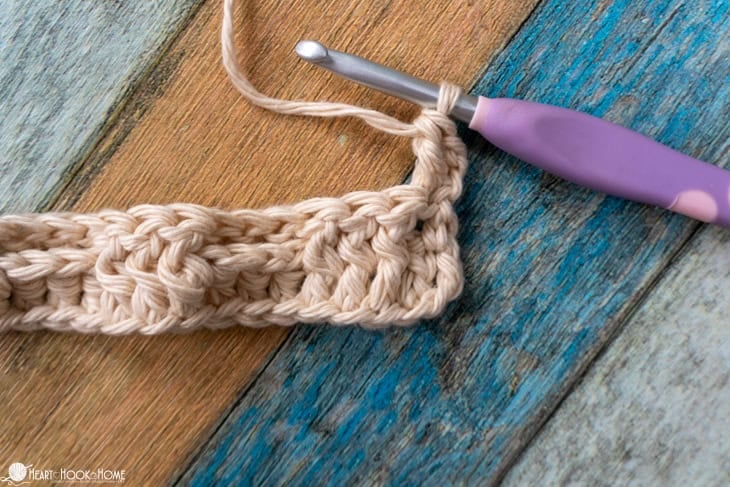
1. Chain two and turn. Place one regular double crochet in the first stitch.
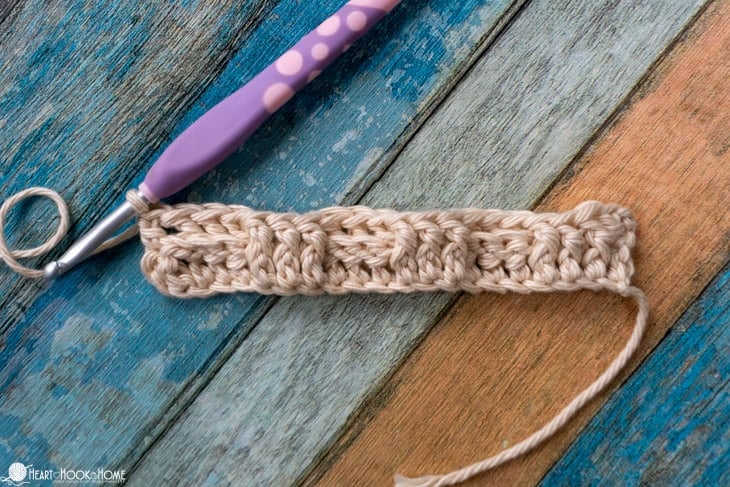
2. Front Post Double Crochet around each of the next THREE stitches.
3. Back Post Double Crochet around each of the next THREE stitches.
Alternate steps 2 & 3 until you only have one stitch remaining.
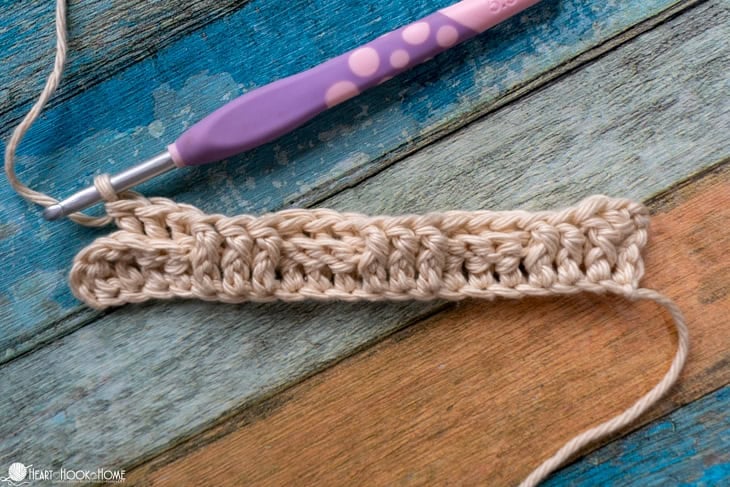
4. Double Crochet in the final stitch.
Row 3:
Repeat row 2.
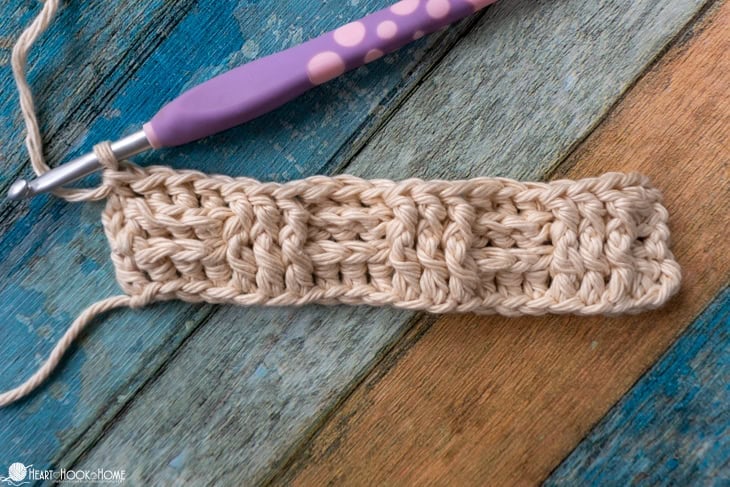
Row 4:
1. Chain two and turn. Place one regular double crochet in the first stitch.
2. Back Post Double Crochet around each of the next THREE stitches.

3. Front Post Double Crochet around each of the next THREE stitches.

Wanna save this for later?
Alternate steps 2 & 3 until you only have one stitch remaining.
4. Double Crochet in the final stitch.

Row 5:
Repeat row 4.

Row 6:
Repeat row 4.
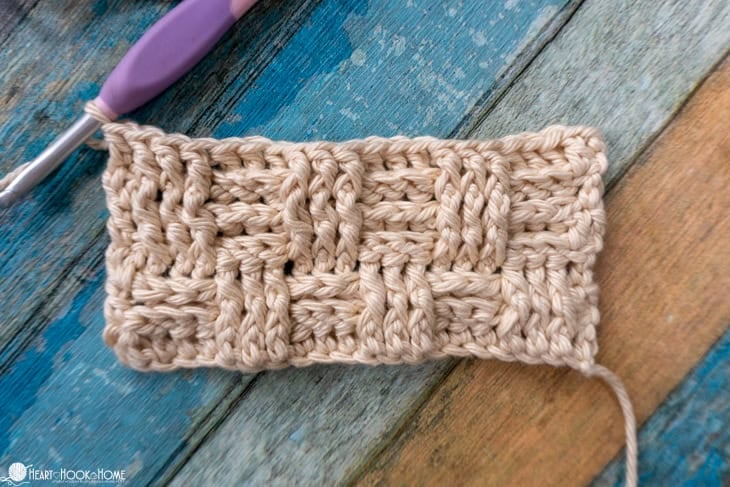
Now that the basketweave portion is established, we’ll change how we start the row every three rows…
For rows 7, 8 and 9 we will repeat row 2.
For rows 10, 11, and 12 we will repeat row 4.
For rows 13, 14, and 15 we will repeat row 2.
For rows 16, 17, and 18 we will repeat row 4.
That’s it! Once you get going, it’s hard to put it down! This is one stitch that works up quickly and works up beautifully.
Questions about the Basketweave Stitch:
What is the multiple needed for the Basketweave Stitch? The short answer is 6 + 2 + 2 for the beginning chain. Of course that depends on how wide you want your “woven” strips to be. If you’re wanting each portion to be three stitches wide as in this tutorial, then the multiple needed would be 6 plus 2 for the edge stitches and 2 for the foundation chains to start the row.
If you’re wanting to have much wider woven portions, say 8 stitches wide, then you would want a multiple of 16 + 2 + 2.
Can you work the Basketweave stitch in rounds? YES! You’ll just join each round before chaining and turning to start the new round. Maintain the three-row repeat and simply finish when you’ve added enough height.
Helpful Tip: Because of the thickness of this stitch, it may be helpful to use a hook size one larger than you normally would with the intended yarn.
Helpful Tip: I find my edges stay tidier when I keep the chains and the regular double crochet nice and tight. You could instead chain one and use the Half Double Crochet.
Basketweave Stitch Written Format:
Row 1: Ch-22, dc in 3rd ch from hook and in each to end. (20)
Row 2: Ch-2, turn, dc in first st, * Fpdc around next 3 sts, Bpdc around next 3 sts * repeat between * * until only one st remains, dc in final st. (20)
Row 3: repeat row 2 (20)
Row 4: Ch-2, turn, dc in first st, * Bpdc around next 3 sts, Fpdc around next 3 sts * repeat between * * until only one st remains, dc in final st. (20)
Rows 5 & 6: repeat row 4 (20)
Rows 7 through 9: repeat row 2 (20)
Rows 10 through 12: repeat row 4 (20)
Rows 13 through 15: repeat row 2 (20)
Alternate each three-row repeat until the piece is as tall as you like.
That’s it! I hope you love the Basketweave stitch and that you have fun crocheting with it. What will you make? I’d love to see!

Basketweave Stitch Video Tutorial:
If you would rather watch this video on YouTube, you can find it on my channel here. Don’t forget to subscribe while you’re there!

More crochet stitch tutorials:
How to Crochet the Double Moss Stitch
Treble Crochet Stitch Tutorial
Wide Half Double Crochet Stitch Tutorial