Tunisian Crochet Pumpkin Pattern
This post may contain affiliate links, meaning that I may earn a small commission if you make a purchase. See our disclosure policy for more information.
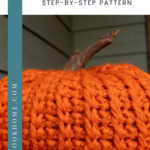


If you love decorating for fall and you love Tunisian crochet, this NEW pumpkin pattern is for you! With this Tunisian crochet pumpkin pattern we can make virtually any size pumpkin in any color.

Tunisian Crochet Pumpkin Pattern
We start this pumpkin by making one large-ish rectangle. The larger your rectangle, the larger your pumpkin. Then we’ll sew the sides together to form a tube, then cinch up the bottom, stuff it with Poly-fil, and shove a stick in the center. What a good lookin’ little pumpkin! 😉

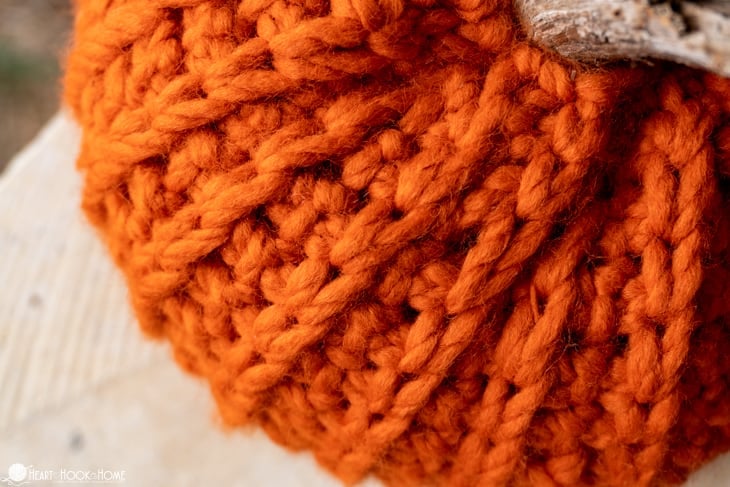
For this tutorial I am using Lion Brand Wool-Ease Thick & Quick (in the “pumpkin” colorway) with a 7mm Tunisian crochet hook. I designed this pumpkin to need only ONE skein of yarn. Woot!

Materials:
Lion Brand Wool Ease Thick & Quick (“Pumpkin” colorway pictured) one skein
Tunisian Crochet Hook in size 7mm

To make your pumpkin larger or smaller, simply add or remove from the starting chain. To ensure the pumpkin is a good shape, I try to keep my ratio 1:3, meaning that the rectangle is three times as long as it is tall. In this case, my rectangle is about 21″ wide and 7″ tall.
TKS = Tunisian Knit Stitch tutorial
TPS = Tunisian Purl Stitch tutorial
If you need help reading a crochet pattern, make sure you head over here and check out this detailed post.
Instructions:
Wanna save this for later?
Row 1: Ch-50, pull up a loop in 2nd ch from hook and in each ch to end. (50 loops) Backward pass: Ch-1, * yarn over, pull through two loops. * repeat between * * to end.
Rows 2 – 18: Skip first vertical bar. * TKS, TPS * repeat between * * to end. Insert hook in outside two loops of last st, pull up loop. Backward pass: Chain-1, * yarn over, pull through two loops. * repeat between * * to end. (50)
Single Crochet across last row. Fasten off leaving a long tail for sewing.

Fold the piece so that the two sides are touching and sew shut to form a tube.

Use your yarn needle to cinch up one end of the pumpkin. Add stuffing and make as spherical as possible, then cinch up the opposite end as well. You might need to shape the pumpkin a bit and feed the yarn back through the center to give it that sunken in effect.

Take a nice, long walk to find a good lookin’ stick. I took a stroll through the local chip site, looking for the perfect little stubs. I think I got the perfect one! Insert the stick into the top of the pumpkin and pull the yarn tight. Secure the ends as best you can, then fasten off.
That really is all there is to crocheting a Tunisian Fall Pumpkin! I hope you enjoyed this crochet pattern, and I look forward to crocheting again with you soon!
More for fall:
Nutmeg Nibbles: Free Placemat Crochet Pattern for Fall
Four-Hour Fall Sweater Free Crochet Pattern


2 Comments