
Honeycomb Filet Crochet Curtain Pattern
This post may contain affiliate links, meaning that I may earn a small commission if you make a purchase. See our disclosure policy for more information.
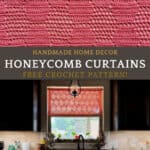
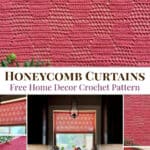
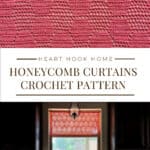
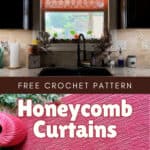


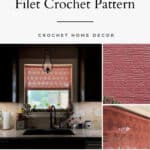
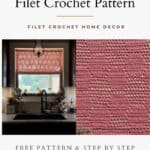
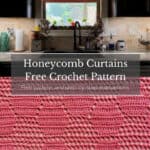
Adding crocheted curtains to the windows in your home makes your space feel cozy, inviting, and shows off your crocheting skills. Let’s make some Filet Crochet curtains using this free Honeycomb Curtain crochet pattern!
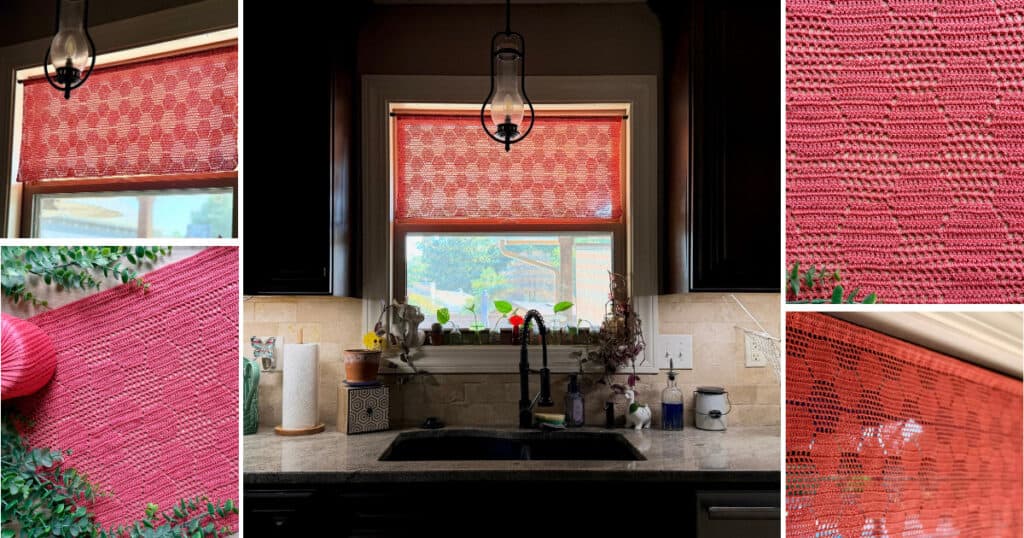
Honeycomb Filet Curtains
These curtains are made using the perfect mix of stitches to create a fabric that is both see-through and provides some privacy. Made using a technique called Filet Crochet, they are great for dressing your windows, especially the one in the kitchen.
I am currently in the process of making these same curtains on a much larger scale for the French Doors in my bedroom. I’ll hang a set of sheers behind them when they’re finished and I can’t wait to show you!
There are multiple sizes included in this gorgeous crochet curtain pattern. To determine the size you need to make, measure the width of the intended window. For my kitchen window the opening frame to frame was exactly 34″ (~87 cm) so I made my panel to be approx. 32 – 33″ before blocking.
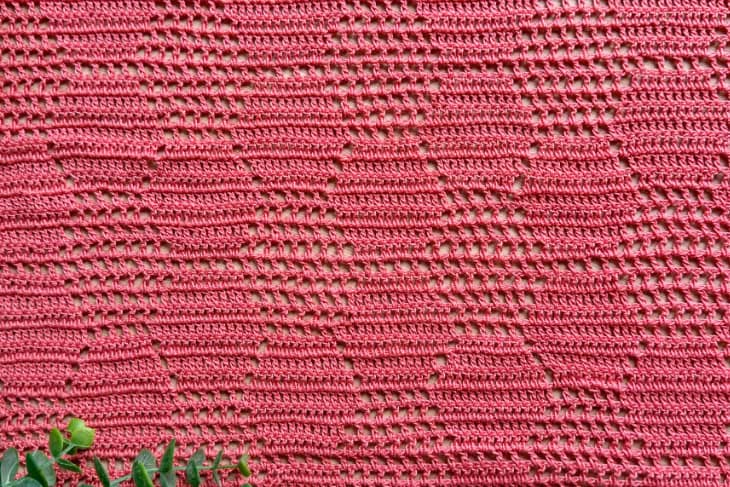
Keep in mind that you will block the fabric when you’re finished (or at least it’ll look better if you do!) so it will be slightly larger than the dimensions as you are crocheting it.
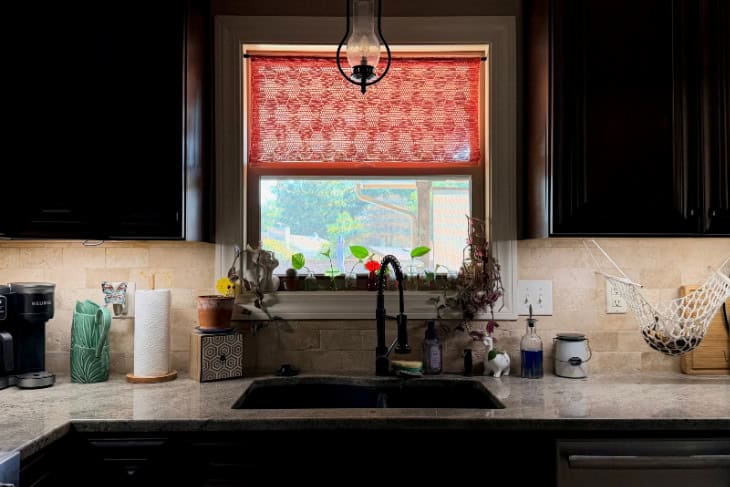
You’ll need a curtain rod for hanging your new curtain. Depending on the size and weight of your curtain you will be able to use a tension rod like I have done. The larger the curtain and the heavier it becomes, you’ll need to mount a more sturdy curtain rod with brackets etc.
For these curtains any #10 crochet thread will work. I had enough of this coral color in my stash, but I am using Curio #10 in “whisker” for the French Door version, and the Herrschners Best Crochet Thread would work nicely as well.
Materials:
#10 Crochet Thread
-approx. (1450, 1975, 2525, 5050, 7090) yds per one (36×24, 40×30, 44×36, 48×63, 52×84)” panel
–Curio #10 or Herrschners Best Thread suggested
Crochet hook in size 2.5mm or size needed to obtain gauge
Gauge:
30 sts x 18 rows = 4” in Double Crochet
Sizing:
Panel Width (# of sts): (36, 40, 44, 48, 52)”
Panel Length (# of rows): (24, 30, 36, 63, 84)”
Pattern Notes:
Pattern written using US terms.
Multiple of 24 + 7 + 1.
Each pattern multiple (24 sts) is just over 3″ wide (approx. 8 cm).
If you need to adjust the width of these curtains further, add or remove from the beginning chain in multiples of 24. (For example, chaining 248 instead of 272 would make the panel approx. 33″ wide instead of 36″).
To adjust curtain length, add or remove rows in pattern to desired length. Try to end on a Row 2, 6, 10, 14, 18, or 22 repeat.
If you need help reading a crochet pattern, make sure you head over here and check out this detailed post.
Abbreviations/Stitches:
Ch(s): Chain(s)
Dc: Double Crochet
Sc: Single Crochet
St(s): Stitch(es)
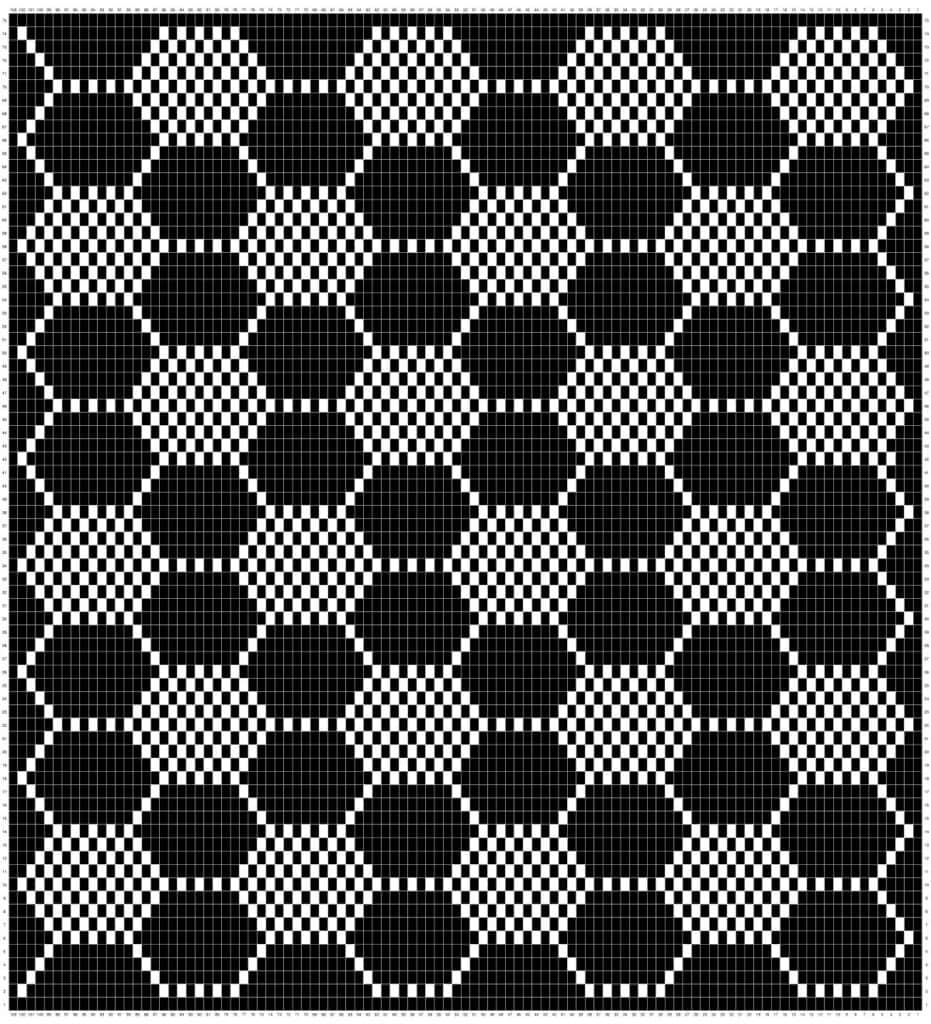
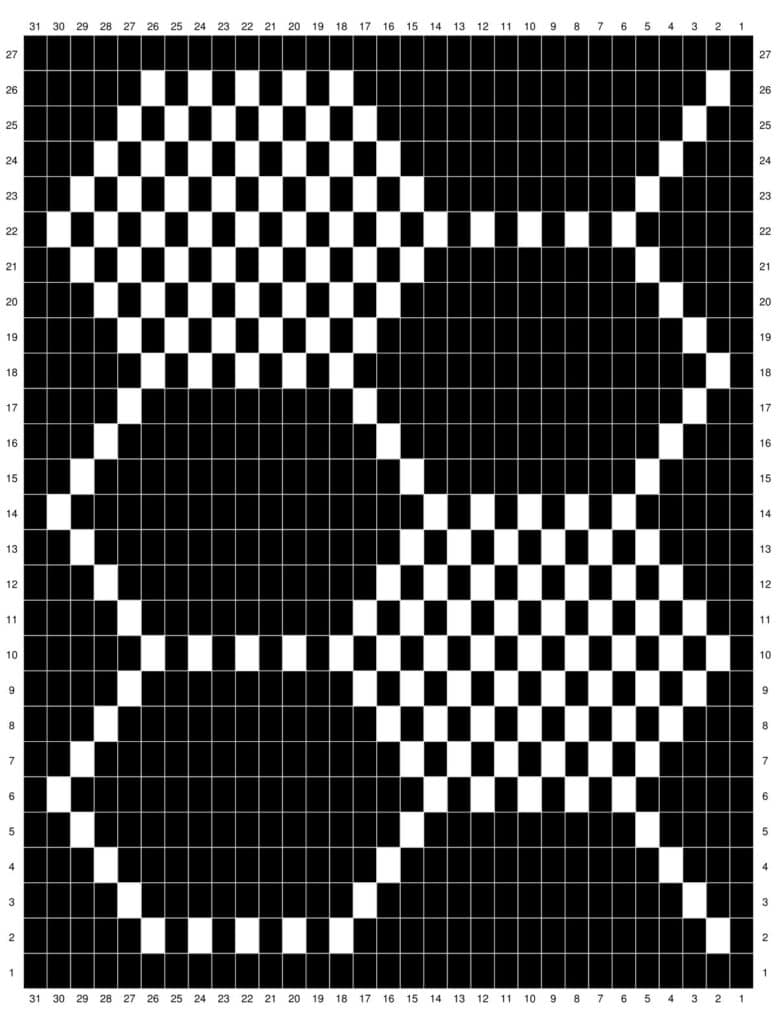
Grab the ad-free, printable version of this pattern on Ravelry, Etsy, or right here in the Heart Hook Home Blog Shop. Thank you!
Pattern:
Row 1: Ch-(272, 296, 320, 368, 392), dc in 2nd ch from hook and in each ch across. (271, 295, 319, 367, 391)
Row 2: Ch-1, turn, dc in first 5 sts, * (ch-1, sk-1, dc in next) 5 times, dc in next 14 sts * repeat between * * until 2 sts remain. Ch-1, sk-1, dc in last st.
Row 3: Ch-1, turn, dc in first 2 sts, * ch-1, sk-1, dc in next 13 sts, ch-1, sk-1, dc in next 9 sts * repeat between * * until 5 sts remain. Ch-1, sk-1, dc in last 4 sts.
Row 4: Ch-1, turn, dc in first 3 sts, * ch-1, sk-1, dc in next 11 sts * repeat between * * until 4 sts remain. Ch-1, sk-1, dc in last 3 sts.
Row 5: Ch-1, turn, dc in first 4 sts, * ch-1, sk-1, dc in next 9 sts, ch-1, sk-1, dc in next 13 sts * repeat between * * until 3 sts remain. Ch-1, sk-1, dc in last 2 sts.
Wanna save this for later?
Row 6: Ch-1, turn, dc in first st, * ch-1, sk-1, dc in next 15 sts, (ch-1, sk-1, dc in next st) 4 times * repeat between * * until 6 sts remain. Ch-1, sk-1, dc in last 5 sts.
Row 7: Ch-1, turn, dc in first 4 sts, * (ch-1, sk-1, dc in next st) 6 times, dc in next 12 sts * repeat between * * until 3 sts remain. Ch-1, sk-1, dc in last 2 sts.
Row 8: Ch-1, turn, dc in first 3 sts, * ch-1, sk-1, dc in next 11 sts, (ch-1, sk-1, dc in next st) 6 times * repeat between * * until 4 sts remain. Ch-1, sk-1, dc in last 3 sts.
Row 9: Ch-1, turn, dc in first 2 sts, * (ch-1, sk-1, dc in next st) 8 times, dc in next 8 sts * repeat between * * until 5 sts remain. Ch-1, sk-1, dc in last 4 sts.
Row 10: Ch-1, turn, dc in first 5 sts, * ch-1, sk-1, dc in next st * repeat between * * to end.
Row 11: Ch-1, turn, dc in first 2 sts, * (ch-1, sk-1, dc in next st) 8 times, dc in next 8 sts * repeat between * * until 5 sts remain. Ch-1, sk-1, dc in last 4 sts.
Row 12: Ch-1, turn, dc in first 3 sts, * ch-1, sk-1, dc in next 11 sts, (ch-1, sk-1, dc in next st) 6 times * repeat between * * until 4 sts remain. Ch-1, sk-1, dc in last 3 sts.
Row 13: Ch-1, turn, dc in first 4 sts, * (ch-1, sk-1, dc in next st) 6 times, dc in next 12 sts * repeat between * * until 3 sts remain. Ch-1, sk-1, dc in last 2 sts.
Row 14: Ch-1, turn, dc in first st, * ch-1, sk-1, dc in next 15 sts, (ch-1, sk-1, dc in next st) 4 times * repeat between * * until 6 sts remain. Ch-1, sk-1, dc in last 5 sts.
Row 15: Ch-1, turn, dc in first 4 sts, * ch-1, sk-1, dc in next 9 sts, ch-1, sk-1, dc in next 13 sts * repeat between * * until 3 sts remain. Ch-1, sk-1, dc in last 2 sts.
Row 16: Ch-1, turn, dc in first 3 sts, * ch-1, sk-1, dc in next 11 sts * repeat between * * until 4 sts remain. Ch-1, sk-1, dc in last 3 sts.
Row 17: Ch-1, turn, dc in first 2 sts, * ch-1, sk-1, dc in next 13 sts, ch-1, sk-1, dc in next 9 sts * repeat between * * until 5 sts remain. Ch-1, sk-1, dc in last 4 sts.
Rows 18: Ch-1, turn, dc in first 5 sts, * (ch-1, sk-1, dc in next) 5 times, dc in next 14 sts * repeat between * * until 2 sts remain. Ch-1, sk-1, dc in last st.
Row 19: Ch-1, turn, dc in first 2 sts, * ch-1, sk-1, dc in next 13 sts, (ch-1, sk-1, dc in next st) 5 times * repeat between * * until 5 sts remain. Ch-1, sk-1, dc in last 4 sts.
Row 20: Ch-1, turn, dc in first 3 sts, * (ch-1, sk-1, dc in next st) 7 times, dc in next 10 sts * repeat between * * until 4 sts remain. Ch-1, sk-1, dc in last 3 sts.
Row 21: Ch-1, turn, dc in first 4 sts, * ch-1, sk-1, dc in next 9 sts, (ch-1, sk-1, dc in next st) 7 times * repeat between * * until 3 sts remain. Ch-1, sk-1, dc in last 2 sts.
Row 22: Ch-1, turn, dc in first st, * ch-1, sk-1, dc in next * repeat between * * until 6 sts remain. Ch-1, sk-1, dc in last 5 sts.
Row 23: Ch-1, turn, dc in first 4 sts, * ch-1, sk-1, dc in next 9 sts, (ch-1, sk-1, dc in next st) 7 times * repeat between * * until 3 sts remain. Ch-1, sk-1, dc in last 2 sts.
Row 24: Ch-1, turn, dc in first 3 sts, * (ch-1, sk-1, dc in next st) 7 times, dc in next 10 sts * repeat between * * until 4 sts remain. Ch-1, sk-1, dc in last 3 sts.
Row 25: Ch-1, turn, dc in first 2 sts, * ch-1, sk-1, dc in next 13 sts, (ch-1, sk-1, dc in next st) 5 times * repeat between * * until 5 sts remain. Ch-1, sk-1, dc in last 4 sts.
Row 26 through (106, 134, 158, 282, 374) : Repeat rows 2 through 25 [ending on a Row (10, 14, 14, 18, 14) repeat]
Do not fasten off. Continue to Rod Pocket.
Rod Pocket:
Number of Rod Pocket rows depends on the diameter of rod to be used. Row counts given are for (½, ⅝, ¾, 1)” diameter rods.
Row 1: Ch-2, turn, dc in each st/ch-sp across. (271, 295, 319, 367, 391)
Rows 2 through (8, 10, 12, 14): Ch-2, turn, dc in each st across. (271, 295, 319, 367, 391)
Fasten off leaving a very long tail for sewing the tube. Fold the rod pocket down and line up the top of the last row with the base of the first pocket row. Sew across as evenly as possible. Before you get too far, make sure your curtain rod will fit inside. Weave in all ends securely.
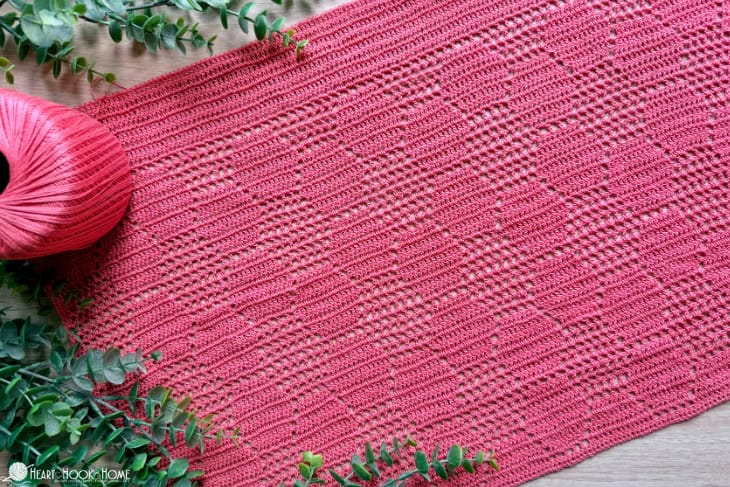
I hope that these curtains bring a cozy warmth to your home that only handmade things can provide. What color will you use to make yours? As soon as I finish the French Door version I’ll share that with you!
I can’t wait to see yours! Be sure to tag @HeartHookHome across all social media, or share in the Heart Hook Home Crochet Community on Facebook.
More patterns for you:
Leaf Trivet Free Crochet Pattern
Little Lord Baby Blanket and Crown Crochet Patterns
26 Useful Kitchen and Dining Room Crochet Patterns
Microwave Hand Saver for Big Bowls Crochet Pattern


Im trying to do the honeycomb curtain stitches come out but dosen’t look right. Do you have a better graph. I’ve always worked with a graphed and instructions that’s worded differently. And I’m assuming at that beginning of each row there’s know skipped stitch because you chain one and turn. Hope you can help. I can send picture of what it looks like if it will help.
The honeycomb pattern lets in the prettiest filtered sunlight, perfect for above the kitchen sink! I featured your pattern on Crafts on Display today, I hope you enjoy it. https://craftsondisplay.com/crochet/honeycomb-filet-crochet-curtain-275958/
I love filet crochet. I have been looking for something for my kitchen windows and im going to make this. Thank you for the pattern.