How to Join Crochet Squares
This post may contain affiliate links, meaning that I may earn a small commission if you make a purchase. See our disclosure policy for more information.
Whether you are seaming crochet squares, joining afghan squares, or slip stitching your way to a crocheted patchwork blanket, one thing is for certain: you need to know the fastest, easiest way to join crochet squares together, and this tutorial is for you!

How to Join Crochet Squares
Do you have a stack of crocheted squares that you are ready to join into a larger project, such as a granny square blanket, stitch sampler blanket, or granny square cardigan?

We’ve all seen the granny square blanket on the back of the couch in the Roseanne show. Whether you’re making a replica of that, or the Creighton’s Blanket pattern, or the Stitch Sampler Afghan pattern, the Fat Bottom Bag pattern, or you’re covering your headboard in bright shades of yarn… this method of joining squares is my favorite.

Yes, I like this method even more than the Mattress Stitch! Shocking, I know, but I have my reasons…
You could absolutely use the Mattress Stitch to join your squares and it would work perfectly fine. If you’ve made just about any of my crochet patterns you know that I do prefer the Mattress Stitch when seaming shoulders, sewing seams, adding pockets, or just about any other crochet related sewing.

However, when joining crochet squares I prefer to use this slip stitch method because it #1) is MUCH faster to do #2) is cleaner looking #3) is easier/faster to fix any mistakes #4) doesn’t absolutely need to have the same number of stitches on each square.
For this tutorial we are using the outside-only-slip-stitch method of joining. This method is helpful if you are joining squares that may not necessarily have the same number of stitches on each edge. Say one square has 42 stitches and the other only has 38. Those 4 missing (or extra) stitches will not make a huge difference in the end – if you know how to remove/incorporate them as you seam the squares.

You will need:
Crocheted squares all the same size. (Not necessarily the same stitch count, but as close to the same size as possible)
Crochet hook in 1 or 2 sizes larger than what you used to make the squares
Stitch Markers
Yarn for joining
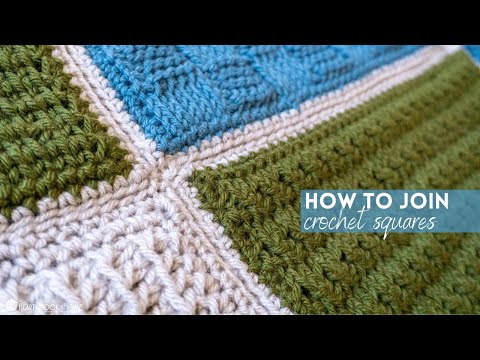
Make sure you watch the VIDEO below!

First things first, let’s decide on the layout of the squares. Take your time on this part! No, I did not block my squares. While it is generally recommended, I do like to go rogue every once in a while. 😉

Once you have the squares laid out exactly how you want them make sure that all squares are oriented the correct direction, and right side up. I prefer not to have any of the same color squares touching, and I also like to make sure that no two stitch sets are touching.
Once you have the squares in the perfect spots – TAKE A PICTURE! This is a super important step that may end up saving the day in the end. Just take my word for it. 😂
Now that you have your squares in the desired placement and the photo taken, it is time to start seaming. When seaming I always put “right sides” together so that I am looking at the wrong side of my squares. I start at the bottom and work my way up the entire height of the project, joining square after square until I reach the top.
Wanna save this for later?
Grab your yarn, stitch markers, and a hook size that is 1 – 2 sizes larger than what you used to complete the squares.

IMPORTANT! If your stitch counts are the same on each square this next step is NOT required.
If your squares have a different number of stitches on each you’ll want to line up the bottom edge of each square to be seamed and “pin” them in place using stitch markers. One on the left corner-most stitch and one in the center. Stitch counts do not matter, just lay the squares on top of each other (right sides touching) and wherever the center falls for each – mark that.


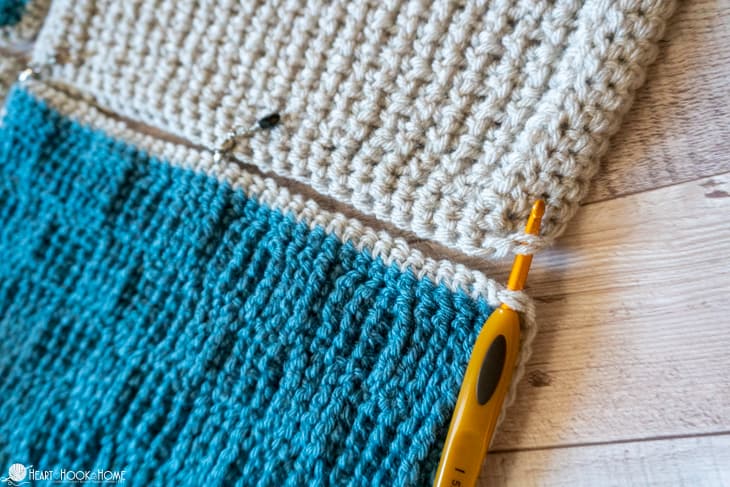
Use the outermost loops on each square, for two loops total per slip stitch. It is imperative that you stay loose so that you do not slip stitch too tightly (which slip stitching tends to do). Slip stitch the two squares together using those two (outside) loops from one corner to the other.


Pay attention to how many stitches there are until you hit the next “pin” stitch marker. If there are 7 stitches on one square but only 6 on the other, it is perfectly fine to completely skip over that extra stitch to keep on track. I promise you no one will be able to see it when you’re done.
If there are, for example, 10 stitches on one square and only 8 on the other, it is still okay to skip those 2 stitches, just try to space them out as much as possible so not all of the skipping takes place in the same few inches.
Again, if your squares all have the same number of stitches, then skipping stitches is not required. You’ll just slip stitch through the outer two loops of each square stitch-for-stitch until you reach the opposite corner.

When you get to your first corner, go through both loops on both squares (4 loops total) to help keep those intersections nice and secure. Grab the next two squares in the photo (the two above the ones you just completed) and seam those two in exactly the same manner.
When you get to the top, clip your yarn leaving a ~12″ tail for weaving in ends after the entire blanket is completed. I find that weaving in those ends after the border has also been added helps to hide any imperfections.
1. Stay loose! I can not stress to you how important that is. To get an idea for how loosely you need to be slip stitching, try seaming with your first two squares. When you’re finished and before moving on, flip it over to look at the “right side” of the seam. See if the seam is bunched up at all. If it is bunched up, you’re not staying loose enough.
2. Do not force the stitches to line up. This is important! If your squares have different numbers of stitches it is 100% okay if you need to skip a stitch on one of the squares to keep the corners lined up. What is NOT okay is forcing the stitches to line up or crocheting too tightly.
3. On the corner-most stitches, use both loops of each square. You want the intersections to be nice and sturdy!
4. Do not weave in any of the ends from attaching until you’ve done at least the first row of the border. (You should have one yarn tail at each junction around the entire blanket). This just helps to close up any small holes or inconsistencies after the fact.
That is it! While it is helpful if each square does have the same number of stitches, this is proof positive that it is not a requirement.
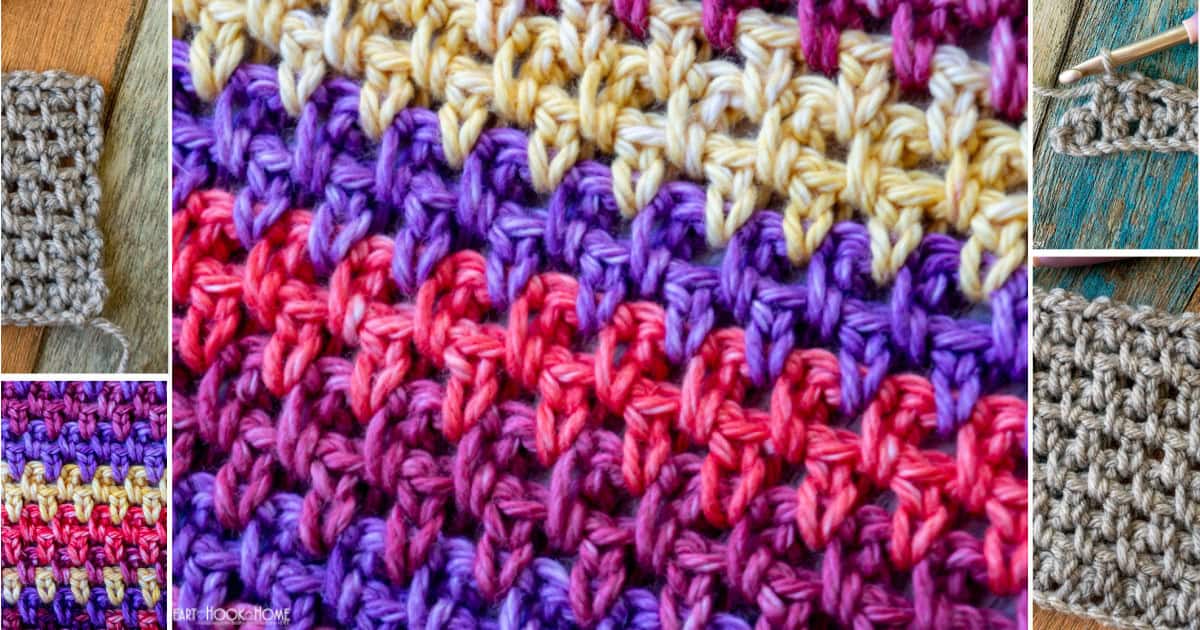
More crochet tutorials:
Lucet Fork Tutorial: Make Cord, Drawstring, Garland and More!
12 Awesome Things to Make with Fat Quarters (that require minimal sewing!)
How to Hand Sew a Purse Lining


5 Comments