Lucet Fork Tutorial: Make Cord, Drawstring, Garland and More!
This post may contain affiliate links, meaning that I may earn a small commission if you make a purchase. See our disclosure policy for more information.

A lucet fork is a super quick way to create a cord, drawstring, or rope using yarn. All you need is a length of yarn to quickly make a drawstring for a hoodie or pajama pants, shoestrings, a cord for crafting, a lanyard for an ID or badge, or even a keychain. Read on to learn how to use one!

How to use a Lucet Fork
A lucet fork is a great tool to have on hand. If you have ever crocheted an i-Cord, you know how time consuming it can be. There have been many instances where I’ve needed crocheted cords and just knew I would have to invest so much of my precious time into making them. Not any more! Enter the lucet fork. 👐
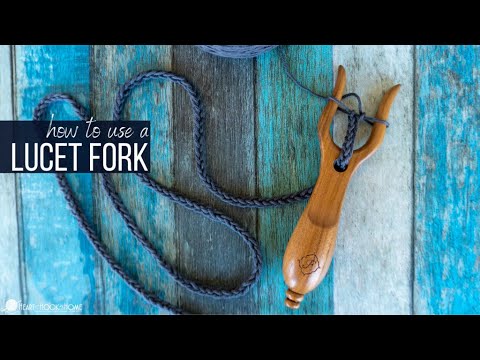
This tool was first used in Viking and Medieval times to create cords for clothing or to carry items. There are two prongs that you will use to wrap the yarn around, then simply create loop after loop after loop, until the cord is as long as you wish. This truly is an ingenious invention!
The cord made using a lucet fork is square in shape. These cords hold up very well and because of this would make for great shoestrings as well.
There are different ways to use a lucet fork. I will share with you my personal favorite. I find that this method creates a very consistent cord in literally NO time, and is the easiest to master.
After a few tries you’ll be a cord making fool too. Join me! 😃
Lucet fork instructions:
1. Insert the tail of yarn through the hole at the base of the fork. Hold securely with your left hand. (Or right hand if you’re left-handed, note that this entire tutorial will be mirrored if so!)


2. Feed the yarn up through the center of the fork and make a figure eight around the two prongs like so:


3. Wrap around the right side prong one more time. Like so:

4. On the prong that has two strands going around it, take the bottom strand and pull it over the top strand. Gently pull to secure (don’t pull too tightly or it will affect the tension/consistency).


Note: if you are a crocheter, you will find it helpful to hold the working yarn exactly as you do when crocheting. I find that I can better control the tension of the yarn and the cord has a more consistent appearance.
5. Twist the lucet fork to the left like this:

Wanna save this for later?

6. Now that the prong on right side again has two strands of yarn around it, take the bottom strand and pull it over the top strand. Again, gently pull to secure.


Repeat steps 5 & 6 until the cord is as long as you like. (Yes, that really is all there is to it!) When the cord is as long as you like, clip the working yarn.
Gently pull the two loops off the lucet fork and insert the yarn tail through both to secure. Watch the VIDEO below for further clarification and additional tips and tricks.

Lucet Fork Instructional Video:
What can you use a lucet fork for?
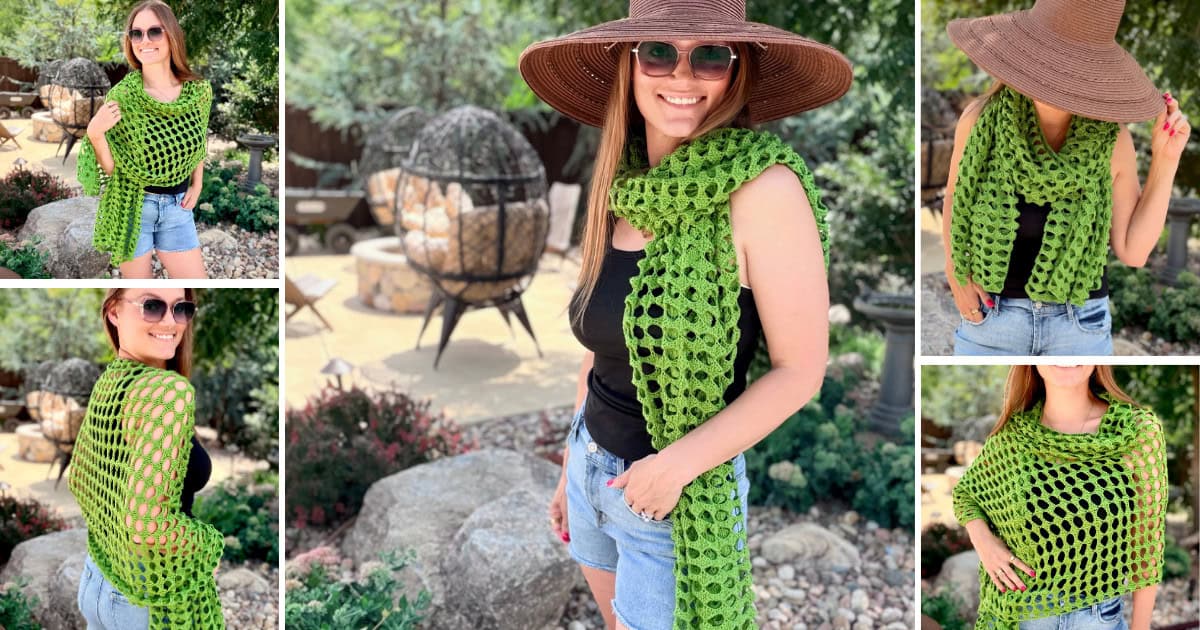
A lucet fork is used to make drawstrings, cords, lanyards, gift ties (instead of ribbon), shoestrings, etc. You could also use it to make a thicker yarn that you can then crochet with!
How about using red or green yarn to make a Christmas garland?! The possibilities are endless!
These cords would work great to hang my Hanging Baskets pattern.

Another great use for these cords would be to coil them and sew through with needle and thread to secure. You could make coasters, or rugs, or trivets this way! Talk about a great way to stash bust scrap yarn, especially if it’s cotton!
What kind of yarn should you use?
Because I am mostly using these cords for sturdier projects, I want them to hold up well. For this reason I prefer to use cotton (like Dishie), but if you are looking to match the project in which you will use said cord, virtually any yarn will suffice, including acrylic or any blend.
If you think of other inventive ways to use cord, be sure to share in the comments and share in the Heart Hook Home Crochet Community on Facebook! I look forward to using these cords in upcoming crochet projects. What will you make first?
More tutorials:
Shrink Film Stitch Markers Tutorial + Free SVG
How to Determine Yarn Weight Using WPI Tool
24 Household Yarn Bowl Alternatives
28 Yarn Box Subscription Services for Knitters and Crocheters


9 Comments