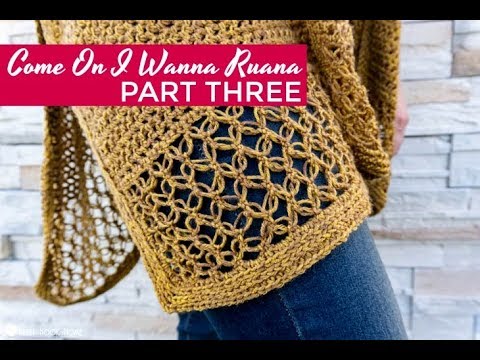
Come On I Wanna Ruana: Part THREE
This post may contain affiliate links, meaning that I may earn a small commission if you make a purchase. See our disclosure policy for more information.

Here we are, starting on the home stretch of the Come On I Wanna Ruana crochet along! Grab your ruana where you left off in part two and let’s get this thing (almost) finished!

Come On I Wanna Ruana: Part THREE
In part three of this crochet along, we are adding the FRONTS of the ruana. Part two took us up to the shoulders, now we are going to continue working our way for a seamless effect.
Find the materials list, gauge, and dates & info here.
This part is ridiculously simple, but it will take a bit of time so I decided to give this section its own part. From where you left off on part two, where the yarn is still attached… you will continue “left” and “right” sides separately.
Part Three
If you added length (or removed length) in part two, you will want to add (or remove) the same amount of rows/inches here. So, if you added 3″ to the back of the ruana, you want to add 3″ to the front of the ruana as well. If you removed 5″ from the back, you’ll also want to remove 5″ from the front.
Pick up where you left off no matter the row count – measurement is most important and continue from there in the same stitch pattern…
See the VIDEO for part three below.
Rows 69 – 129 (or however many rows for another 23”): Ch-2, turn, hdc in first ch-sp. * ch-1, hdc in next ch-sp * repeat between * * to end. (70)
When looking down at the ruana (if you are right handed) the odd numbered rows are worked right to left, and the even numbered rows are worked left to right. When you finish part three, make sure that you end on an ODD numbered row. This will be important when we start part four.
Wanna save this for later?
Also, do NOT fasten off at the end of part three; we’ve got a bit more work to do! In part four we will finish the fronts of the ruana, add the border and the finishing touches. AND I CAN NOT WAIT!
Part One – published here
Part Two – published here
Part Three – this one!
Part Four – published here
SIGN UP FOR EMAIL ALERTS FOR THIS FREE CROCHET ALONG!
MORE FREE CROCHET ALONGS:
“Woven In Time” Sofa Blanket Crochet Along (CAL) Materials & Dates
The Elizabeth Cardigan – Crochet Along (CAL) – Free Crochet Pattern


3 Comments