Diagonal Stripes Crochet Stitch Tutorial
This post may contain affiliate links, meaning that I may earn a small commission if you make a purchase. See our disclosure policy for more information.
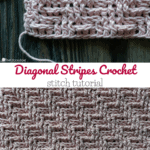
The Diagonal Stripes crochet stitch is a subtle, feminine, and intriguing way to add some texture to your crocheted work. I love the way the light plays off of these stitches, creating almost an optical illusion. Let’s learn the Diagonal Stripes with this crochet tutorial!

How to crochet Diagonal Stripes Stitch
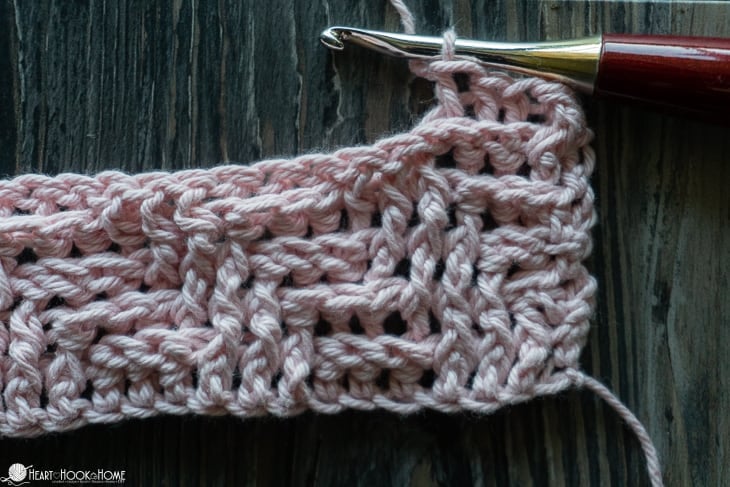
The Diagonal Stripes in this stitch set are made using a combination of Front Post stitches and Back Post stitches. To get these post stitches to stagger, we are simply moving them over one stitch each time we start a new row. It looks harder than it is, and if you can creating ribbing on cardigans (such as is used in the Painted Canyon Cardigan) you can absolutely make this!

Fair warning! The VIDEO TUTORIAL below may explain this stitch better than the written instructions. The most important thing is to make sure you are starting each row with the correct number of stitch(es) (either Front Post OR Back Post), and that you are always moving the column over by one stitch.
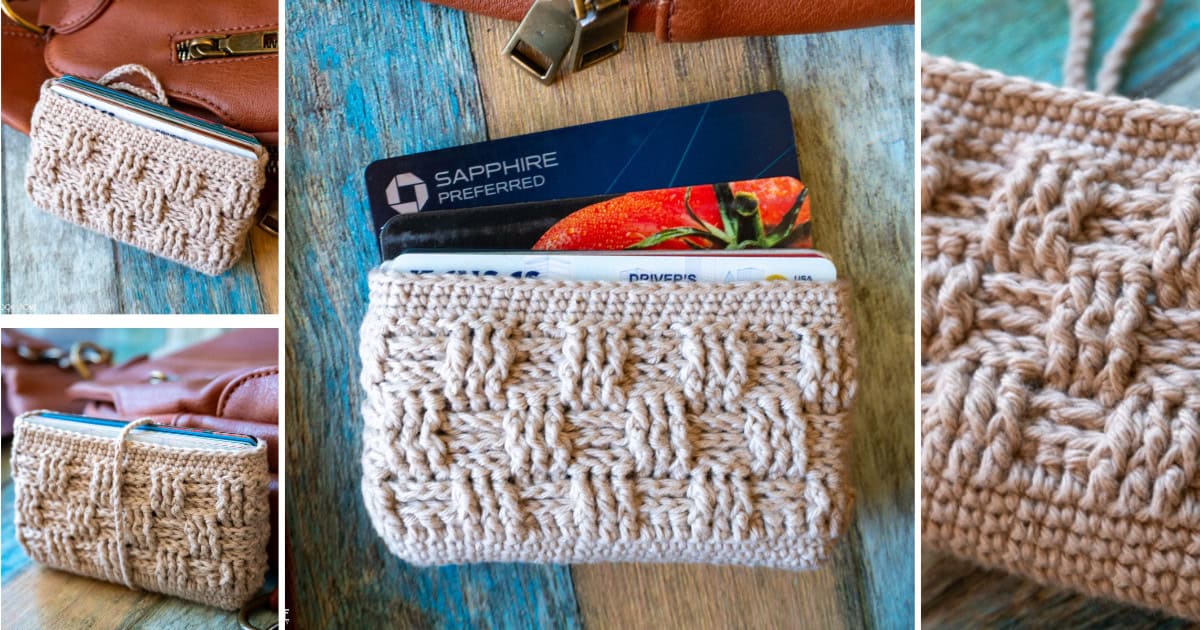
This stitch is also REVERSIBLE. Flip one way and the diagonal stripes will go one direction, or flip it over and they’ll go the other way. I love that both sides are pretty!

Diagonal Stripes Tutorial:
1. Start with a chain, using a multiple of SIX stitches, plus three. For example, 6 + 6 + 6 = 18 + 3 = 21 chains to start. Double crochet in the 3rd chain from the hook and in each to end. I now have 19 double crochet stitches.

2. Chain one and turn. Half double crochet in the first stitch. Front Post double crochet around the next THREE stitches, then Back Post double crochet around the next THREE stitches. Alternate 3 front, then 3 back, all the way to the end of the row. Place one half double crochet in the top of the last stitch.


3. Chain one and turn. Half double crochet in the first stitch. Front Post double crochet around the next TWO stitches, then Back Post double crochet around the next THREE stitches. Alternate 3 front, then 3 back, all the way to the end of the row. Front Post double crochet around the final post, then place one half double crochet in the last stitch.


4. Chain one and turn. Half double crochet in the first stitch. Back Post double crochet around the next TWO stitches, then Front Post double crochet around the next THREE stitches. Alternate 3 back, then 3 front, all the way to the end of the row. Back Post double crochet around the final post, then place one half double crochet in the last stitch.


Wanna save this for later?
5. Chain one and turn. Half double crochet in the first stitch. Back Post double crochet around the next THREE stitches, then Front Post double crochet around the next THREE stitches. Alternate 3 back, then 3 front, all the way to the end of the row. Place one half double crochet in the top of the last stitch.


6. Chain one and turn. Half double crochet in the first stitch. Front Post double crochet around the next ONE stitch, then Back Post double crochet around the next THREE stitches. Alternate 3 front, then 3 back, all the way to the end of the row. Front Post double crochet around the final TWO posts, then place one half double crochet in the top of the last stitch.


7. Chain one and turn. Half double crochet in the first stitch. Back Post double crochet around the next ONE stitch, then Front Post double crochet around the next THREE stitches. Alternate 3 back, then 3 front, all the way to the end of the row. Back Post double crochet around the final TWO posts, then place one half double crochet in the top of the last stitch.


Now that you’ve got the rhythm down, repeat steps 2 – 7 until desired height is reached.
The video may be a better means of learning this stitch. Please do let me know if it helps!

More crochet tutorials:
Herringbone Double Crochet Tutorial (Hbdc)
How to Crochet the Bobblet Stitch


13 Comments