Home » Hook » Crochet Tips & Tutorials » Waffle Stitch Crochet Tutorial
| | |

Waffle Stitch Crochet Tutorial

This post may contain affiliate links, meaning that I may earn a small commission if you make a purchase. See our disclosure policy for more information.

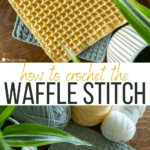
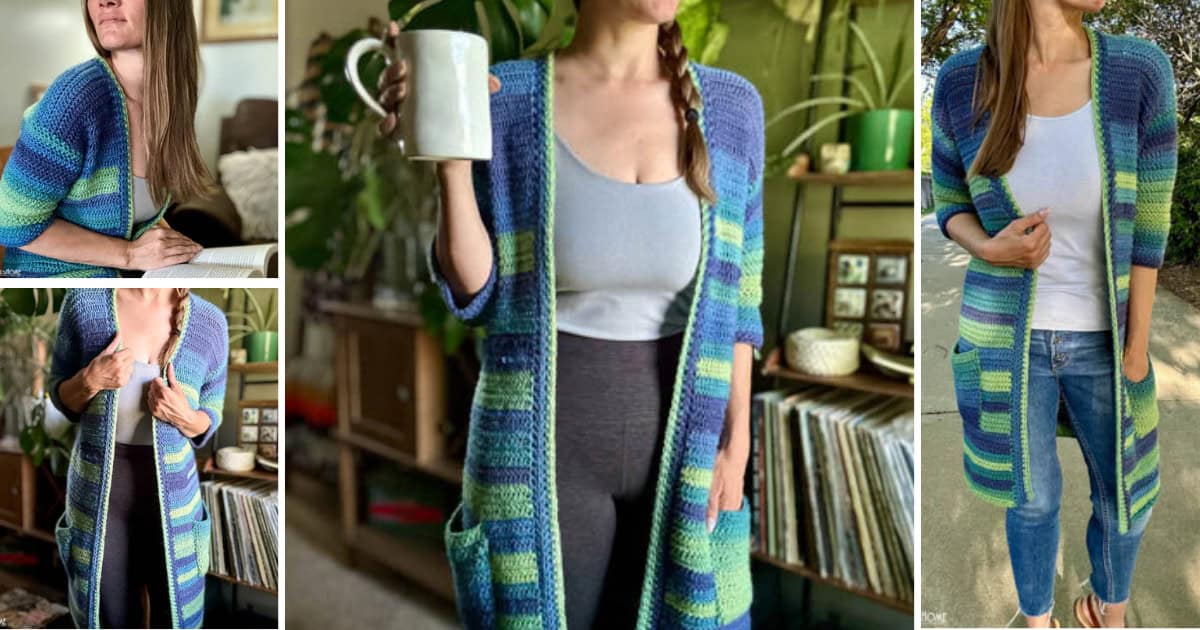
Ahh, the Waffle Stitch. Such a fun and textured crochet stitch, and much easier than it looks! We use this stitch in a square for the Creighton’s Blanket pattern and my simple Waffle Blanket pattern, so let’s learn how to crochet the stitch today in this Waffle Stitch tutorial.

waffle stitch crochet tutorial

Waffle Crochet Stitch

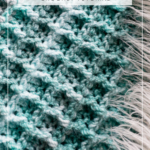
The Waffle Stitch is a wonderfully textured, super squishy crochet stitch that is made up of a series of double crochets and front post double crochets. We will alternate two rows back and forth, each row repeating a set of stitches in multiples of three. By using the post stitches, we are pronouncing what will become both the sides and the top line of the “waffle”. It almost looks good enough to eat! 🧇

Waffle Stitch Tutorial

About the Waffle Stitch:

Stitch multiple: If you’re trying to figure out how many chains you need for a waffle stitch project, I like to start mine with a chain in multiples of 3 + 2.

If you choose to start your project with Foundation Double Crochet instead of chaining and double crocheting back through, that’s perfectly fine! In this case you would want to make sure that you have a stitch count in the multiple of three. (For example, 30 stitches, 60 stitches, 90 stitches, etc).

This stitch is a fairly simple two row repeat. Alternate the two rows back and forth until the piece is as tall as you like.

It is important to note that when crocheting the Waffle Stitch, the width does tend to shrink after a handful of rows. For example, after two rows my piece may measure 12″, but after 10 rows the width is closer to 10″. Because of this I highly recommend doing several rows of a gauge swatch before starting a project using this stitch.

The Front Post Double Crochets when looking at the “right side” should always line up.

Is the waffle stitch a yarn eater? Yes! This stitch does tend to use a lot of yarn. For this reason, this would be an excellent stash buster project. Consider making the Waffle Blanket pattern if you’re stash busting.

Written Instructions:

1. To start, chain a multiple of 3 + 2.

2. Double crochet in the third chain from the hook and in each chain to the end. At the end of this row you should have a multiple of 3 stitches.

3. Chain-2, turn your work and double crochet in the very first stitch. * Front post double crochet (FPdc) around the post of the next stitch. Double crochet in each of the next two stitches. * Go back to the first * and repeat between * until you only have two stitches remaining. Place a FPdc around the second to last stitch, and a double crochet in the last stitch.

First waffle row complete!

4. Chain-2, turn your work. Double crochet in the first two stitches. * FPdc around the next two stitches, double crochet in the next stitch. * Go back to the first * and repeat between * until you have only one stitch remaining. Double crochet in the last stitch.

Second waffle row complete!

After several row repeats the “waffle” really starts to take shape. Keep repeating steps 3 & 4 until you have as many rows you wish, ending with a step 3.
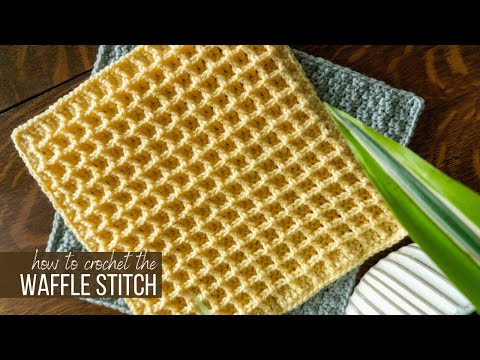
Video Tutorial:

YouTube video
If you’d like to give this and other fun new stitches a try, Creighton’s Blanket would be the perfect project for you. Make it in baby blanket size, throw size, or any other size up to a King! I am also including this stitch in my NEW stitch sampler afghan pattern. For this afghan we are making 12″ squares that we will then compile together into one large blanket. Such a fun way to learn, or brush up on, gorgeous crochet stitches!

Waffle Stitch Crochet Tutorial

More crochet stitches:

Crossed Double Crochet Stitch Tutorial

How to Crochet the Bobble Stitch: Written and Video Tutorial

Tunisian Honeycomb Crochet Stitch Tutorial

How to Crochet the Moss Stitch (Written and Video Tutorial)

How to Crochet The Mini Bean Stitch (Elizabeth Stitch)

Similar Posts

Leave a Reply

Your email address will not be published. Required fields are marked *

This site uses Akismet to reduce spam. Learn how your comment data is processed.

26 Comments

  1. Excellent video tutorial and written instructions, both of which match each other exactly. I've crocheted this pattern many times, works up perfectly every time. Thank you for your time and effort, it is appreciated.
  2. The written instructions are not correct - Row 2 starts with 2 Dc followed by 1 FP Dc in the video. Also, starting chain should be in multiples of 3 +1 (not +4). Several people have posted here (over 2 years ago) that the written instructions are different than the tutorial. This is not a good way to drive traffic to your YouTube channel.
  3. Hi, Enjoyed this article I have query what do you call waffle box, and the raised part of waffle on another side, I mean like we say wales in Corduroy or called left/right-hand twill in jeans. i need to know the exact term of waffle box the depth and other side raised portion what do you call?
  4. Thank you so much for taking your time and showing and discussing the rows after you finish them. You are a wonderful teacher.
  5. Hi After my cataract surg. I found cross stitch difficult to resume so I'm taking up my crochet hooks instead. Your site has become my go to. Your tutorials are easy to follow. Latest is the waffle stitch. Got the hang of it but had to watch a few times. When you did rows 1-4 & went to repeat I got lost but soon found the mix up-- you are saying repeat rows 2&3 when it's really rows 3&4. Hey we all have brain fog moments. TY Almond stitch next. PS-- Have you seen Knooking-the knit crochet combo? Fun but can be a little awkward
  6. Maybe I’m missing something. There is no ending. You don’t explain how to end the square. I want to make waffle squares and then join them into a blanket. I can’t seem to find a tutorial that explains how to make the complete waffle square.
    1. Hi Thomas! I have the square pattern for the waffle stitch in the Creightons blanket post which can be found here: https://hearthookhome.com/creightons-blanket-free-crochet-pattern/
  7. I am making the Creighton blanket and the waffle stitch block comes out bigger than the other blocks despite same hook and yarn. My count is correct. Has this happened to other people?
    1. You can certainly try it and see how it goes! Just make sure to use the yarn recommended hook size (or maybe even go up a hook size). It would definitely make for a very thick and squishy project!
  8. In written instructions step 2 says dc in first st then fpdc around next post and in video you say dc in first 2 sts then fpdc around next post.
    1. I agree, confused me because the video and the text don't agree. The text is definitely missing that one DC stitch.
  9. Thank you for great instructions and easy to follow video!! I am using a large hook-9mm with a super Soft yarn and the waffle pattern is not very pronounced in the second row. I’m debating on whether or not I should continue. Do you think that the waffle needs a smaller hook with stiffer yarn in order to take shape properly? Thank you so much, I have bookmarked your page and look forward to many other projects inspired by your creativity and talent!
    1. Hi Jacey! If you are using a 4 weight yarn with a 9mm hook, then it is possible that the waffle look will get "lost" in the looseness of the stitches. I would continue for a few more rows just to see what happens. If it's not looking how you want, then I would go down to a smaller hook. Hope this helps!
  10. Love your videos but in this waffle stitch the video is different from the written instructions. Row 2 says: DC in the first stitch then FPDC around post of next stitch, DC in next two in the video it says: DC in 1st TWO STITCHES Row 3: Ch 2 turn, DC in 1st stitch, FPDC around next 2 POSTS, video says FPDC in next POST So not sure which one to follow and truly love all your videos since they do help me
  11. Typo in written description - beginning of step 3 should read “Chain-2, turn your work and double crochet in the first two stitches.”