How to Crochet The Mini Bean Stitch (Elizabeth Stitch)
This post may contain affiliate links, meaning that I may earn a small commission if you make a purchase. See our disclosure policy for more information.
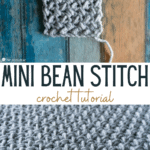
Have you had the chance to fall in love with the Mini Bean crochet stitch? This stitch is also called the Elizabeth stitch and is so fun to crochet. With great texture and a plush feel, you’ll be using this stitch for all kinds of projects. This Mini Bean tutorial will teach you everything you need to know about this fun, beautiful stitch.

Mini Bean Stitch Tutorial
We use the Mini Bean stitch to make the Elizabeth Cardigan, the Don’t Worry Bean Happy Hoodie, and the Hand Warmer Ear Warmer. We are also using it in the Stitch Sampler Afghan as well, which would be an excellent opportunity to practice!


Mini Bean Stitch Multiple:
To start a new project with the Mini Bean stitch, you’ll want to make a chain using a multiple of TWO plus one. So start with an odd number of chains. Each two chains will make up one Mini Bean.
For example, if you chain 20+1, you’ll end up with 10 Mini Bean stitches and if you chain 60+1 you’ll end up with 30. The “plus one” accounts for the side of the first stitch of the first row.
To make the Mini Bean:

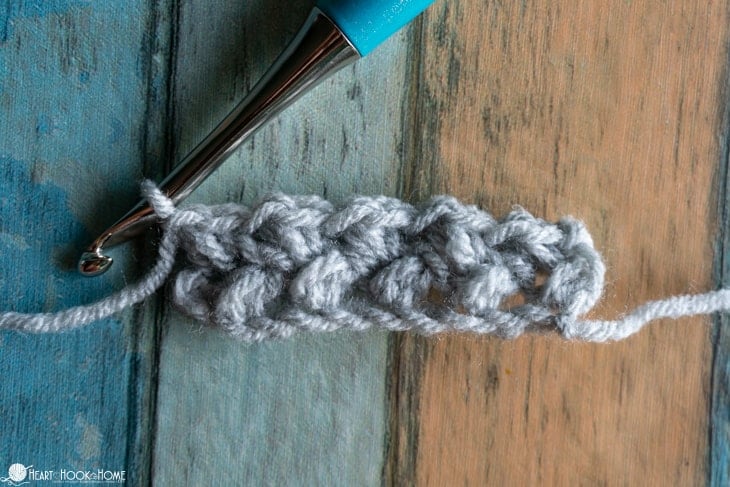
Insert your hook into the third chain from the hook. Pull up a loop. Yarn over, insert hook into same chain and pull up a loop.

You should now have four loops on your hook. Yarn over, pull through all four loops, then chain one to close the stitch.


Skip the next chain, insert hook into the next chain, pull up a loop. Yarn over, insert hook into same chain and pull up a loop.

Wanna save this for later?

With four loops on your hook, yarn over and pull through all four loops and chain one to close the stitch. Repeat this process until you reach the last chain.

To start a new row, chain one and turn. (It will look like you have two chains: one to close the last stitch and one to start the new row.) This is better explained in the video below.

To make all subsequent rows of the Mini Bean stitch:
1. Insert hook into the side of the next stitch as pictured below.


Continue making Mini Beans…
Pull up a loop so that you have two loops on your hook. Yarn over, insert hook into the same stitch, pull up a loop so that you have four loops on your hook. Yarn over and pull through all four loops. Chain one to close the stitch. Stitch made!
Continue to the end of the row, always going into the side of the Mini Bean from the previous row (as pictured above and explained in the video below). Don’t forget to chain another to start the new row (so that it looks like you have two chains).
If you are more of a visual person, there is a brand NEW video tutorial for this stitch below.
Video tutorial for Mini Bean (or Elizabeth Stitch)

More stitch and crochet tutorials:
How to Herringbone Half Double Crochet (HHDC)
Sew Crochet Pieces Together Using the Mattress Stitch
How to Make an Invisible Join in Crochet
How to Crochet the Lemon Peel Stitch
Finding the Best Yarn Ball Winder for Your Needs
How to Crochet the Moss Stitch (Written and Video Tutorial)


16 Comments