3/6M Size On Point Poncho Pattern
This post may contain affiliate links, meaning that I may earn a small commission if you make a purchase. See our disclosure policy for more information.

If you’re headed to a baby shower soon, or expecting a little one yourself, you have got to work up a 3/6 month version of the On Point Poncho.

3/6 Month Poncho Pattern
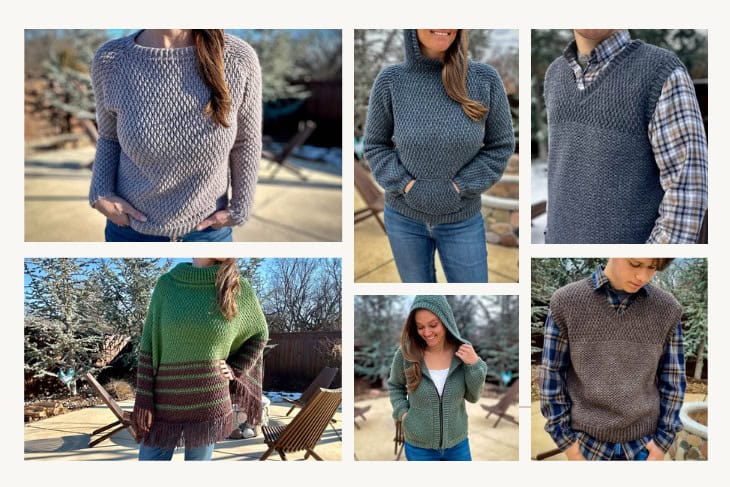
Shannon is one of my testers and worked up an adult size of the On Point Poncho. When finished she had enough yarn left over to make her infant daughter one as well. How adorable are they in their matching sweaters?! ♥
Sizes of this pattern include:
Newborn
3/6 Month (this one!)
9/12 Month
12/18M
2/3T
4/6 Youth
8/10 Youth
10/12 Youth
Because there are so many sizes available, you can literally make one for every stage in your little one’s growth. And of course there is an adult size, which can be found here, that goes up to 4XL!

Materials:
Lightweight/Size 3/DK yarn (w/o fringe)
-approx. 170 yards for 3/6M
6mm hook (or size needed to obtain gauge)
Gauge: 12 dc sts x 8 rows = 4”
Pattern Notes:
Start at the top and work your way down.
Pattern starts at the center back and is joined in rounds, turning each row.
Place first stitches of each row in the same space as join. (the ch-2 does not count as a stitch)
Odd numbered rows are “right side” and even numbered rows are “wrong side”. When finished with row 1, you could add a safety pin to remind you which side is which.
Grab the ad-free, printable version of ALL the child sizes bundled together on Ravelry. Thank you!
If you need help reading a crochet pattern, make sure you head over here and check out this detailed post.

3/6 Month PATTERN:
To see the companion video for this pattern, check the Newborn size here.
Wanna save this for later?
Row 1: Ch-42. Join to first ch w/o twisting chain. Ch-2, 3dc in first ch, dc in next 19 sts. 2dc in next st, 3dc in next (Place st marker in center most st) 2dc in next st. Dc in next 19 sts, 2dc in same space as starting sts. Join to top of first dc with sl st. (50)
Row 2: Ch-2, turn, 3dc in first st, dc in each st to marker. 5dc in marked st. Move up st marker to new center (here and throughout pattern). Dc in each st to end, 2dc in same space as starting sts. Join to top of first dc with sl st. (58)
Rows 3 – 6: Ch-2, turn, 3dc in first st, dc in each st to marker, 5dc in marked st. Dc in each st to end, 2dc in same space as starting sts. Join to top of first dc with sl st. (90 sts at the end of row 6)
ARMHOLES
*note that the center points are smaller from here on out.
Row 7: Ch-2, turn, 2dc in first st, * dc in next 13 sts, ch-1, sk-18 sts, dc in next 13 sts * 3dc in marked st. Repeat between * * one more time. Dc in same space as starting sts. Join to top of first dc with sl st. (60)
BODY
Rows 8 – 10: Ch-2, turn, 2dc in first st, dc in each st to marker, 3dc in marked st. Dc in each st to end, dc in same space as starting sts. Join with sl st. (72 sts at the end of row 10)
Rows 11 – 19: Ch-2, turn, 2dc in first st, * dc in next 15 sts. Dc2tog, dc in next st, dc2tog. Dc in each st to marker * 3dc in marked st. Repeat between * * one more time. Dc in same space as starting sts. Join with sl st. (72)
Fasten off and weave in all ends. If desired, add fringe. Cut yarn in ~6” long strands (so they will be ~3” long when halved), and attach three strands of fringe in every third stitch across the bottom of the last row of the body.
SLEEVES
Attach yarn at center of underarm looking at the OUTSIDE of the sleeve opening. See pattern notes regarding “right side” and “wrong side”.
Row 1: Ch-2, Dc in same sp. Evenly dc in each st/sp around armhole, placing 1dc around the dcs from the armhole row. Join to top of first dc with sl st. (21)
Row 2: Ch-2, turn, dc2tog, dc in each st around. Join to top of first dc with sl st. (20)
Row 3: Ch-2, turn, dc in first, dc in each st around. Join to top of first dc with sl st. (20)
Row 4: Ch-2, turn, dc in all but last 2 sts, dc2tog. Join to top of first dc with sl st. (19)
Row 5: repeat row 3 (19)
Row 6: repeat row 2 (18)
Row 7: Ch-1, turn, sc in each st around. Join with Invisible Join and weave in all ends.
That. Is. It! I hope you love your newborn size poncho! Share a photo of your finished On Point Poncho in the Heart Hook Home Crochet Community on Facebook, or by tagging @HeartHookHome on Twitter or Instagram!
MORE FREE PATTERNS FOR BABIES:
Infant Bomber Cardi Crochet Pattern (3/6 months)
Newborn Sleep Sack Free Crochet Pattern


5 Comments