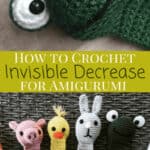
How to Crochet the Invisible Decrease for Amigurumi Crochet
This post may contain affiliate links, meaning that I may earn a small commission if you make a purchase. See our disclosure policy for more information.
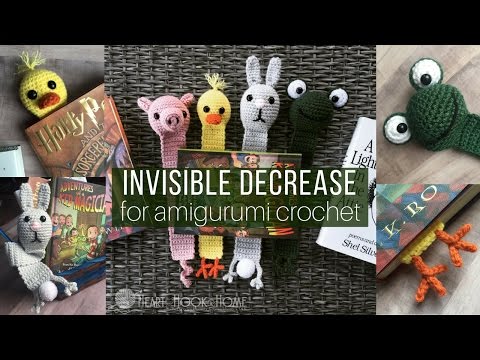
Amigurumi – say it with me now! Ami-gu-ru-mi. If you’re not sure you’re saying that right that’s okay! I’m not sure I’m saying it right either. 😉 But I do love crocheting amigurumi stuffed animals, especially my new collection of bookmarks that I can’t seem to stop adding to.
When crocheting amigurumi, making your items appear more professional really is as simple as #1) counting your stitches #2) NOT joining at the end of each round and #3) using the invisible decrease. If you are brand new to amigurumi, I highly encourage you to try my duck, bunny and/or my frog bookmark patterns – the pig, monkey, crab, dragon, cat, dog, penguin, flamingo and more will be joining the collection as quickly as I can create the patterns and crochet them. Freakin’ adorable, right?!
Invisible Decrease for Amigurumi Crochet
The invisible decrease is quite simple once you get the hang of it, and when you’re finished not only will others have a hard time finding those decrease stitches – even an experienced crocheter will have a hard time finding them as well. You are a crochet professional, honey.
I do not recommend using this method of decreasing for anything other than amigurumi crochet. If used on a flat project (a washcloth or scarf etc) it will pucker and just not look right. Add some stuffing, however, and all bets are off! Momma don’t play.
Wanna save this for later?

Instead of doing a normal single crochet decrease, where you insert into the next two entire stitches, for the invisible decrease we are going to hook the front loop only of the next stitch, then the next stitch (without yarning over) and finishing it off as a normal single crochet stitch. Easy peasy right? Watch the video tutorial below…
More crochet tips and tricks before you go!
How to Crochet the Moss Stitch (Written and Video Tutorial)
18 Craft Fair Tips for Beginners: How to Run a Successful Craft Show Booth
How to Create Planned Yarn Color Transitions in Crochet
Size Crochet Beanies + Master Beanie Pattern
How to Crochet the Crocodile Stitch (Video Tutorial)
Change Colors in Crochet


11 Comments