
Easiest Crochet Pumpkin Pattern
This post may contain affiliate links, meaning that I may earn a small commission if you make a purchase. See our disclosure policy for more information.
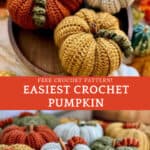
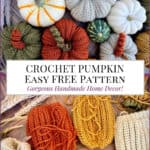
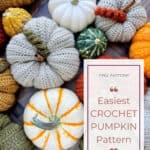
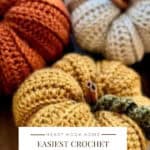
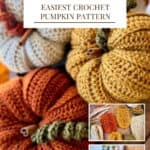
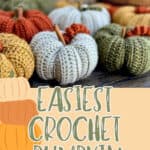
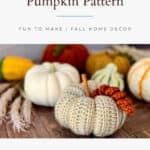
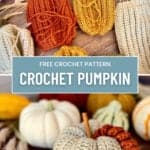
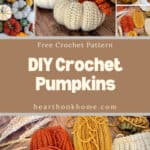
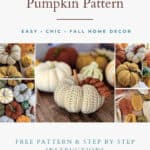
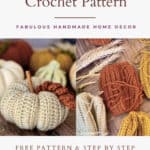
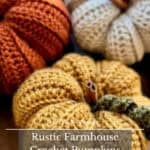
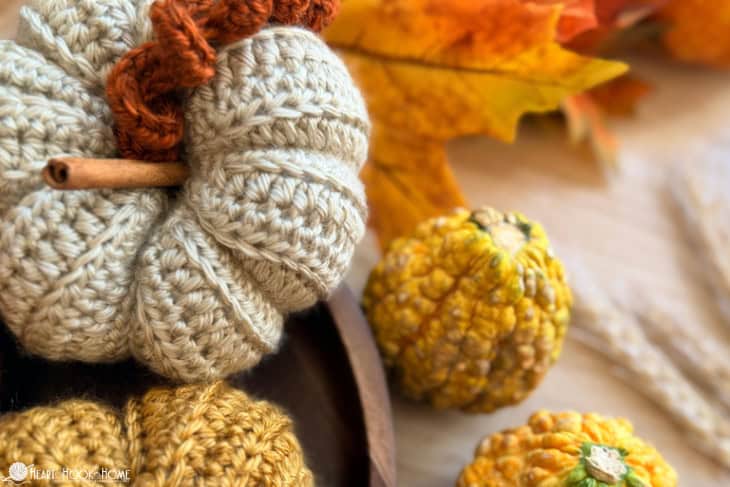
Are you looking for the easiest-to-crochet pumpkin pattern around? This is it! Using just single crochet and half double crochet, we’ll create the cutest little pumpkins you ever did see.
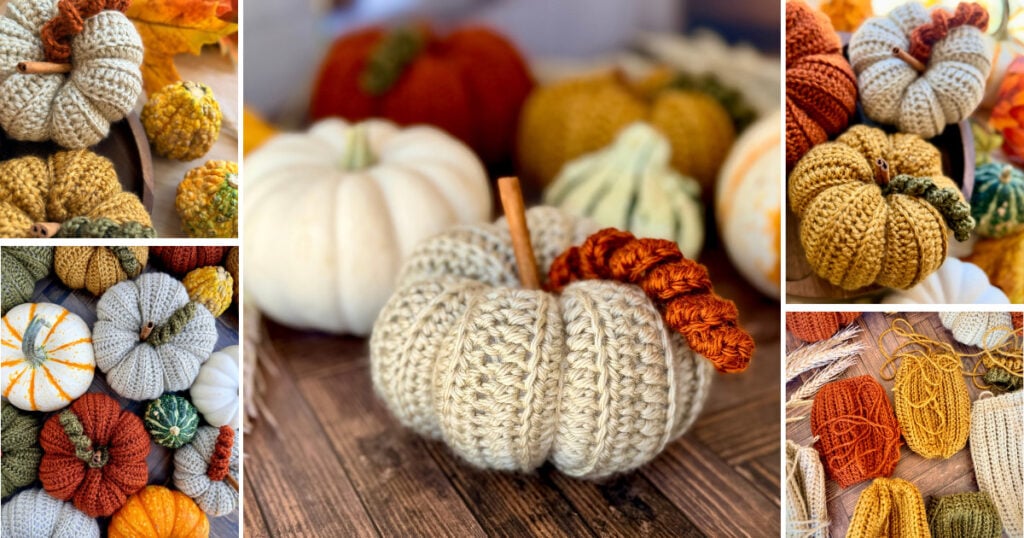
Easiest Crochet Pumpkin Pattern
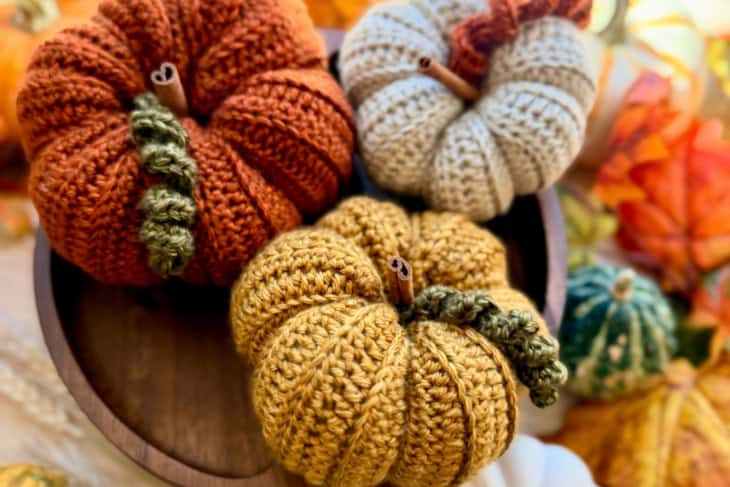
This free pumpkin crochet pattern makes small, squat little ornamental pumpkins. These are great for decorating the mantel, the entryway table, or the porch if you’ve got covered space! Available in three sizes, these little pumpkins are the perfect size to intersperse among your fall gourds and mini pumpkin decorations.
For these pumpkins I wanted to use a nice, heathered yarn. What is a better heathered yarn than Lion Brand Heartland yarn? I combined the colorways of “Dry Tortugas”, “Canyonlands”, “Yosemite”, and “Joshua Tree” for a lovely fall assortment. I bought just one skein of each color, and from that I was able to make about a dozen of them, including the stems. Depending on the sizes made, you could eeek out another one or two. I like to intermingle the color of the vines with the different pumpkins as well.
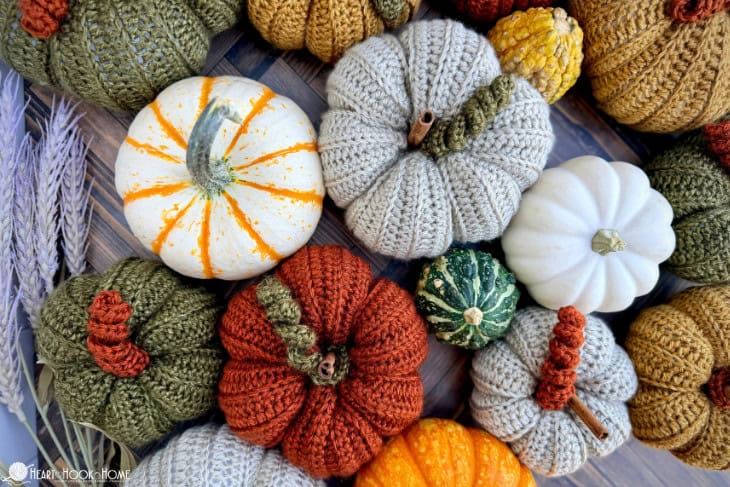
Since this is a worsted weight acrylic yarn, you could substitute with another worsted, such as Brava, Herrschners, Herrschners Heathers, or your favorite worsted acrylic yarns you have on hand.
Grab the ad-free, printable version of this pattern on Ravelry, Etsy, or right here in the Heart Hook Home Blog Shop. Thank you!
Materials:
Worsted weight acrylic yarn
-approx. (55, 80, 110) yards
-Lion Brand Heartland in “Dry Tortugas”, “Canyonlands”, “Yosemite”, and “Joshua Tree” yarn used
Crochet hook in size 4.5mm (for pumpkin)
Crochet hook in size 3.5mm (for vine)
Cinnamon sticks (optional, for stem)
Stuffing (like this)
Gauge: not super important, but 18 sts in 4” width using 4.5mm hook and Half Double Crochet
Sizing: (small, medium, large) = approx. (5, 6, 7)” wide finished
Pattern Notes:
Pattern written using US terms.
The chain at the beginning of the row does not count as a stitch.
If you need help reading a crochet pattern, make sure you head over here and check out this detailed post.
Abbreviations:
BLO: Back Loop Only
Ch(s): Chain(s)
Hdc: Half double crochet
Sc: Single crochet
Sl st: Slip stitch
St(s): Stitch(es)
Pumpkin Pattern:
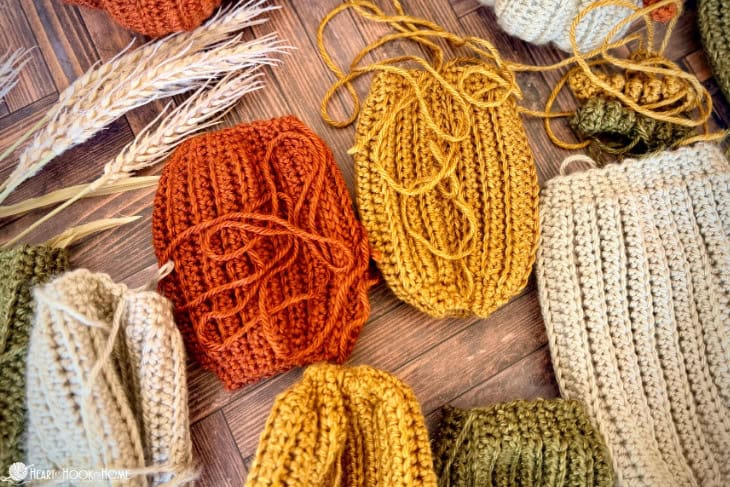
Leave a ~10” long beg tail…
Wanna save this for later?
Row 1: Ch-(26, 31, 36), sc in 2nd ch from hook and in next 2 chs, hdc in next (19, 24, 29) chs, sc in final 3 chs. (25, 30, 35)
Rows 2 through (31, 37, 43): Ch-1, turn, sc in first 3 sts, hdc in BLO of next (19, 24, 29) sts, sc in final 3 sts. (25, 30, 35)
Fasten off leaving a long tail for seaming and shaping the pumpkin.
Vine Pattern:
Row 1: Ch-(30, 34, 40), 2hdc in 2nd ch from hook and in each to end. (58, 66, 78)
Fasten off leaving a long enough tail for securing to pumpkin.
Construction:
Fold the rectangle in half and seam row 1 to the final row using whichever method you prefer (Invisible, Mattress, Whip).
Using the beginning tail, use every other row end to cinch up the bottom of the pumpkin. Bring yarn through to the inside (no need to weave it in).
Using the longer ending tail and yarn needle, use every other row end to cinch up the top, adding the stuffing before you get too far.
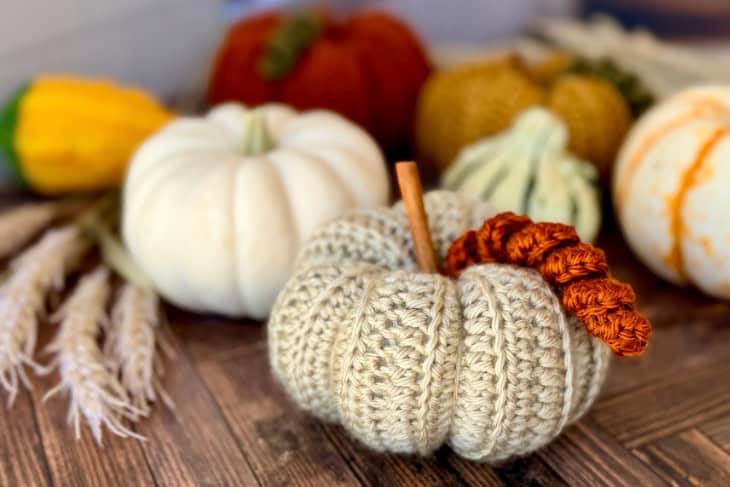
Cinch leaving a small (½”) hole for the cinnamon stick and the stem. Feed the yarn down through the center, and out through the bottom of the pumpkin. Bring the yarn up the outside to the top of the pumpkin again and push the needle through to the bottom of the pumpkin once more. Cinch that strand of yarn to help shape the pumpkin. Do this a total of 6 times (or as many as you want) before securely fasting off and weaving in all ends.
Insert the cinnamon stick and the stem into the small hole left at the top. Feed the stem yarn through to the bottom and clip tails. Use a bit of fabric glue or hot glue to keep the stem and vine in place.
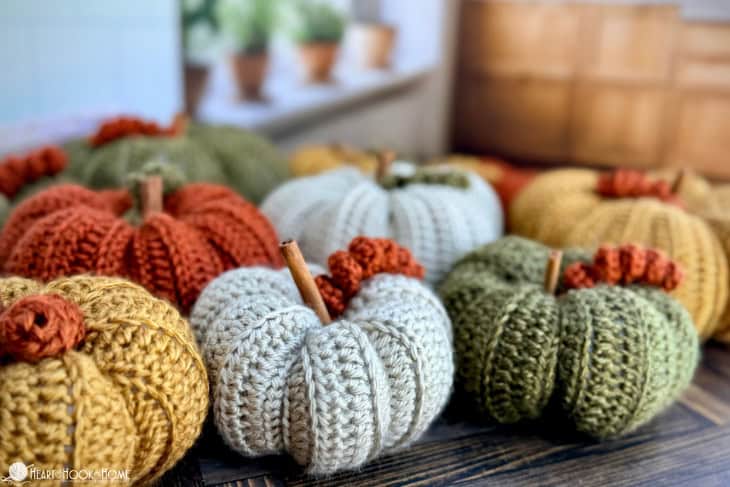
What colors will you make yours? I hope you love making them, and that you’ll share a photo of them with me. Please tag @HeartHookHome across all social media, or share in the Heart Hook Home Crochet Community on Facebook.
More Home Decor patterns:
Leaf Trivet Free Crochet Pattern
Apache Tears Pillow Crochet Pattern


Enjoy your patterns, though I am not a long-time crocheter! Recently found Carl the Candy Corn. Do you have a larger version of that adorable guy? I tried enlarging it on my own, but not sure it will turn out right from the looks of it.
Thanks for any suggestions!