Almond Poncho Crochet Pattern | Free Oversized Poncho Pattern
This post may contain affiliate links, meaning that I may earn a small commission if you make a purchase. See our disclosure policy for more information.

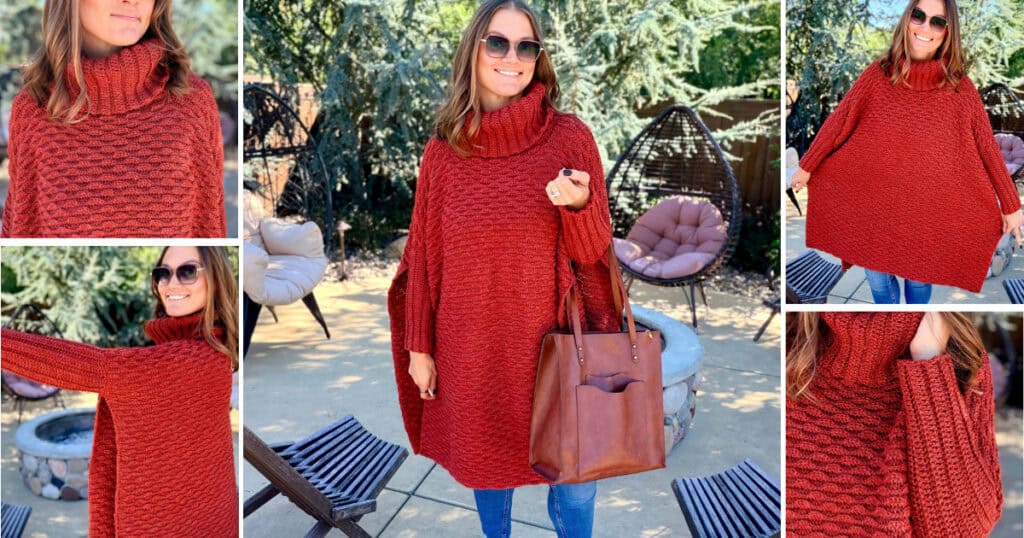
Are you looking for an oversized, super comfy poncho to crochet for yourself this fall? You’ve landed in the right place, friend! My new Almond Poncho is a gorgeous, roomy poncho crochet pattern featuring the Almond Ridges Stitch. Let’s make it!
Almond Poncho Crochet Pattern
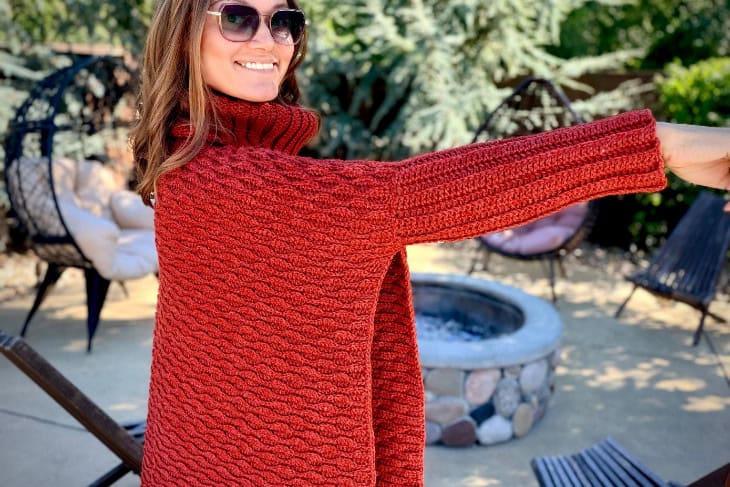
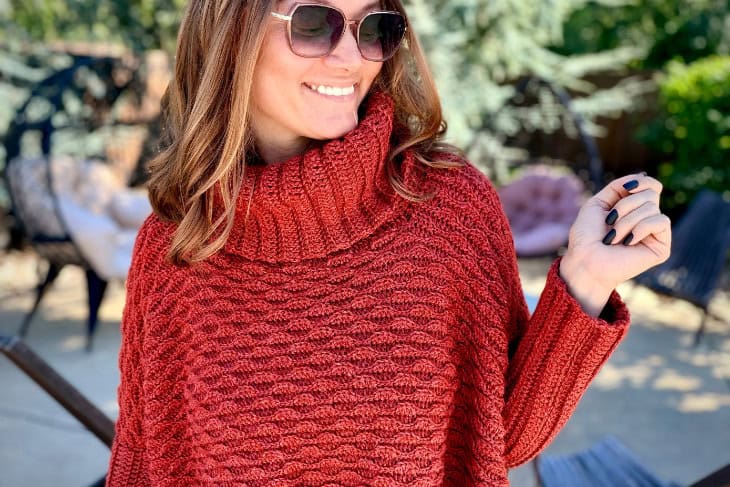
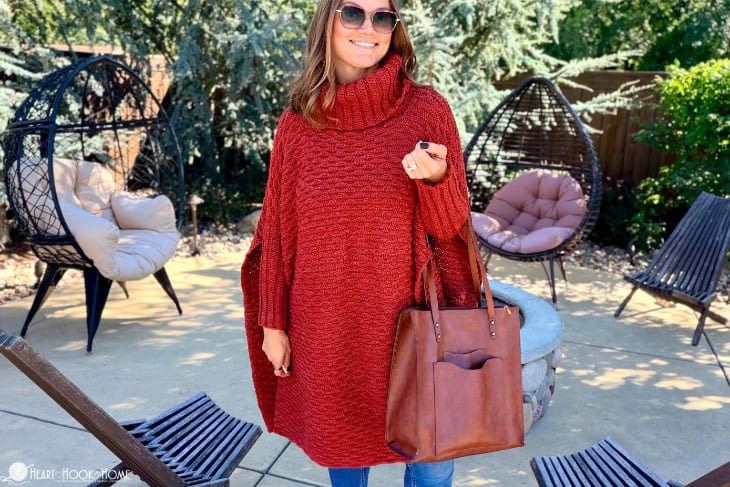
When designing this pattern I wanted something more like a blanket than a poncho. I wanted BIG, LONG, and WIDE so that whether we’re sitting around the firepit on a chilly night or watching a movie on the couch, I can wrap myself completely up and stay warm.
This poncho almost looks like a cape or a coat. It is 32″ wide when laid flat – not including the cuffs. And it feels like a whole hug.
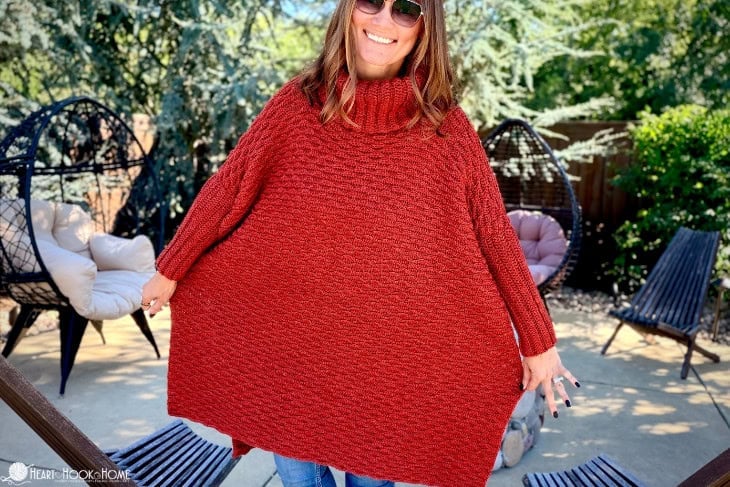
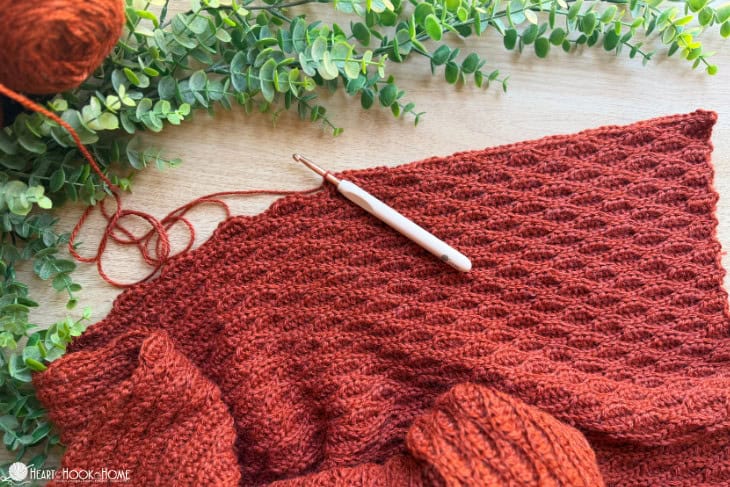
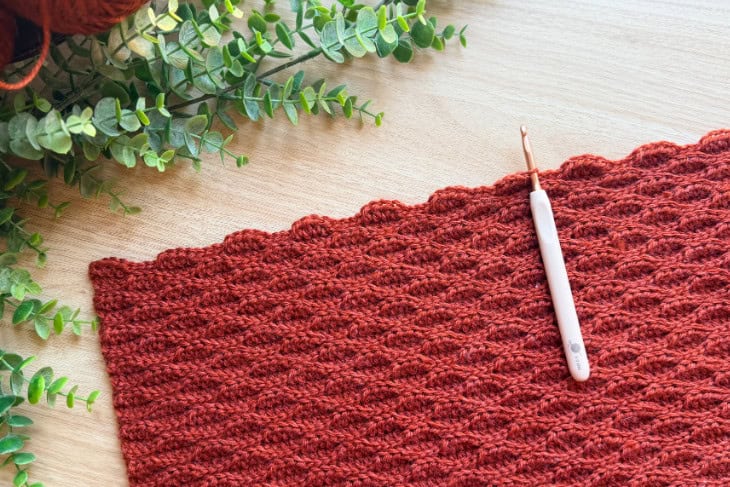
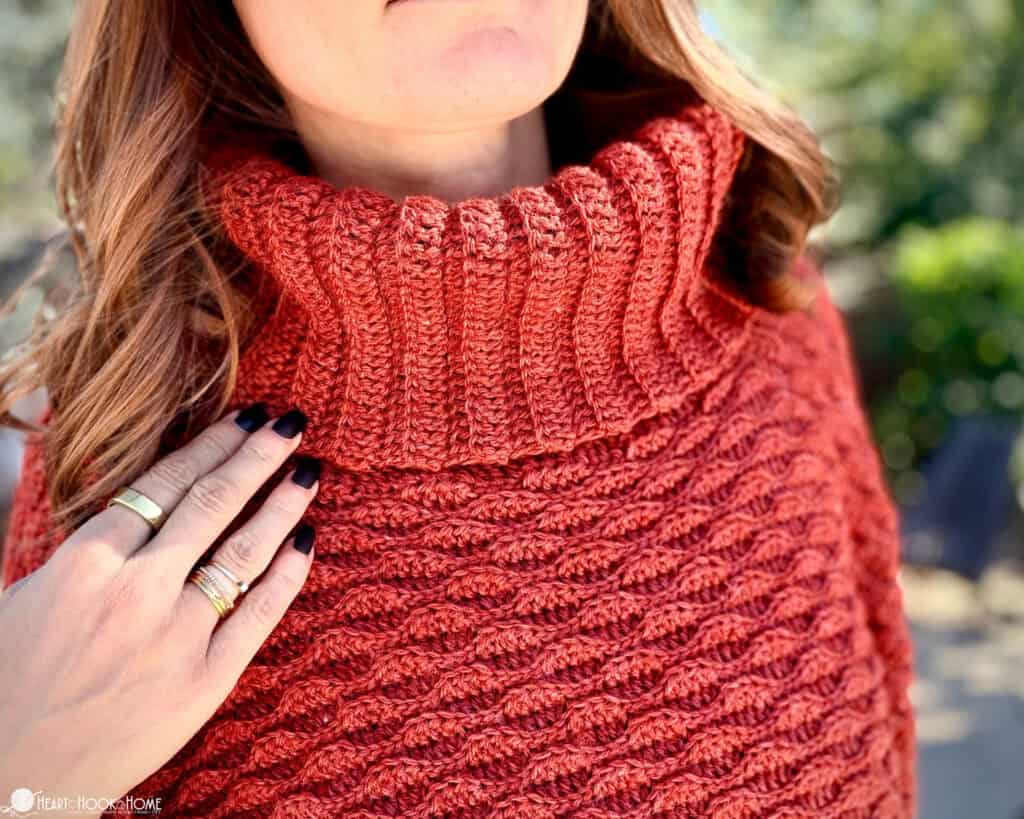
This poncho uses the Almond Ridges stitch, hence the name. This stitch is a mixture of Half Double Crochet stitches and Slip Stitches, combined in a way that creates these little almond shapes. The texture and the way the light plays off these little almonds is just fabulous!
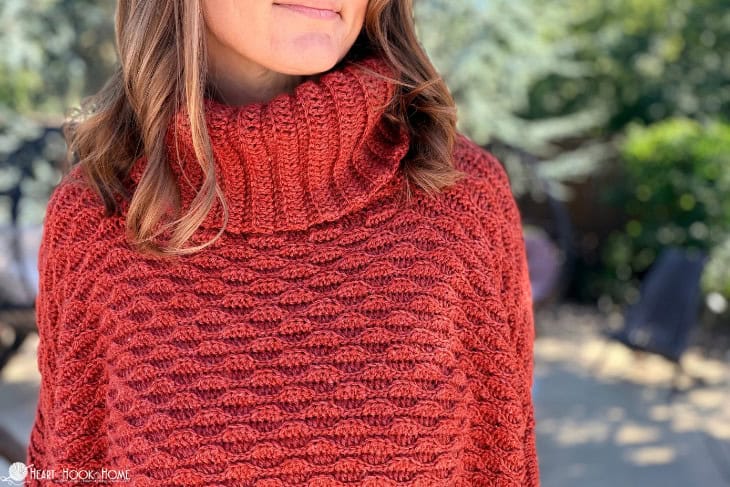
For this poncho we are making two large rectangles and seam the shoulders. We make the collar and cuffs separately and attach, then do one simple row of single crochet around the entire opening to clean up the edges. Sound easy? Because it is!
For this pattern we are using Lion Brand’s ReSpun yarn. This is a worsted weight yarn that has a great heathered effect. You might also consider using Brava Worsted, Brava Tweed, Herrschners Worsted yarn, Herrschners Heathers Worsted, or any other worsted yarn you have on hand and can meet gauge.
Grab the ad-free, printable version of this pattern on Ravelry, Etsy, or right here in the Heart Hook Home Blog Shop. Thank you!
Materials:
Worsted/#4 weight yarn
-approx. (2850) yards
–Lion Brand ReSpun in “Amber” shown
Crochet hook in size 5mm or size needed to obtain gauge
Gauge: 19 sts x 16 rows = 4” in the Almond Ridges stitch pattern
Sizing: One Size = approx. 32” wide and 34″ neck to hem
Pattern Notes:
Pattern written using US terms.
The chain at the beginning of each row does NOT count as a stitch.
Pattern uses the Almond Ridges stitch. Tutorial can be found here.
Odd numbered rows are “Right Side”.
Place the first stitch of each row in the same stitch as turning chain.
On the slip stitches, try to stay a bit looser so they are easier to work into on the subsequent rows.
For the last stitch ONLY of the row, I like to go through both loops instead of BLO. I think it keeps the edges more uniform and doesn’t distort the integrity of the stitches.
If you need help reading a crochet pattern, make sure you head over here and check out this detailed post.
Abbreviations:
Ch(s): Chain(s)
BLO: Back loop only
Dc: Double crochet
Hdc: Half double crochet
Sl st: Slip stitch
St(s): Stitch(es)
Pattern:
Make two panels…
Row 1: Ch-149, sl st in 2nd chain from hook and in the next 3 chs, * hdc in next 4 chs, sl st in next 4 chs * repeat between * * to end. (148)
***work in the BLO for the remainder of the pattern***
Row 2: Ch-1, turn, sl st in first 4 sts, * hdc in next 4 sts, sl st in next 4 sts * repeat between * * to end. (148)
Rows 3 & 4: Ch-1, turn, hdc in first 4 sts, * sl st in next 4 sts, hdc in next 4 sts * repeat between * * to end. (148)
Row 5 & 6: Ch-1, turn, sl st in first 4 sts, * hdc in next 4 sts, sl st in next 4 sts * repeat between * * to end. (148)
Rows 7 through 134: repeat rows 3 through 6 in order (148)
Row 135: repeat row 3 (148)
Row 136: repeat row 4 (148)
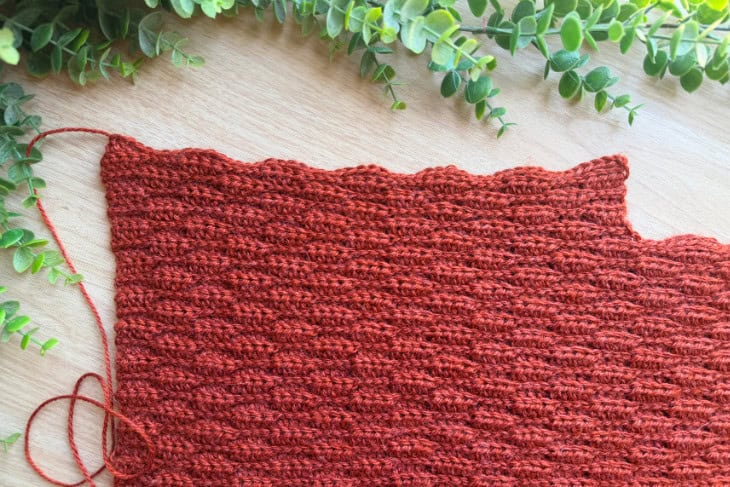
First Shoulder:
Row 137: Ch-1, turn, sl st in first 4 sts, * hdc in next 4 sts, sl st in next 4 sts * repeat between * * 5 more times only. (52)
Wanna save this for later?
Row 138: Ch-1, turn, sl st in first 4 sts, * hdc in next 4 sts, sl st in next 4 sts * repeat between * * to end. (52)
Rows 139 through 142: repeat rows 3 through 6 in order (52)
Row 143: repeat row 3 (52)
Row 144: repeat row 4 (52)
Fasten off leaving long enough tail for seaming shoulder.
Second Shoulder:
Attach in the BLO of the hdc that is 52 sts in from the left edge and complete exactly as the first shoulder (minus the “turn” on the first row).
Assembly:
Lay the two pieces together with the wrong sides touching. Seam the shoulders using the yarn tails and Mattress Stitch. Weave in all ends.
Cuffs:
Make two…
Row 1: Fdc-45. (Alternately you could ch-47, dc in 3rd ch from hook and in each to end.) (45)
Rows 2 through 20: Ch-2, turn, dc in BLO of each st across. (45)
Slip stitch cuff into a tube (row 1 to row 20). Fasten off leaving a very long tail for attaching.
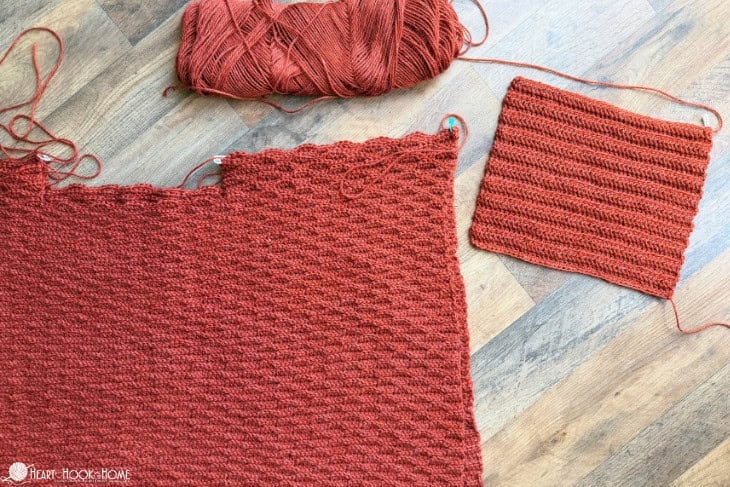
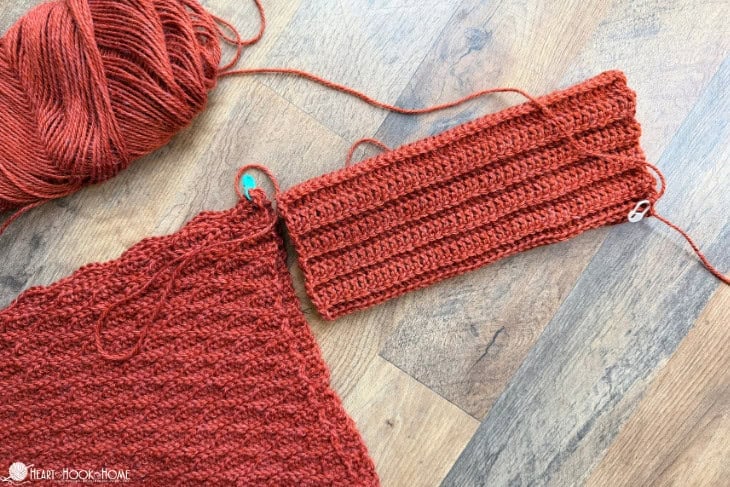
Position so that there are 20 rows of cuff on either side of the shoulder seam. Sew into place and weave in all ends. Repeat on other side.
Collar Prep:
Attach yarn at neck opening near a shoulder seam. Hdc 104x evenly around the entire neck opening. Fasten off leaving a long tail for attaching the collar.
Collar:
Row 1: Fdc-45. (Alternately you could ch-47, dc in 3rd ch from hook and in each to end.) (45)
Rows 2 through 52: Ch-2, turn, dc in BLO of each st across. (45)
Fasten off leaving a long tail. Use the tail to seam the collar into tube (row 1 to row 52).
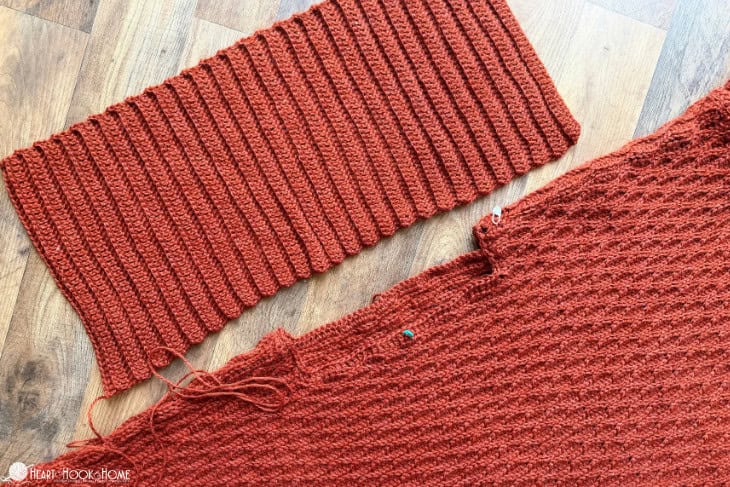
Position collar and sew into place, using two stitches on the body per one row of the collar. I find it helps to “pin” the opposite side into place with a stitch marker to keep on track.
Edging:
Looking at “Right Side”, attach at either underarm…
Round 1: Ch-1, sc evenly down row ends and around entire poncho opening, placing 3scs in each corner st and sc3tog at the opposite underarm/cuff join.
Fasten off and weave in ends.
Weave in all ends and you’re finished!
More poncho and one size patterns:
Everest Poncho Crochet Pattern
Lori Hooded Poncho Crochet Pattern
Filet Poncho Crochet Pattern (One Size + Plus Size)