How to Make a Slip Stitch in Crochet
This post may contain affiliate links, meaning that I may earn a small commission if you make a purchase. See our disclosure policy for more information.


If you’re new to crochet you might be wondering what in the world a slip stitch is. In this post you’ll learn how to make it, why you would want to use it, and when to use it. Grab your hook and let’s make a slip stitch!
How to Make a Slip Stitch in Crochet
Slip stitches are most often used to join two stitches of crochet together. Whether that is the last stitch of a round of crochet to the first stitch of the round to form a circle, or you’re attaching two individual pieces of crochet together, as in seaming squares for a blanket.

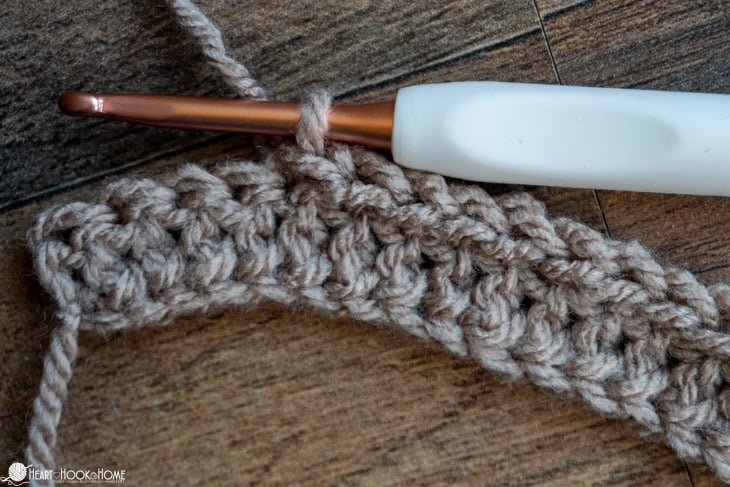
When crocheting the slip stitch, it is possible that you’ll only use part of the stitch. When looking at the top of a traditional crochet stitch you’ll see a sidesways looking “v” or < (see the photo below). The loop closest to you is the “front loop” and the loop farthest away from you is called the “back loop”. When you turn those will be opposite of course, but we always refer to them as you are looking at the current row.

When to use the Slip Stitch:
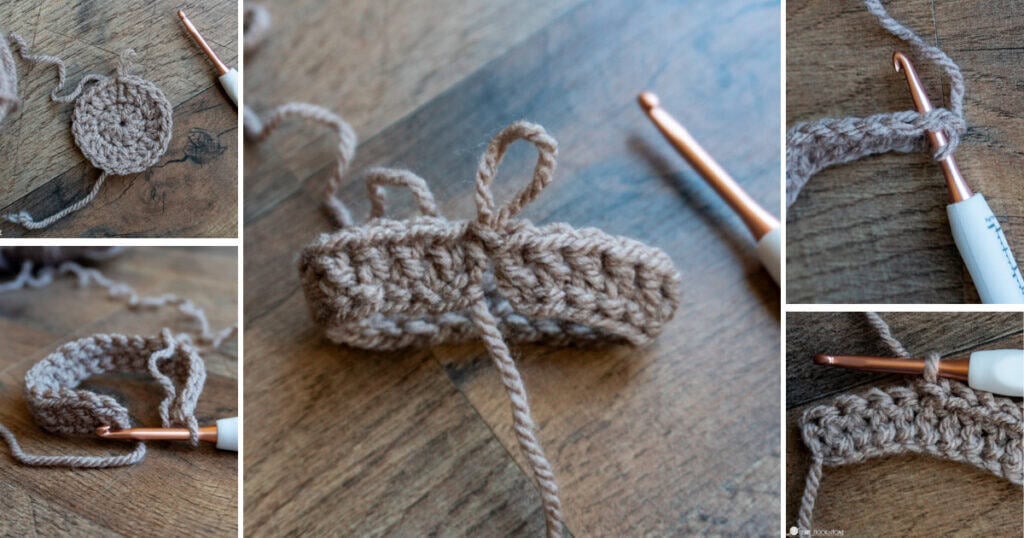
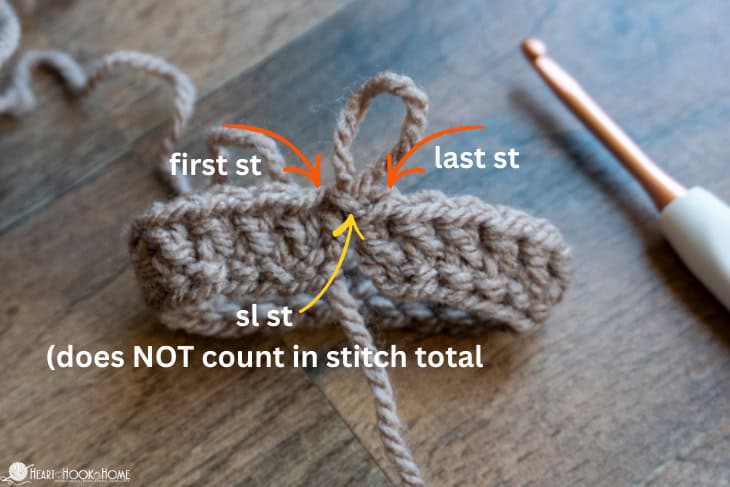
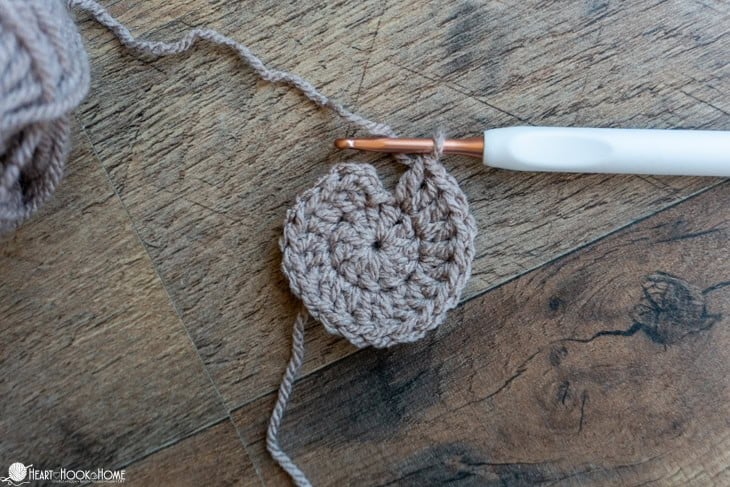
-You want to join two pieces/stitches together. In the following photo we are joining the last stitch of the round to the first stitch of the round.

-You want to move the hook to another part of the row without adding height to the piece. (And/or without having to fasten off and reattach your yarn, with more ends to weave in!)
-To add texture or interest in a mix of stitches, commonly used with other stitches to make larger stitch patterns.
-To create a super stretchy (and also knit-like) ribbing for the bottom band of beanies, sweaters, and more – when worked into a specific loop as mentioned above. In this instance you’ll always slip stitch in the back loop only.
FAQ About the Slip Stitch:
Do I still need to chain to start a new row? It depends on the pattern and the designer. You may still chain-1 to start a new row, even if the project you’re making uses only this stitch. Make sure to pay attention to that if following a pattern.
Can you work this stitch in the round? Of course you can! In fact, that’s the way most patterns written in rounds are joined. That being said, it is important when joining with the slip stitch that you not count the slip stitch as an actual stitch in that row.
What does it mean when my pattern says to “not twist the chain” when joining? It is very important when starting a new project that will be joined (worked in rounds) that the beginning chain/foundation row is not twisted. If it is, your project will start to resemble an infinity loop and will never form a tube as intended.
Wanna save this for later?
How is this stitch abbreviated in crochet patterns? When you see “sl st” in a crochet pattern, you’ll know you’re about to do a Slip Stitch.
If you need help reading a crochet pattern, make sure you head over here and check out this detailed post.
Tip for using the sl st in regular crochet: Stay LOOSE, especially if you will be crocheting into those stitches in the following row.
Tip for using the sl st as a join when working in rounds: Pull that sucker nice and tight! This will help to keep your seam more invisible. You don’t count that stitch anyway, so make it nice and small when joining!
Tip for using the sl st when joining two piece of crochet (such as crocheted granny squares or afghan squares): Stay loose and as consistent in size as possible. Pull the stitches too tight and the seam will pucker.
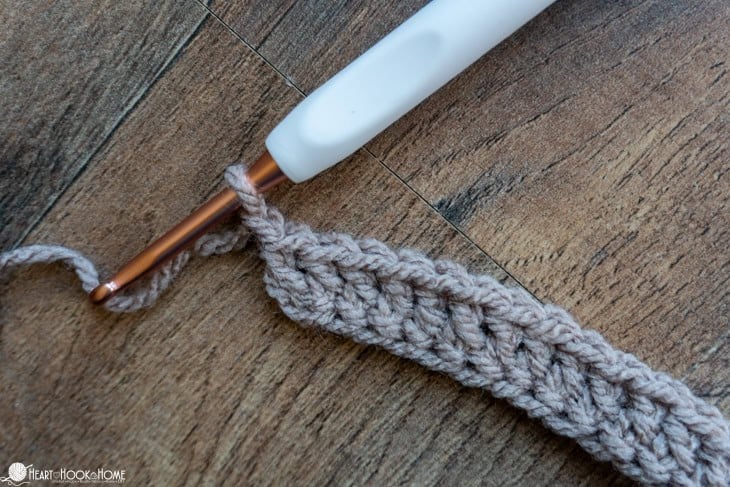
How to crochet the slip stitch:
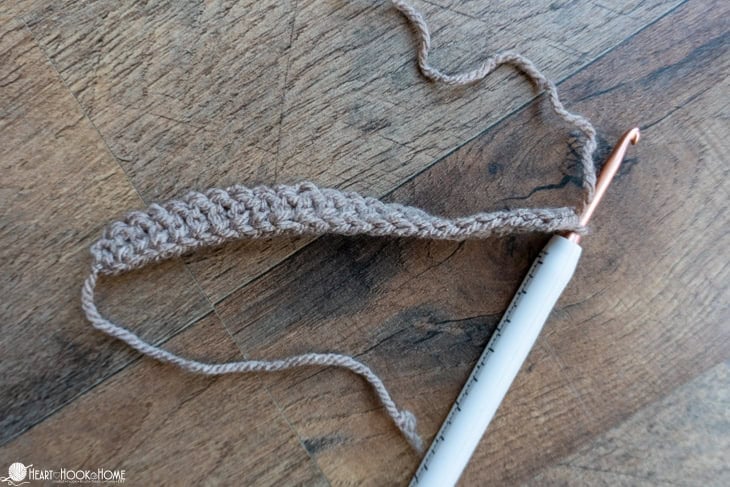
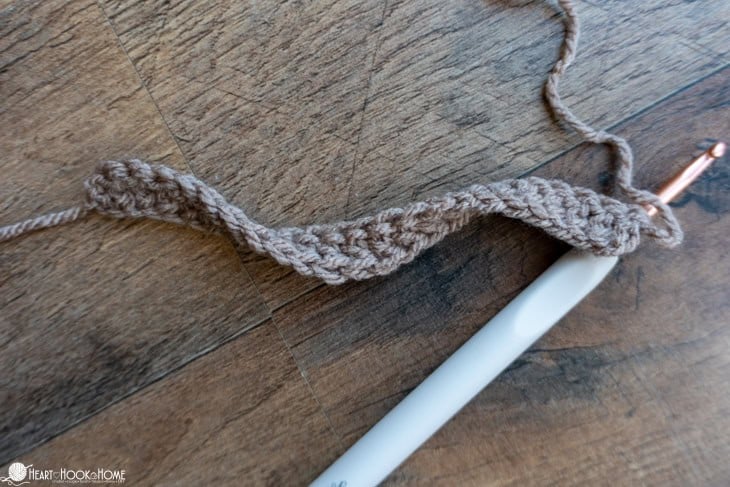
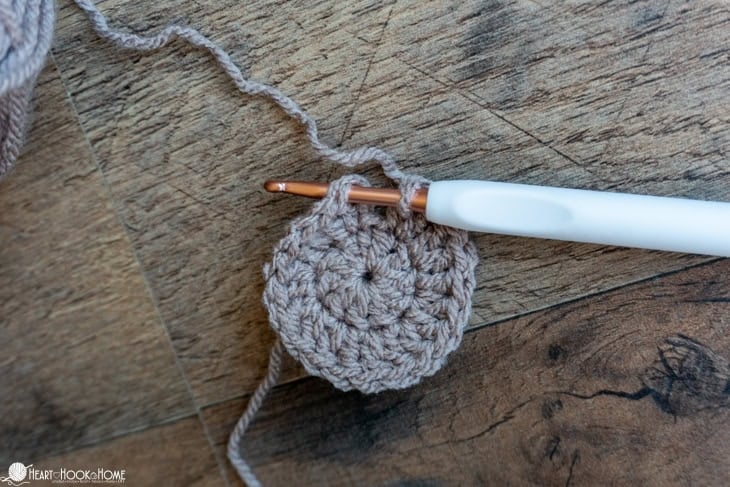
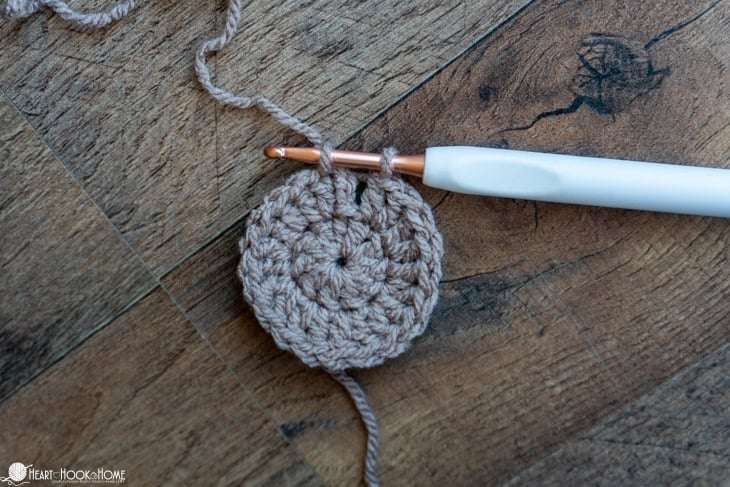
Insert your hook into the designated stitch and pull up a loop. Pull that loop straight on through the working loop.
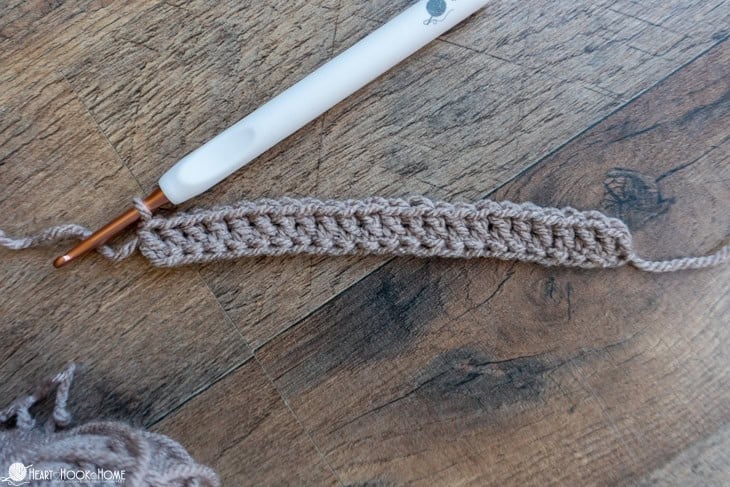
Slip stitch made! Yes, that really is it.

VIDEO tutorial for the Crochet Slip Stitch:
If you would rather watch this video on YouTube, you can find it on my channel here. Don’t forget to subscribe while you’re there!
You can even make an entire beanie with this stitch! This Slip Stitch Stocking Cap uses only slip stitches to make a knit-look beanie. It takes a while, but it is super warm and super cute.

More crochet tutorials:
Step-by-Step Counterpane Crochet Stitch Tutorial
Apache Tears Crochet Stitch Tutorial
How to Crochet the Double Moss Stitch


