Free Crochet Coozie Cover Pattern
This post may contain affiliate links, meaning that I may earn a small commission if you make a purchase. See our disclosure policy for more information.


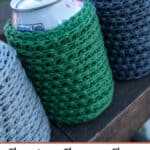

This super quick, free crochet pattern for dressing up a cheap coozie is the newest installment on the 2021 Household Crochet Series, and I’m loving how functional and stylish they are! Let’s whip up a crochet coozie cover or several today!

Crochet Coozie Cover Pattern
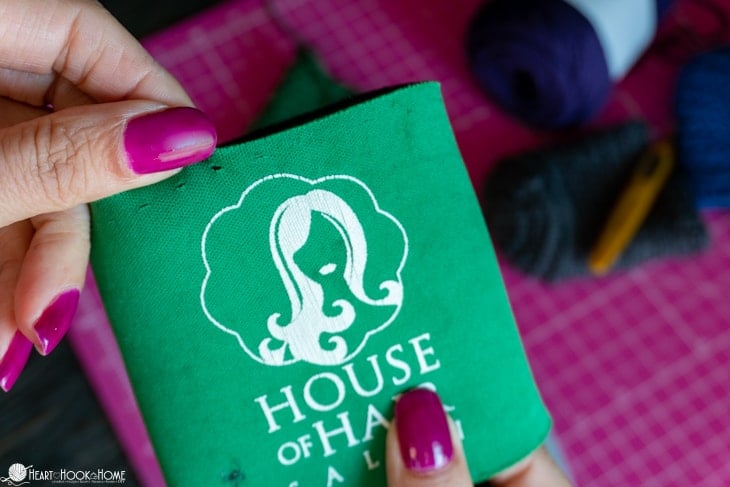
I think we all have a least a few promotional coozies around the house. You know… the ones you got from the plumber, a friend’s wedding, or hair salon grand opening? These coozies work just fine, but what if we dressed them up a little?


While it is true that you could make a cozy out of just yarn, I like the idea of added insulation with the double layers: the actual coozie and the crocheted coozie cover. I think what I’m most excited about is that since everyone in the family picked out their own color, we’ll always know whose beverage belongs to whom!


I dug through our stash of old coozies for this pattern. Then I dug through my stash of Dishie yarn to find colors that matched as closely as possible. Of course, you can’t really see through the stitches all that well, so you can use whatever color you have on hand (and it doesn’t take much!) but I felt like the closest I could get the better. Luckily I have a good selection of colors of my favorite cotton: Dishie worsted. ♥


Materials:
Dishie Cotton yarn
-approx. 34 yards per coozie
Crochet hook in size H/5mm
Old foam coozies (or a new, inexpensive coozie set like these)
Rotary cutter with Skip Blade
Pattern Notes:
Pattern written using US terms.
BLO = Back Loop Only
Third loop = Not the front loop and not the back loop, but the loop behind both of those two when working Half Double Crochet in the round. (Third Loop tutorial here)
If you need help reading a crochet pattern, make sure you head over here and check out this detailed post.

The rotary cutter is a small investment if you don’t already have one. This is also an EXCELLENT tool for making a last minute baby blanket, or for adding crochet edging to other items as well! I have a blanket tutorial using fleece and the skip blade coming soon! This is also an excellent tool for making your own T-Shirt yarn. 😉

First, prepare your coozie.

Using the skip blade, make holes around the top of the coozie, about 1/4″ from the top edge. Be careful not to make the holes too close to the top edge, or they will rip. I’ve noticed that the older the coozie, the more prone they are to rip. (I only had one try to tear as I crocheted into it, but be forewarned).
Wanna save this for later?

You should have around 26 puncture marks around the coozie top. Next, crochet the cover.

Pattern:
Round 1: Magic Circle. Ch-1, 9 hdc in circle. Join to top of first hdc. (9)
Round 2: Ch-1, 2hdc in each st around. Join to top of first hdc. (18)
Round 3: Ch-1, * hdc in next, 2hdc in next * repeat between * * around. Join to top of first hdc. (27)
Round 4: Ch-1, hdc in BLO of each st around. Do NOT join for remainder of pattern. (27)
Weave in the beginning tail now. You won’t be able to do it after attaching to coozie body.
Rounds 5 – 14: Hdc in third loop only around. (still not joining) (27)
*if you have a particularly tall coozie (all of mine are ~4″ tall) you may need to add another round or two. You do NOT want it to be too tall though. See photo.

Round 15: Still going through the third loop of the crochet portion and the coozie itself, sc in each st around.
Since you should have around 26 puncture marks in the coozie and there are 27 stitches for the top round of the crochet cover, it should line up almost perfectly as mine do shown above. You may need to sneak two stitches into one puncture mark here or there, but you won’t be able to tell.

Crochet all the way around the coozie going through both fabrics. I find this to be MUCH easier with the can inserted than with an empty coozie. When you get back around to where you started it is time to clip your yarn, remove the can, and sew in the end using the Invisible Join technique.


Isn’t this the most fun thing ever? I love that each person now has their own, and with scrap yarn to boot! I also love that these are so quick to make (only takes about 20 minutes) that if they get super dirty you can just toss it and make a new one. Yay for functional, useful crochet! ♥
You’ll also like:
Crochet Pan Protectors Pattern (Small, Medium, Large, X-Large)
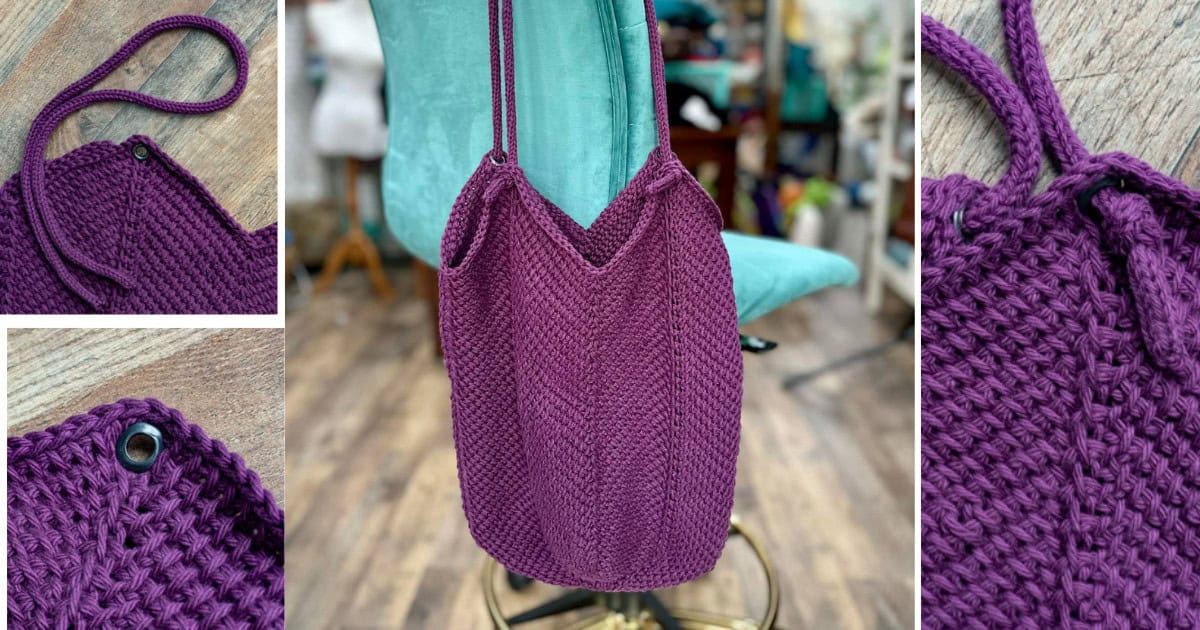
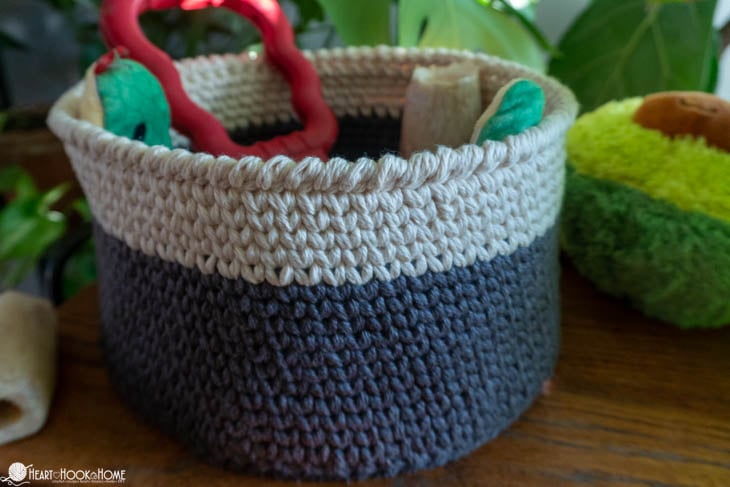
Hanging Baskets: Free Crochet Pattern


2 Comments