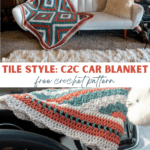
Tile Style C2C Car Blanket Crochet Pattern
This post may contain affiliate links, meaning that I may earn a small commission if you make a purchase. See our disclosure policy for more information.

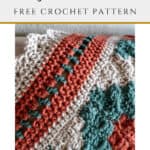

What is something that everyone is supposed to keep in their vehicle? A car blanket! Whether you’re making this blanket for your car or for your home, it is stylish and fun to crochet, too!

Tile Style C2C Car Blanket
If you love Corner to Corner crochet, you’ll love this style of crochet blanket. We are making a collection of identical crochet squares (tiles) that we will then pattern together similarly to floor tiles. How cool is that?!

This is the 11th installment of the 2022 Car Series. This has been such a fun way to use crochet in a way that makes life easier, prettier, and to show off our crochet skills.

You will need three colors of yarn for this project, ideally worsted weight/size 4 yarn. Of course you could use a bulky weight yarn with a larger hook and your squares – and the resulting blanket – would be larger. I like that idea!

The inspiration for this car blanket pattern hit me when I was looking at floor tiles of all things. I love the way that just one tile style can be positioned to create gorgeous designs. Hence the name “Tile Style”.
Tile Style Blanket Materials:
Worsted Weight yarn in three colors (such as Brava Worsted, Vanna’s Choice, etc)
-approx. 2460 yards TOTAL
-approx. 1000 yards Color A (Blue), 660 yards Color B (Red), and 800 yards Color C (White))
Crochet hook in size K/6.5mm
Pattern Notes:
This pattern is made using corner to corner crochet. If you’ve never done this technique before you’ll want to head over and check out this tutorial.
Each individual square needs approximately 140 yards of yarn total – 75 yards Color A (Blue), 35 yards Color B (Red), and 30 yards Color C (White).
Pattern written using US terms.
If you need help reading a crochet pattern, make sure you head over here and check out this detailed post.
Use the written pattern below or the chart. I personally prefer to use the chart, working from bottom right to top left.

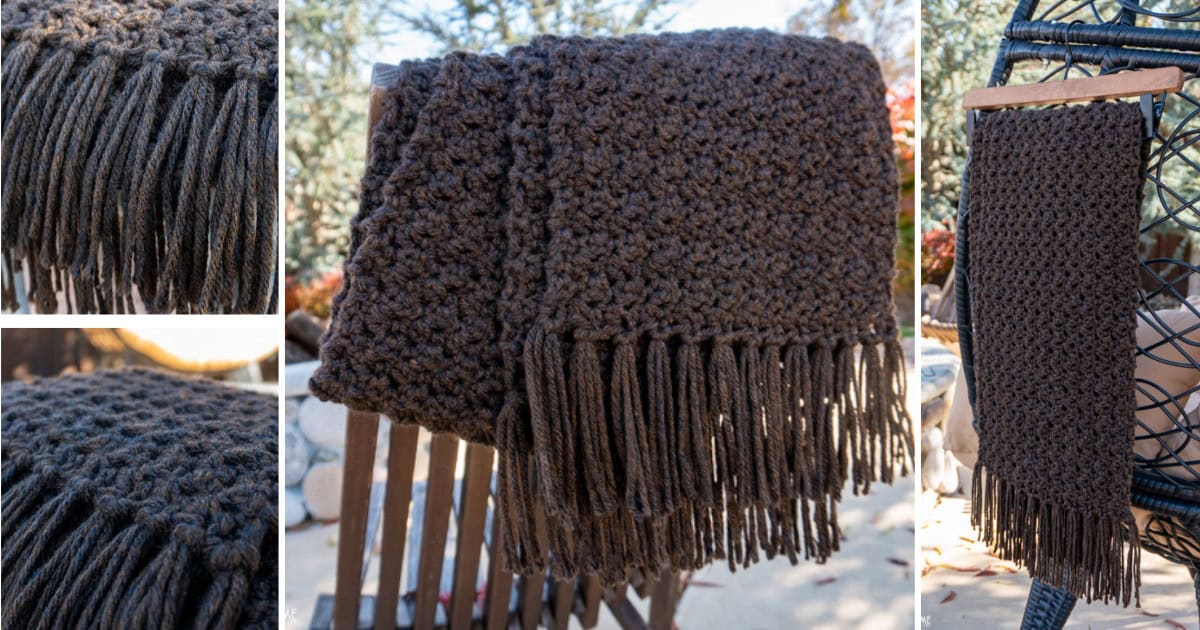
Finished Dimensions: approx. 44″ x 56″

You will also find this post helpful for tips on how to change colors in corner to corner crochet.

Square Pattern:
Row 1: 1W
Row 2: 2W
Row 3: 3B
Row 4: 4B
Row 5: 5B
Row 6: 6R
Row 7: 7R
Row 8: 8R
Row 9: 9B
Row 10: 10B
Row 11: 11B
Row 12: 12W
Row 13: 13W
Row 14: 14W
Row 15: 15B
START DECREASE
Row 16: 14B
Row 17: 13B
Row 18: 12R
Row 19: 11R
Row 20: 10R
Row 21: 9B
Row 22: 8B
Row 23: 7B
Row 24: 6W
Row 25: 5W
Row 26: 4W
Row 27: 3B
Row 28: 2B
Row 29: 1R
Make 12 of these squares, either joining as you go (a tutorial will be shared soon on this technique!) or leave the yarn tails from where you change colors long enough that you can use them for seaming the squares to one another.

Of course if you would like a larger blanket you could easily do so by making any number of squares, keeping in mind that each square should be about 12″ and you will be adding another 10″ or so (each direction) when you account for the border.
If not joining as you go, you’ll want to lay out all twelve of your squares. Make sure that they are all facing the right direction (same side facing up) before seaming.
Wanna save this for later?
Use the yarn tails from where you changed colors to attach the squares… blue yarn tails for blue yarn, red yarn tails for red yarn, etc. Seam the squares until you have one blanket that is 3 squares wide and 4 squares tall.

Border:
Attach yarn using White yarn one block in from any corner. For this border do not turn your work.
Row 1: Ch-1, sc evenly around entire blanket, placing 3sc in each corner stitch. (This video tutorial will help!) Join to top of first sc with sl st.
Row 2: Ch-1, hdc in each st around, placing 3hdc in each corner st. Join to top of first hdc with sl st.
Change to Red yarn.
Rows 3 & 4: Ch-1, hdc in each st around, placing 3hdc in each corner st. Join to top of first hdc with sl st.
Change to Blue yarn.
Row 5: Ch-4 (counts as dc + ch-1),* sk next st, dc in next, ch-1 * repeat between * * to corner. In each corner st place (dc, ch-2, dc). Continue around entire blanket, join to the 3rd chain with sl st.
Change to Red yarn.
Row 6: Ch-1, 2hdc around each ch-sp around, placing 3hdc in each corner space.
Row 7: Ch-1, hdc in each st around, placing 3hdc in each corner st. Join to top of first hdc with sl st.
Change to White yarn.
Rows 8 & 9: Ch-1, hdc in each st around, placing 3hdc in each corner st. Join to top of first hdc with sl st.
Row 10: Ch-2, 2dc in same as join. * sk-2 sts, sl st in next, sk-2 sts, 5dc in next. * repeat between * * across, placing 9dc in corner-most stitch. (It’s okay if you need to fudge this by a stitch or two). Continue around entire blanket. When you reach the first stitches, 3dc in same as beginning. Join to top of first dc with sl st.
Fasten off and weave in all ends. You’re finished!


Please share a photo with me by tagging @HeartHookHome on all social media and in the Heart Hook Home Crochet Community on Facebook.
More Free Car Patterns:
Car Coaster: Free Crochet Pattern
Trunk Cargo Net: Free Crochet Pattern
Car Coaster: Free Crochet Pattern
Seatbelt Cover Free Crochet Pattern
Car Waste Basket: Free Crochet Pattern


7 Comments