Triangle Granny Square Tutorial
This post may contain affiliate links, meaning that I may earn a small commission if you make a purchase. See our disclosure policy for more information.


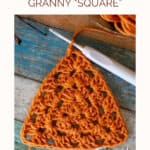
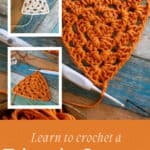


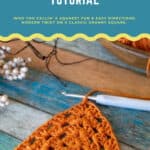
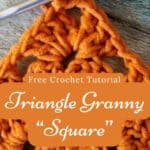
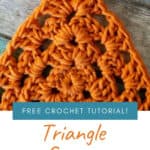
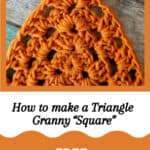

Have you ever wondered how to crochet a Granny Square in the shape of a Triangle? This easy triangle granny square tutorial will walk you through it step-by-step. Grab your hook and yarn and let’s make a triangle granny!
How to Crochet a Triangle Granny Square
Granny squares are great for all kinds of projects. You can make them as small or as large as you like. You can make a bunch of them and assemble them into a blanket, a cardigan, a cute little bag, and so much more.
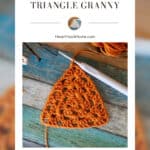
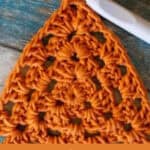
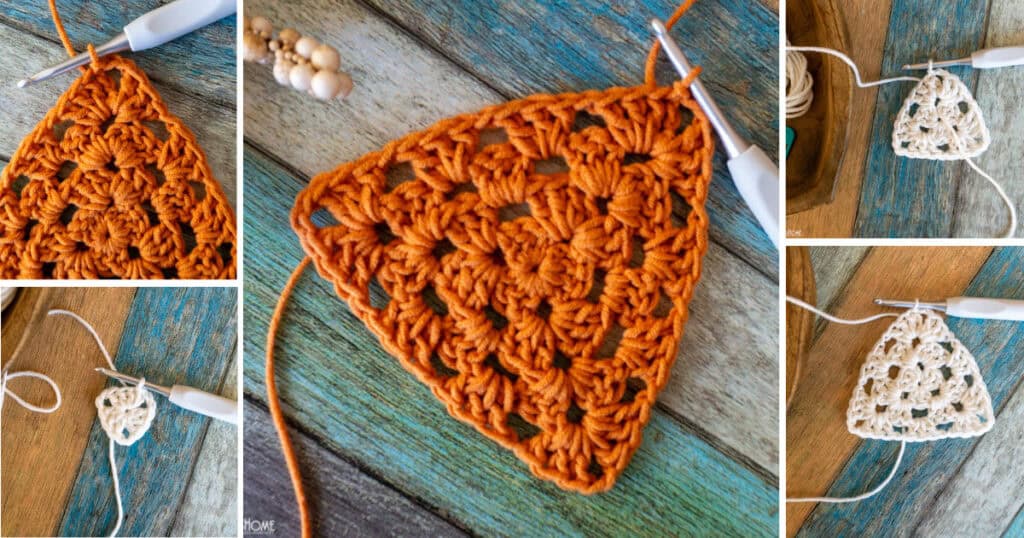
Sometimes you need those Granny Squares to be in the shape of a triangle instead. It’s actually very easy to do. The only difference between this and a traditional Granny Square is that with this we only have three sides instead of four for the square. It really is that easy.

There are two different ways of crocheting a Granny Square in the shape of a triangle. You can either work in rows back and forth, chaining and turning each time (as in the Head Kerchief pattern) OR you can work it as a traditional center-out Triangle Granny as we will here.
With both methods you simply continue adding rows/rounds until the piece is as large/wide/tall as you like.

The question becomes whether you want to have one, long straight edge that consists of all row ends (which you can easily crochet into to clean up the edges) or do you want a triangle where ALL three of the sides look like the “right side”? There are different reasons to want each type of granny triangle. Today we’re learning how to crochet the triangle from the center out.

I have noticed that you may need to go up a hook size from what you normally would to have the triangle lay nice and flat. That or you could consciously keep the chains on the looser side so the crochet can relax.
About the Crochet Triangle Granny:
What size hook do I need? You can use whichever size hook you like, but start with the recommended hook size on the label of yarn you’re using. You may need to adjust the hook size in order for the triangle to lay perfectly flat. If this is the case I would start by bumping up a hook size.
Where are the corners? Each “corner” is a ch-2 space. All other chains are between the double crochet clusters and are only one chain.
How do I fasten off? When your triangle is as large as it needs to be, simply fasten off. I like to use the Invisible Join to keep the edges clean.
For this tutorial we are using the Granny Stitch, joined and turned each round. See a tutorial for the double crochet here or the Flat Granny Stitch here.
If you need help reading a crochet pattern, make sure you head over here and check out this detailed post.
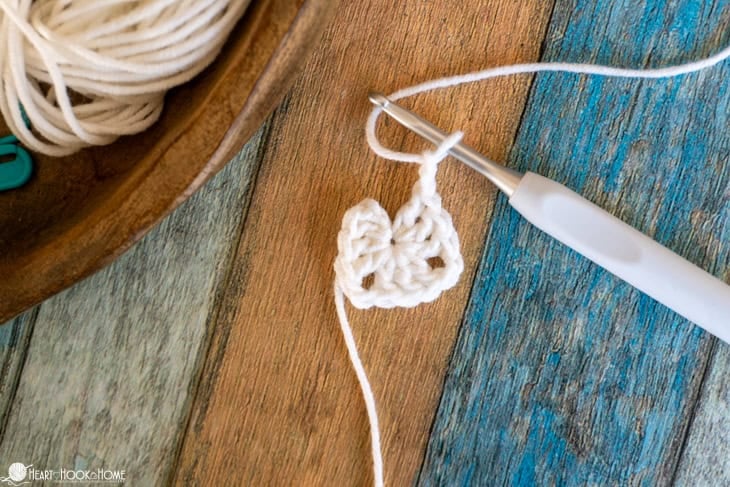
To start the Triangle Granny Square we will use the Magic Circle. Watch a full tutorial for that here.

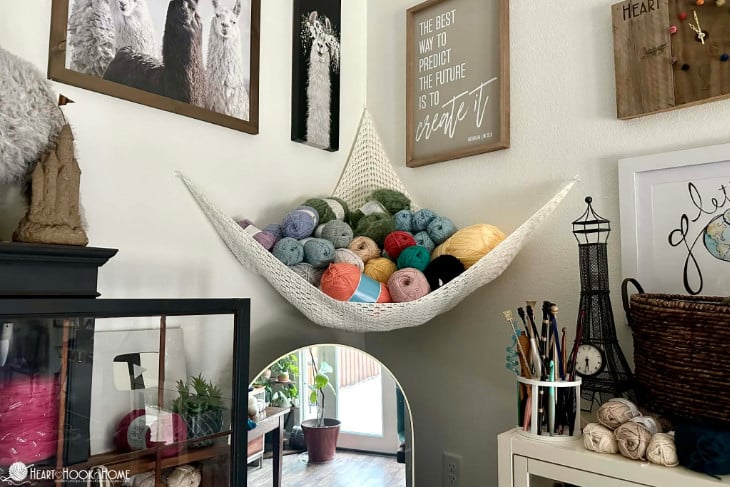
This is also the technique used to create our new, free Toy Hammock crochet pattern – a customizable, chic, and useful crochet pattern for virtually anyone!
Crochet Granny Triangle Steps:
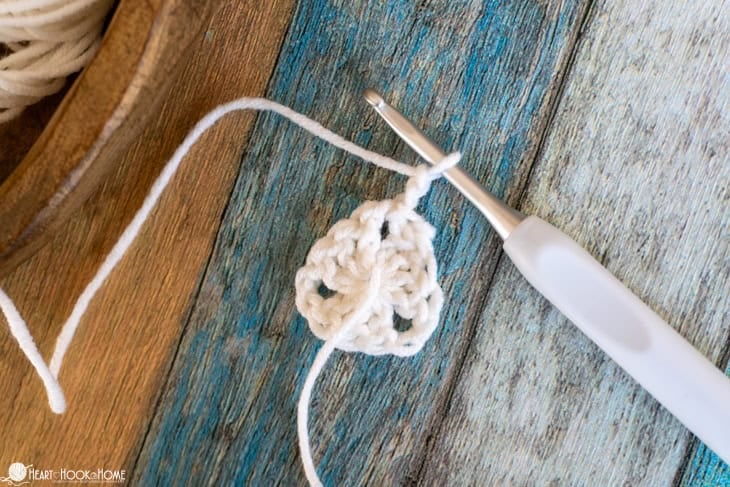
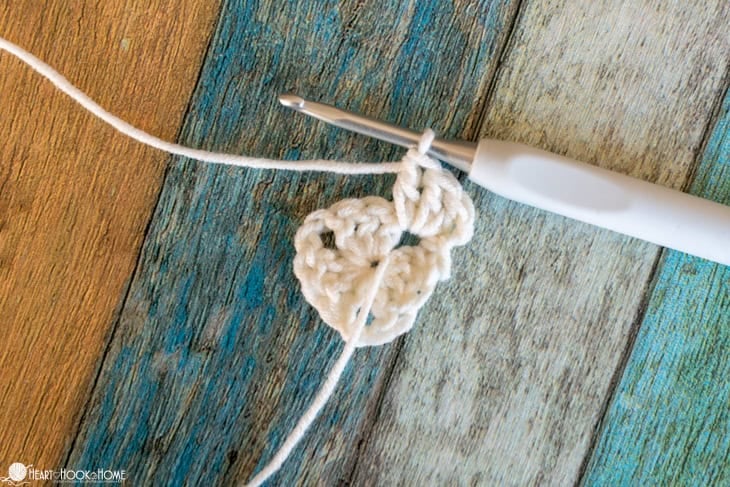
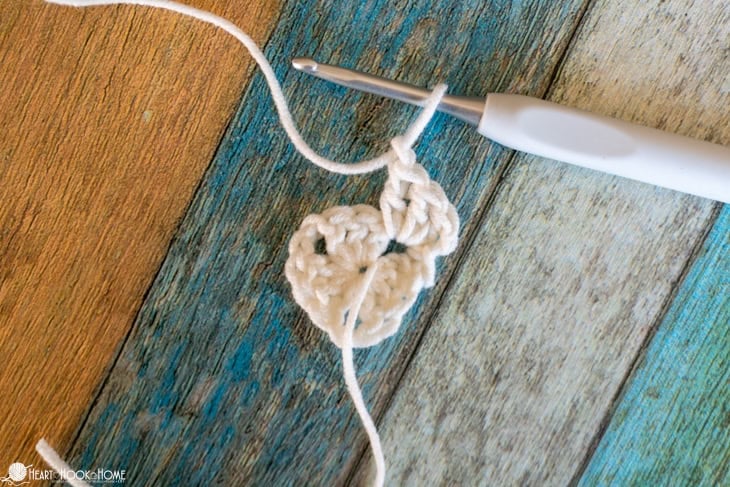
Round 1: Magic Circle, ch-2, [3dc, ch-2] 3x in circle. Join to top of first dc with sl st.
Wanna save this for later?

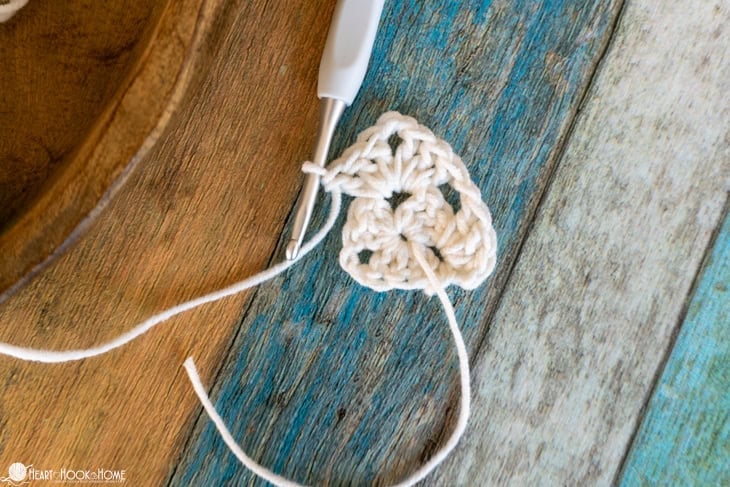
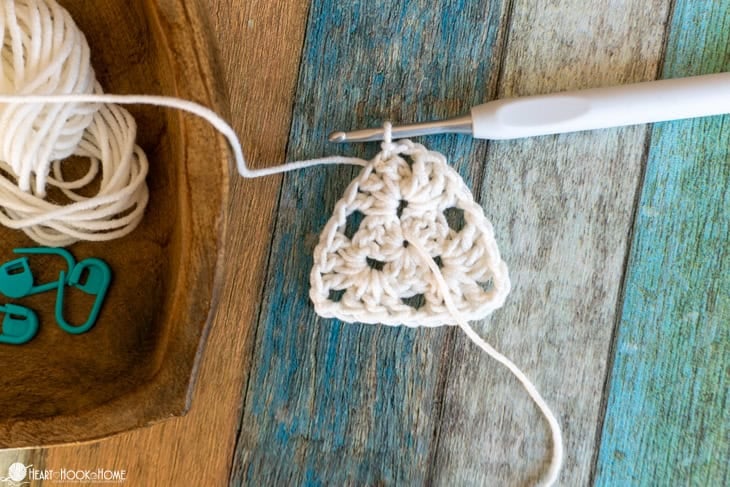
Round 2: Turn, sl st around next ch-sp, ch-2, 3dc around same ch-sp, ch-1, [(3dc, ch-2, 3dc) in corner sp, ch-1] 2x, 3dc in beg ch-sp, ch-2, join to top of first dc with sl st.
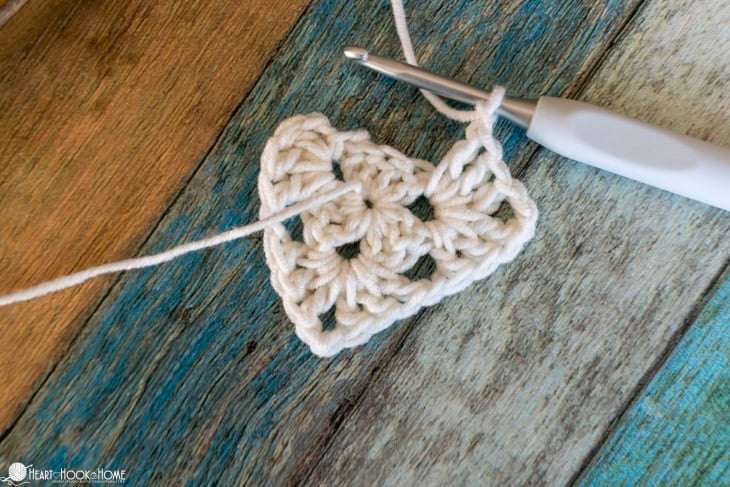
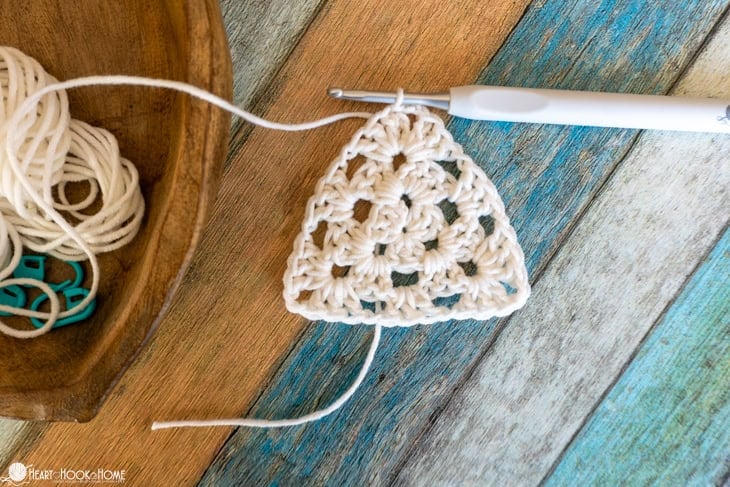
Round 3: Turn, sl st aroud next ch-sp, ch-2, 3dc around same ch-sp, ch-1, 3dc in next ch-sp, ch-1, * (3dc, ch-2, 3dc) in corner sp, ch-1, 3dc in next ch-sp, ch-1 * repeat between * * one more time. 3dc in beg ch-sp, ch-2, join to top of first dc with sl st.
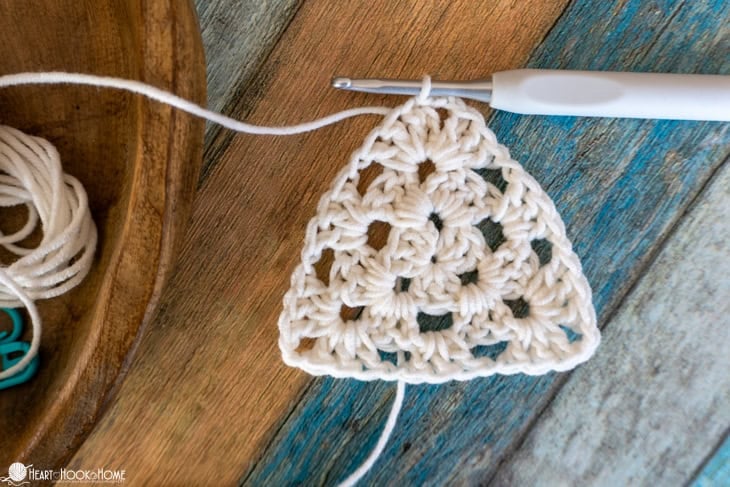
Rounds 4 through desired size: Turn, sl st aroud next ch-sp, ch-2, 3dc around same ch-sp, ch-1, [3dc in next ch-sp, ch-1] in each ch-sp to corner, * (3dc, ch-2, 3dc) in corner sp, ch-1, [3dc in next ch-sp, ch-1] in each ch-sp to corner, * repeat between * * one more time. 3dc in beg ch-sp, ch-2, join to top of first dc with sl st.
What will you make with your triangle grannies? These would also make a great bunting with little tassels at each point!
Here’s the Triangle Granny VIDEO tutorial:
If you would rather watch this video on YouTube, you can find it on my channel here. Don’t forget to subscribe while you’re there!
More crochet tutorials for you:
How to Crochet a Moss Stitch Granny Square
Granny Stitch Water Bottle Holder Free Crochet Pattern
How to Crochet a Classic Granny Square


