Delphine Scarf with Sleeves Crochet Pattern
This post may contain affiliate links, meaning that I may earn a small commission if you make a purchase. See our disclosure policy for more information.
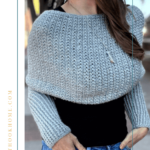


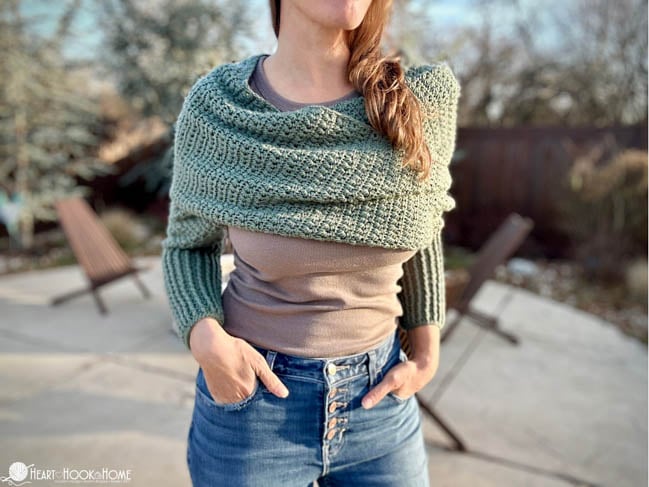
Seems like for a good chunk of the year I need a light little something to wear around my shoulders. Sometimes that’s a poncho, sometimes that’s a wrap, sometimes that’s a scarf, and sometimes its a scarf with sleeves. The Delphine Scarf with Sleeves is the newest free crochet pattern in my obsession with sleeved scarves. Make your own with this free crochet pattern.

Delphine Scarf with Sleeves
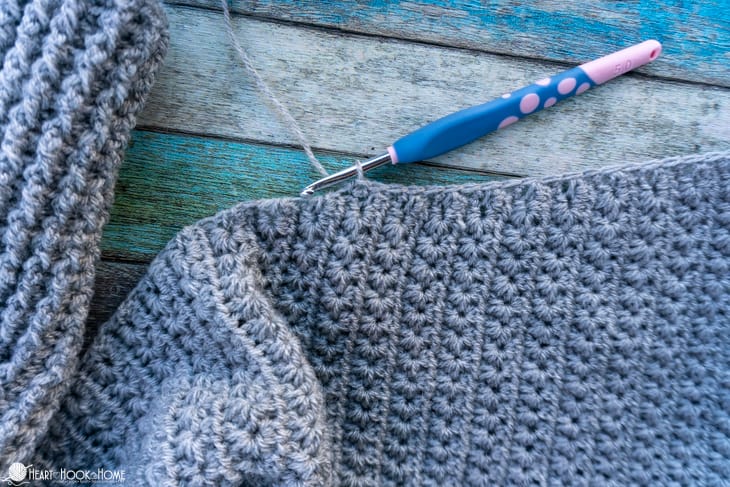
A great accessory for transitional weather, this beautiful scarf with sleeves is a free crochet pattern that features the Star Stitch. This is a gorgeous, plush crochet stitch that works up beautifully with variegated yarn or in solid colors. See a step-by-step tutorial for how to crochet the Star Stitch here.
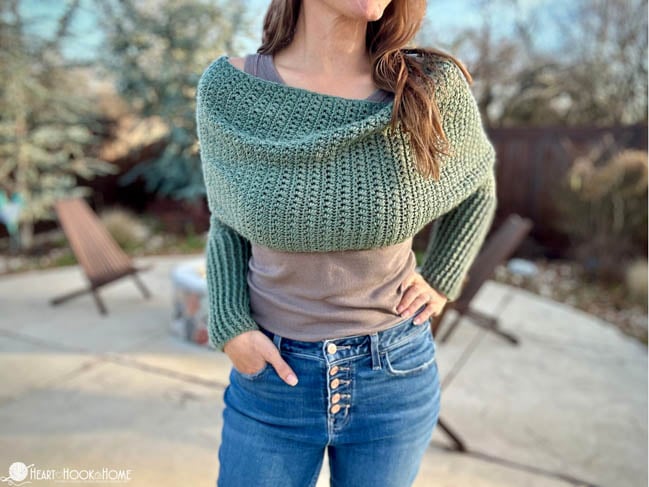
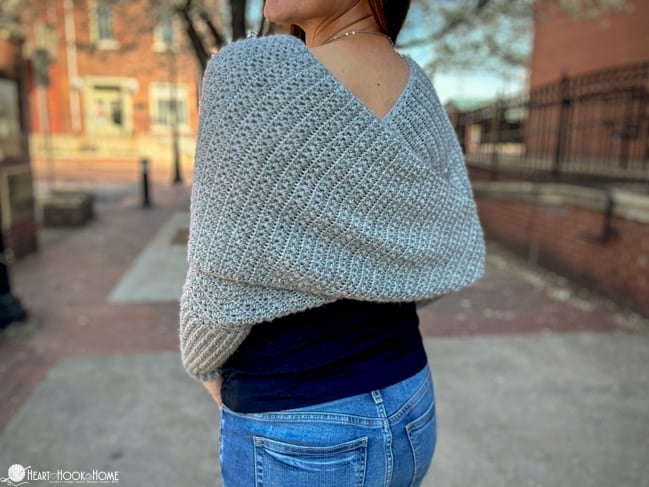
To wear a scarf with sleeves you’ll insert one arm into one cuff, then wrap the scarf around your body one and a half times (either direction should technically work, but I find going around the back of my body first feels best) and insert the other arm into the opposite cuff. Settle the scarf by wiggling your shoulders a bit and … Voila!
You could also wear this without using the sleeves as a regular scarf.
Last last year I hosted an Advanced Tunisian Crochet workshop during which we learned various advanced techniques used in Tunisian crochet. At the culmination of that 6-week long course I published the Sophia Scarf with Sleeves because it uses practically all of the techniques we learned along the way. For that design we use Brava Recycle yarn from WeCrochet, which is the same yarn we use for this new, traditional crochet version.

Since that Tunisian pattern released I have received requests for a traditional crochet version of this design. And OF COURSE I said yes! I never dreamed it would take me so long to get this gorgeous scarf with sleeves pattern written and published, but I am thrilled that it is now out in the world and ready for your hook. 🧶
When I first started designing this sleeved scarf pattern I tried the Moss Stitch, the Half Treble Crochet Stitch, and even the Mini Bean stitch. Nothing felt right to me… until I remembered the Star Stitch and how gorgeous and plush it is and how lovely of a scarf it would make.

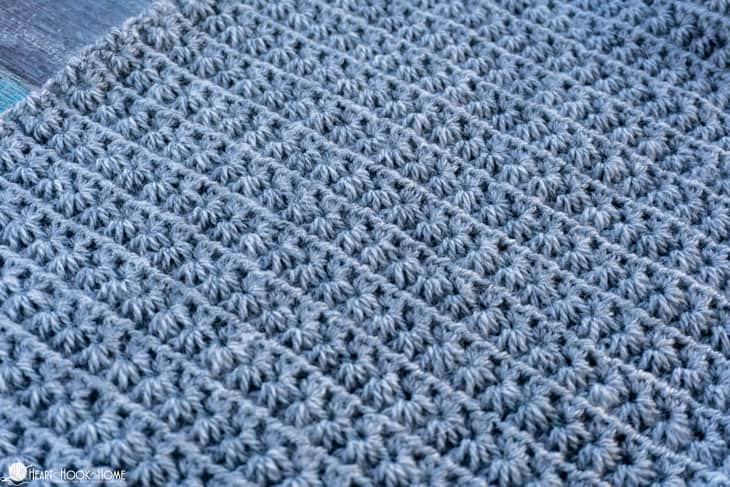
Because we use the Star Stitch, I wanted to name the pattern after a constellation. I found the Delphinus constellation and thought the “Delphine” had such a nice ring to it. Isn’t that pretty?

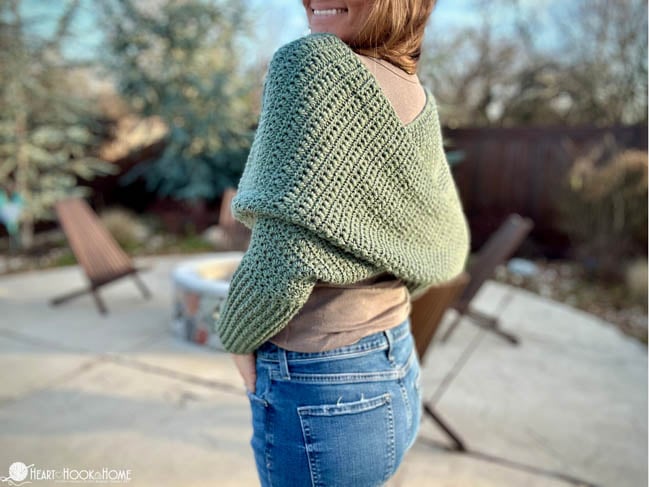
For this pattern I am using Brava Recycle, a size 3/DK weight yarn that washes up beautifully. The colors on this yarn are a bit muted and speckled, and I love how the light plays off the flecks of darker and lighter yarn fuzzies.
Other great yarn options include Mellowspun from Mary Maxim, Bernat Softee Baby, Brava Recycle, Premier Bamboo Fair, Amigo from Hobbii, Happy Place from Hobbii, Mega Ball from Hobbii, Lion Brand Feels like Alpaca, or any other size 3/DK weight yarn you like.
Grab the ad-free, printable version of this pattern on Ravelry, Etsy, or right here in the Heart Hook Home Blog Shop. Thank you!
Materials:
Brava Recycle yarn (size 3/DK)
-approx. 1100 yards
Crochet hook in size H/5mm
Gauge: 9 star stitches x 11 total rows (5.5 star st rows) in 4” square
Pattern Notes:
Pattern written using US terms.
Star Stitch = (tutorial here) Make the first Star of each row using the 2nd and 3rd ch from the hook, then the 1st, 2nd, and 3rd stitches of the row.
Lhdc = Linked half double crochet
Fp/Bpdc = Front Post/Back Post double crochet (tutorial here)
Fpdc decrease = Fpdc2tog using next Fpdc st for 1st leg, skip next stitch, and use next Fpdc for 2nd leg.
Even numbered rows (Star st rows) are “right side”.
If you need help reading a crochet pattern, make sure you head over here and check out this detailed post.
Pattern:
Row 1: Fsc-44 (or ch-45, sc in 2nd ch from hook and in each to end) (44)
Row 2: Ch-3 turn, Star St across, Lhdc in final st. (21 Stars)
Row 3: Ch-1, turn, hdc in first st, 2hdc in each eye across, hdc in final st. (44)
Rows 4: Ch-3 turn, Star St across, Lhdc in final st. (21 Stars)
Rows 5 – 12: repeat rows 3 & 4
Row 13: Ch-1, turn, 2hdc in first st, 2hdc in each eye across, hdc in final st, hdc in turning ch. (46)
Row 14: Ch-3 turn, Star St across, Lhdc in final st. (22 stars)
Row 15: Ch-1, turn, hdc in first st, 2hdc in each eye across, hdc in final st. (46)
Row 16: Ch-3 turn, Star St across, Lhdc in final st. (22 stars)
Wanna save this for later?
Row 17: Ch-1, turn, 2hdc in first st, 2hdc in each eye across, hdc in final st, hdc in turning ch. (48)
Rows 18 – 57: repeat rows 14 – 17 (ending with 68 hdcs)
Rows 58: Ch-3 turn, Star St across, Lhdc in final st. (33)
Row 59: Ch-1, turn, hdc in first st, 2hdc in each eye across, hdc in final st. (68)
Rows 60 – 110: Alternate previous 2 rows – ending on a star st row.
Row 111: Ch-1, turn, hdc in first st, hdc in first eye, 2hdc in each remaining eye across until 1 eye remains, hdc in last eye, hdc in final st. (66)
Row 112: Ch-3 turn, Star St across, Lhdc in final st. (32)
Row 113: Ch-1, turn, hdc in first st, 2hdc in each eye across, hdc in final st. (66)
Row 114: Ch-3 turn, Star St across, Lhdc in final st. (32)
Row 115: Ch-1, turn, hdc in first st, hdc in first eye, 2hdc in each remaining eye across until 1 eye remains, hdc in last eye, hdc in final st. (64)
Rows 116 – 155: Repeat rows 112 – 115 (Ending with 44 hdcs)
Rows 156: Ch-3 turn, Star St across, Lhdc in final st. (21)
Row 157: Ch-1, turn, hdc in first st, 2hdc in each eye across, hdc in final st. (44)
Rows 158 – 167: Repeat rows 156 – 157 (44)
Do not fasten off.
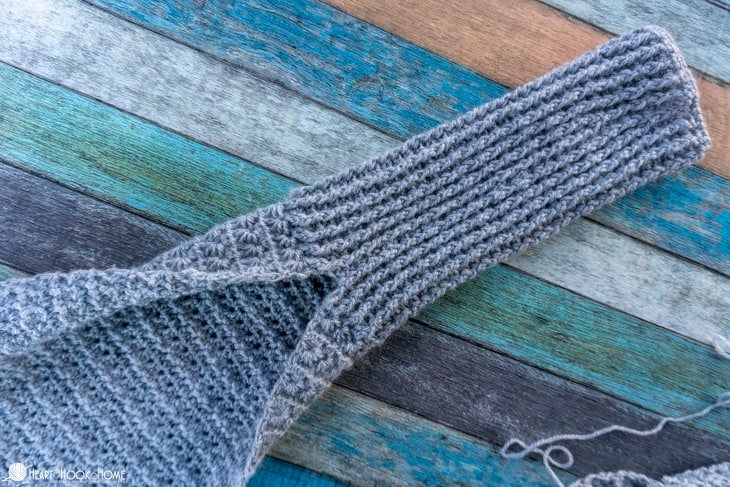
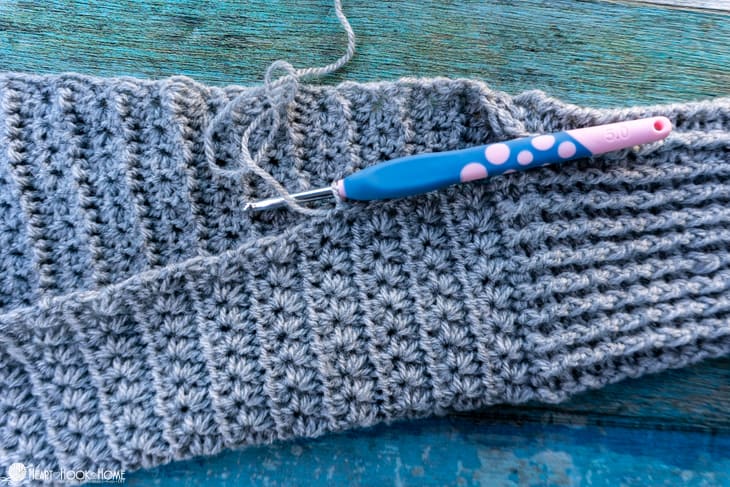
Cuffs:
Round 1: Ch-2, turn, sk first stitch, Fpdc around next st, * Bpdc around next, Fpdc around next * Repeat between * * to end. Join to top of first st with sl st. (43)
Round 2: Ch-2, turn, Bpdc around first st, * Fpdc around next, Bpdc around next * repeat between * * around. Join to top of first Bpdc with sl st. (43)
Round 3: Ch-2, turn, Fpdc around first st, * Bpdc around next, Fpdc around next * repeat between * * around. Join to top of first Fpdc with sl st. (43)
Round 4 : Ch-2, turn, Bpdc around first st, * Fpdc around next, Bpdc around next * repeat between * * around. Join to top of first Bpdc with sl st. (43)
Rounds 5 – 24: repeat rounds 3 & 4 (43)
Round 25: Ch-2, turn, Fpdc decrease, * Bpdc around next, Fpdc around next * repeat between * * around. Join to top of first Fpdc with sl st. (41)
Round 26: repeat round 4 (41)
Rounds 27 & 28: repeat rounds 3 & 4 (41)
Round: 29: Ch-2, turn. Fpdc around first st, * Bpdc around next, Fpdc around next * repeat between * * around until 3 sts remain. Fpdc decrease. Join to top of first Fpdc with sl st. (39)
Round 30: Repeat round 4 (39)
Round 31: Repeat round 3 (39)
Round 32: Ch-1, do not turn sc in each st around. Fasten off using Invisible Join.
Attach on other end, with RS facing, and repeat for 2nd cuff.
Inside Edging:
Attach near either cuff looking at “right side”…
Final Row: Ch-1, sc in each row end around entire opening. Fasten off using Invisible Join.
I can’t wait to see yours! Be sure to tag @HeartHookHome across all social media, or share in the Heart Hook Home Crochet Community on Facebook.
More free accessories crochet patterns:
Sophia Scarf with Sleeves: Free Crochet Pattern
Full Skein Scarf: Free Tunisian Crochet Pattern
Betty’s Infinity Scarf: Free Granny Stitch Crochet Pattern
Peephole Chevron Scarf: Free Crochet Pattern
Let it Bee Wrap: A Free Crochet Pattern


23 Comments