How to Yarn Bomb a Headboard
This post may contain affiliate links, meaning that I may earn a small commission if you make a purchase. See our disclosure policy for more information.


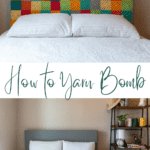
I moved into a new home recently and decided that I want to incorporate as much yarn – and color! – as possible in my new abode. Pair that with my love of crochet, and the desire to decorate on the cheap, and you’ve got yourself a “yarn bomb” headboard! Here’s how to do it!

How to “Yarn Bomb” a Headboard
I love all things yarn related, and chances are if you’re reading this, you do as well. In my new space I wanted as much color as possible. Which is part of the reason I decided to hang my yarn wall in the living room, front and center. I LOVE IT SO MUCH!

Being my frugal self, I decided to purchase a basic fabric covered headboard for around $55. The color didn’t matter, so I just found the cheapest I could find and snatched it up (with a coupon to boot)!

This project would be SO FUN in a child’s room or a nursery! What’s even better is that I made this to be removable (with buttons) so that it can be washed as needed.

Before you start to yarn bomb you’ll need to grab your supplies…
Crochet hook (I used a G/4mm)

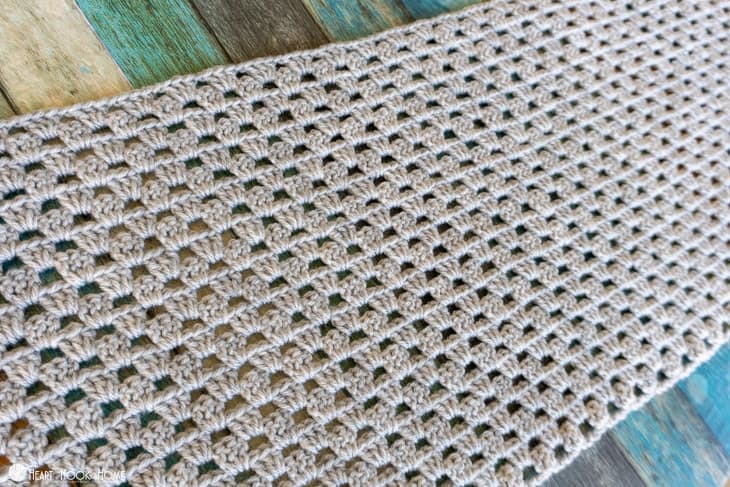
I decided to go with my classic granny square pattern because they are so quick to work up.
If you need help reading a crochet pattern, make sure you head over here and check out this detailed post.

You will need yarn in various colors, either purposefully purchased for this project or scrap/stash yarn. I am using the adorable Brava Minis and am able to get ~3 squares per mini skein. You can get a 24-pack of this yarn and mix and match your colors here.

When yarn bombing a headboard (or anything, really) you want the crocheted or knitted piece to be slightly smaller than the item it will cover. Around 5% or so smaller. You want it to be nice and taut so that it’s not saggy or loose. I decided to complete four rounds on each square before fastening off.

My headboard is 56″ wide and 23″ tall, and each granny is around 4 1/2″ square before attaching. I have twelve squares across and five squares high which means that my piece before stretching was around 54″ x 22″. This is the perfect size for stretching into place!

I seamed my squares using this technique. I find this to be the easiest, quickest way to securely fasten each square to those around it without having to weave in a million yarn ends.
Once you get all of the squares assembled, it’s time to do a border row. This makes it easier to sew everything together when the time comes.
Wanna save this for later?
I also created a small (~1.5″) flap using solid double crochet rows on what will be the bottom of the headboard to use for attaching buttons so that the headboard cover could be easily removed and washed.

I created the back of my headboard to be right at the size of the headboard itself, or ~56″. For this I used the Flat Granny stitch so that it was similar to the front squares, but in just one solid color: grey.
For the width of the headboard (which is around 2″) I made one long strip of double crochet stitches, 10 stitches wide (making it about 1.5″) and as long as needed to stretch from the bottom left of the headboard, up to the corner, across the top, and down the other side.
Once you get all of your pieces crocheted and assembled, it’s time to complete the yarn bomb!
I used sewing pins and liberally pinned the pieces into place.


When sure that everything was positioned correctly, I used my yarn needle and the grey yarn. Starting at the bottom “front” corner and sewing stitch for stitch up the side, across the top, and down the other side. Repeat for the “back” of the headboard as well.

When everything is sewn into place, sew (4) 1″ buttons evenly spaced to the grey strip across the bottom of the “front”. (The grey strip I am referencing can be seen in the photo above and will be hidden after attaching buttons)

Voila! Use the openings of the granny stitch on the “back” headboard fabric to secure to the buttons. Now you’re ready to slumber in style!


A lovely, inexpensive, FUN way to brighten up any space! What colors will you make yours?
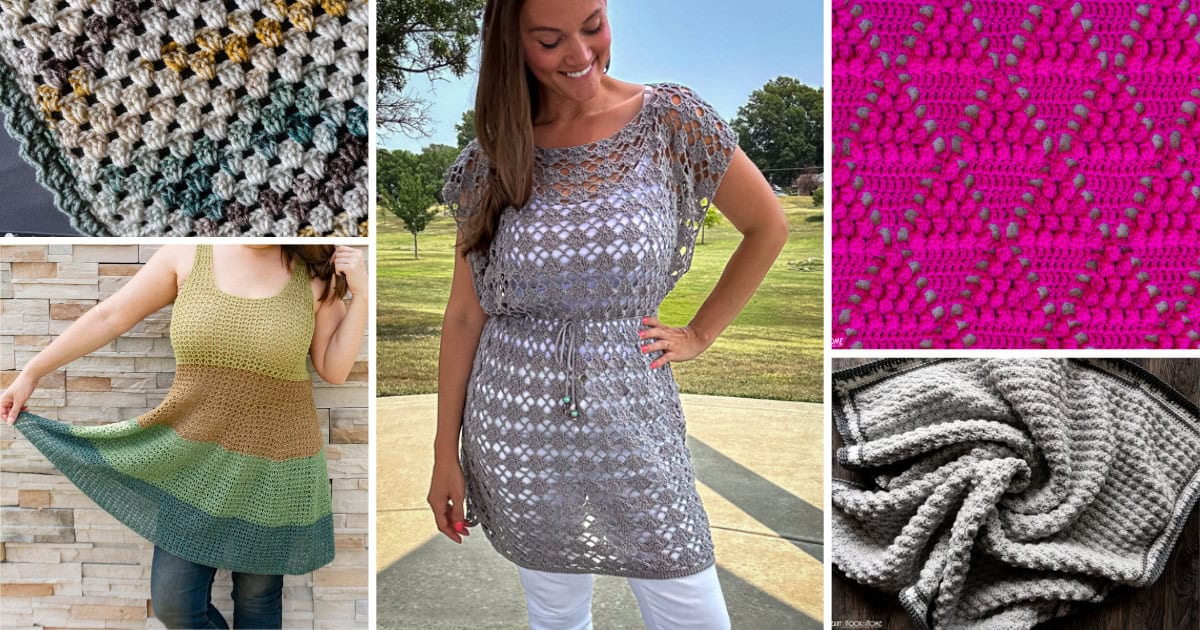
More fun crochet tutorials:
Shrink Film Stitch Markers Tutorial + Free SVG
Lucet Fork Tutorial: Make Cord, Drawstring, Garland and More!


2 Comments