Child & Teen Sizes Frankie Cowl
This post may contain affiliate links, meaning that I may earn a small commission if you make a purchase. See our disclosure policy for more information.

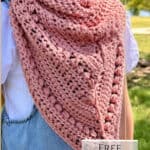
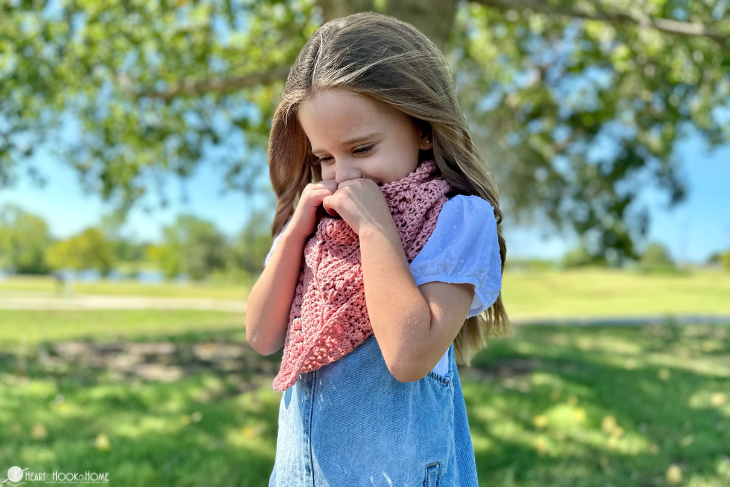
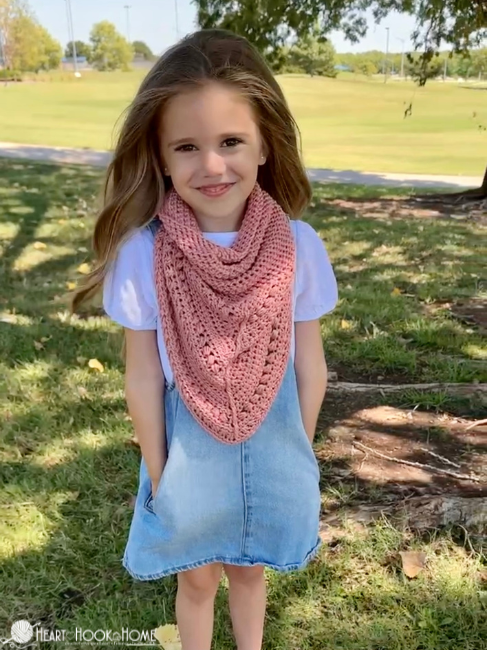
The Frankie Cowl is a favorite accessory for fall. Throw it on over a simple top or as an extra layer under a jacket. If you’ve made an adult size Frankie cowl you can now make a matching one for your mini! The kids Frankie cowl is available in child and teen sizes so grab your hook and let’s make one using this free crochet pattern.

Kids Frankie Cowl Pattern
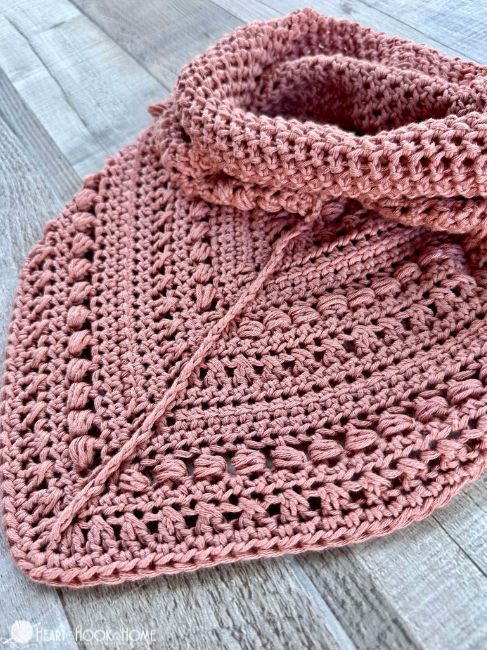
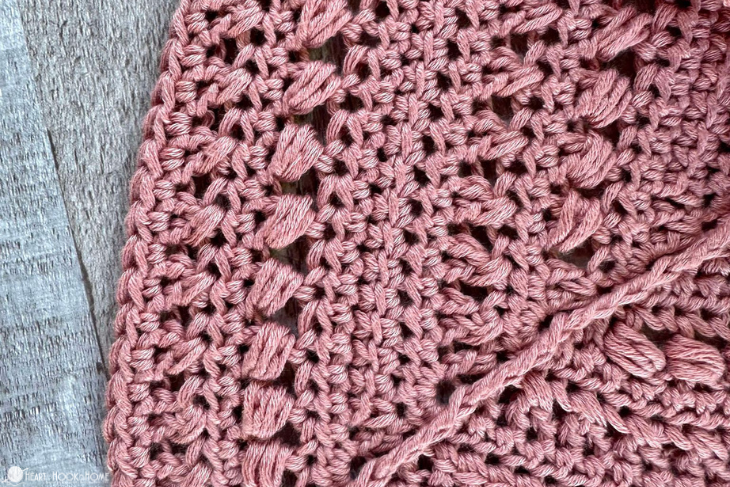
The Frankie Cowled Triangle Shawl is a mash up of two of my other favorite patterns, the Herringstone Cowl and Mae’s Triangle Shawl. First we make a triangle shawl, then we join and build on a plush, stylish, and comfortable cowl.
Cowls are a great thing to make and to wear during the transitional weather months. They are great for kids, especially if they don’t want to wear a coat. Let them pick the yarn color and they’ll never want to take it off!
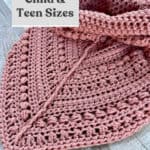
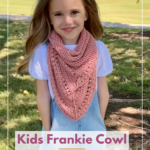
There are two sizes of this pattern, the child (toddler up to about size 6 youth) and a teen/small adult. Little “M” has been modeling for Heart Hook Home for years, in fact she modeled the newborn On Point Poncho when she was just WEEKS old! Then she modeled the smallest sizes of the Shanti Sweater followed by the toddler size of the Lori Poncho, and now the kids Frankie! So sweet!
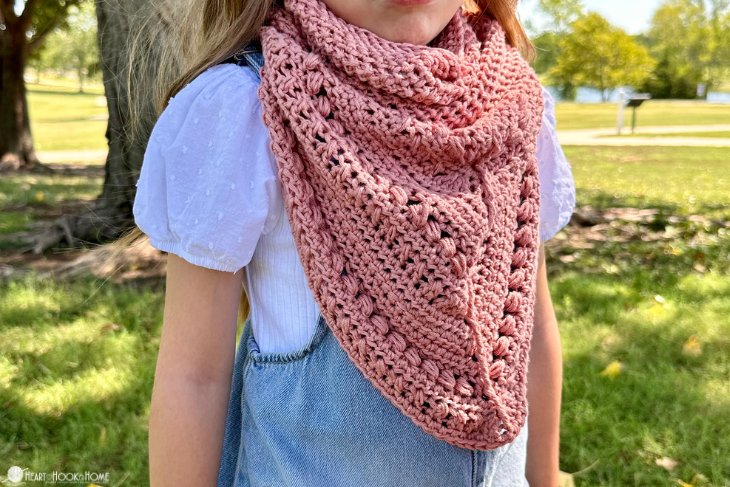
For this particular Frankie Cowl I’m using Lion Brand Coboo yarn in the “mauve” colorway. Other great yarn options would include Brava Recycle, Memento, Lion Brand Cotton Bamboo, Premier Bamboo Fair, Hobbii’s Acacia, and you could try the Allino from Hobbii as well.
Materials:
Lion Brand Coboo pictured (“Mauve” colorway)
-approximately (350, 600) yds
Crochet hook in size J/6mm
Gauge:
Not super important, but after row 6 the triangle should measure approximately 7” wide across the top and 4” down center.
Sizing:
Small Child – up to about size 6 Youth
Large Child – Teen/Small Adult
Difficulty:
This pattern is not particularly difficult to crochet, but it does require counting and knowledge of all basic (and some advanced) crochet stitches. See the Mae’s Chevron for detailed photos on stitch placement etc.
Pattern Notes/Special Stitches:
Bead = Bead Stitch (tutorial here)
Ldc = Linked Double Crochet (tutorial here)
Crossed Double Crochet (tutorial here)
Hdc = Half Double Crochet (tutorial here)
DcIncUp = Increase at triangle point made in the center-most stitch of each even numbered row = (2dc, Fpdtr around center st/post 2 rows down, 2dc) in same (center-most) stitch.
Hhdc = Herringbone Half Double Crochet (tutorial here)
I find it extremely helpful to mark the center-most stitch of each row with a stitch marker.
Beginning Ch-3 DOES count as a stitch on the even numbered row. The Ch-1 on the odd numbered rows DOES NOT count.
Even rows are right side “RS”.
If you need help reading a crochet pattern, make sure you head over here and check out this detailed post.
Wanna save this for later?
Pattern:
We start with the triangle shawl portion first…
Sizes: (Small, Large)
Row 1: Magic Circle, 7hdc in circle. (7)
Row 2: Ch-3, (counts as dc) turn, Dc in first st. Ldc in next 2 sts, 5dc in next st. Ldc in next 2 sts, 2dc in last st. (13)
Row 3: Ch-1, (does not count as st) turn, 2hdc in first st, hdc in each st to center st, 5hdc in next. Hdc in each st to end, 2hdc in last. (19)
Row 4: Ch-3 (counts as dc), turn, dc in first st. * Bead, sk st * repeat between * * to center st. DcIncUp (see pattern notes). Repeat between * * down other side. 2dc in last st. (25)
Row 5: repeat row 3 (31)
Row 6: Ch-3, turn, dc in first st. * (sk next st, dc in next, dc in skipped st) * repeat between * * to center st. DcIncUp. Repeat between * * down other side. 2dc in last st. (37)
Row 7: repeat row 3 (43)
Row 8: Ch-3, (counts as dc) turn, dc in first st. Ldc to center st. DcIncUp. Ldc down other side. 2dc in last st. (49)
Rows 9 through (14, 20): repeat rows 3 through 8 (one, two) more times
Rows (15, 21) through (18, 24): repeat rows 3 through 6
*Shawl should measure approximately (22”, 30”) wide. If not, continue adding rows until it does.*
Row (19, 25): Ch-1 and turn, 2 hdc in first st, hdc in each st to center st, 3 hdc in next. Hdc in each st to end, 2hdc in last.
Do not fasten off.
We will now work along the top side of the shawl to create a base for the hooded cowl…
Hooded Cowl
Round 1: Ch-1 and evenly work (78, 102) sc across the top of the shawl (2 sc per row end and 2 sc in center). Join with a slst to the 1st sc made.
Round 2: Ch-1 and turn. Hhdc in first sc and in each st around. (78, 102)
Work in a continuous spiral from here on out (no joining…If desired, use a stitch marker to denote the first stitch of each row)
Rounds 3 through (26, 36): Hhdc in each st around. (78, 102)
*Cowl should measure approximately (11”, 14”) tall…continue adding rows if desired*
Finishing up: sl st in next 3 sts. Fasten off and weave in all ends.
That’s it! I hope your little one loves their Frankie Cowl, and if you make a matching set, I’d love to see them! Please tag @HeartHookHome across all social media, or share in the Heart Hook Home Crochet Community on Facebook.
More free patterns for kids:
Kids Flowy Top Free Crochet Pattern
Hibernation Hoodie CHILD Sizes
Lori Poncho (Child Sizes) Free Crochet Patterns


2 Comments